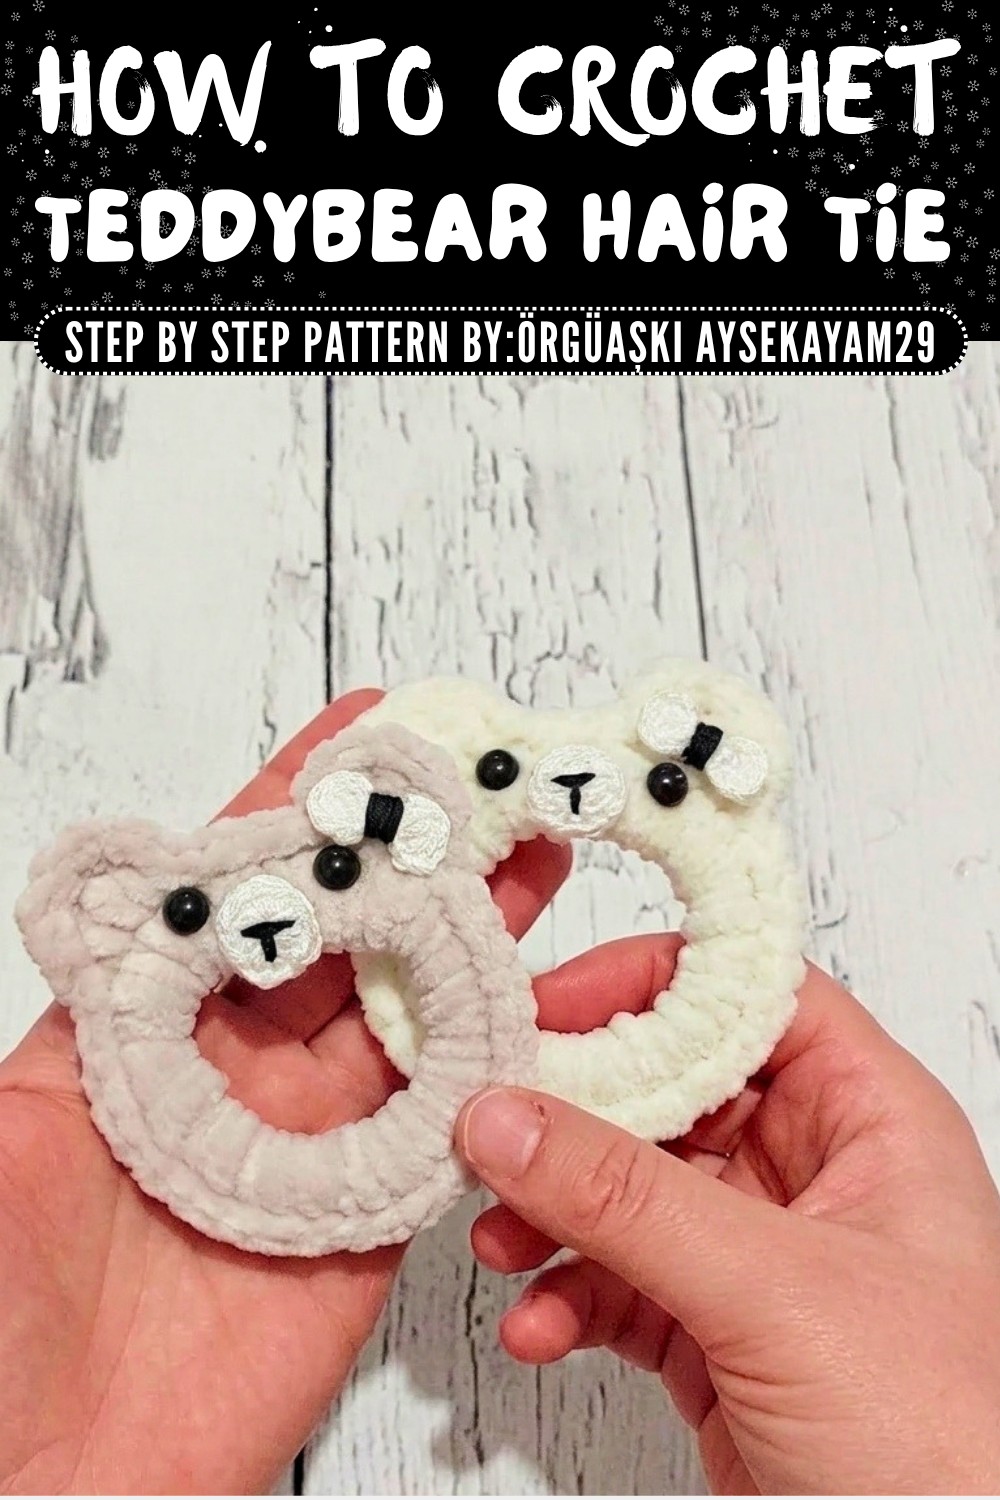
Free Crochet Hair Tie Pattern for Little Fashionistas
Freshen every hairstyle with this Free Crochet Teddybear Hair Tie Pattern giving girls a sweet accessory for school, parties, and daily outfits.
Soft, playful, and perfect for little ones, this teddy bear inspired hair accessory is a delightful way to add charm to everyday hairstyles. The project is styled around a classic elastic hair tie, wrapped snugly in cozy crochet stitches and adorned with a sweet teddy bear face. With its velvety texture, rounded features, and delicate bow detail, it's both adorable and practical, combining functionality with a touch of whimsy.
Crochet Teddy Hair Tie Free Pattern to Lift Every Look
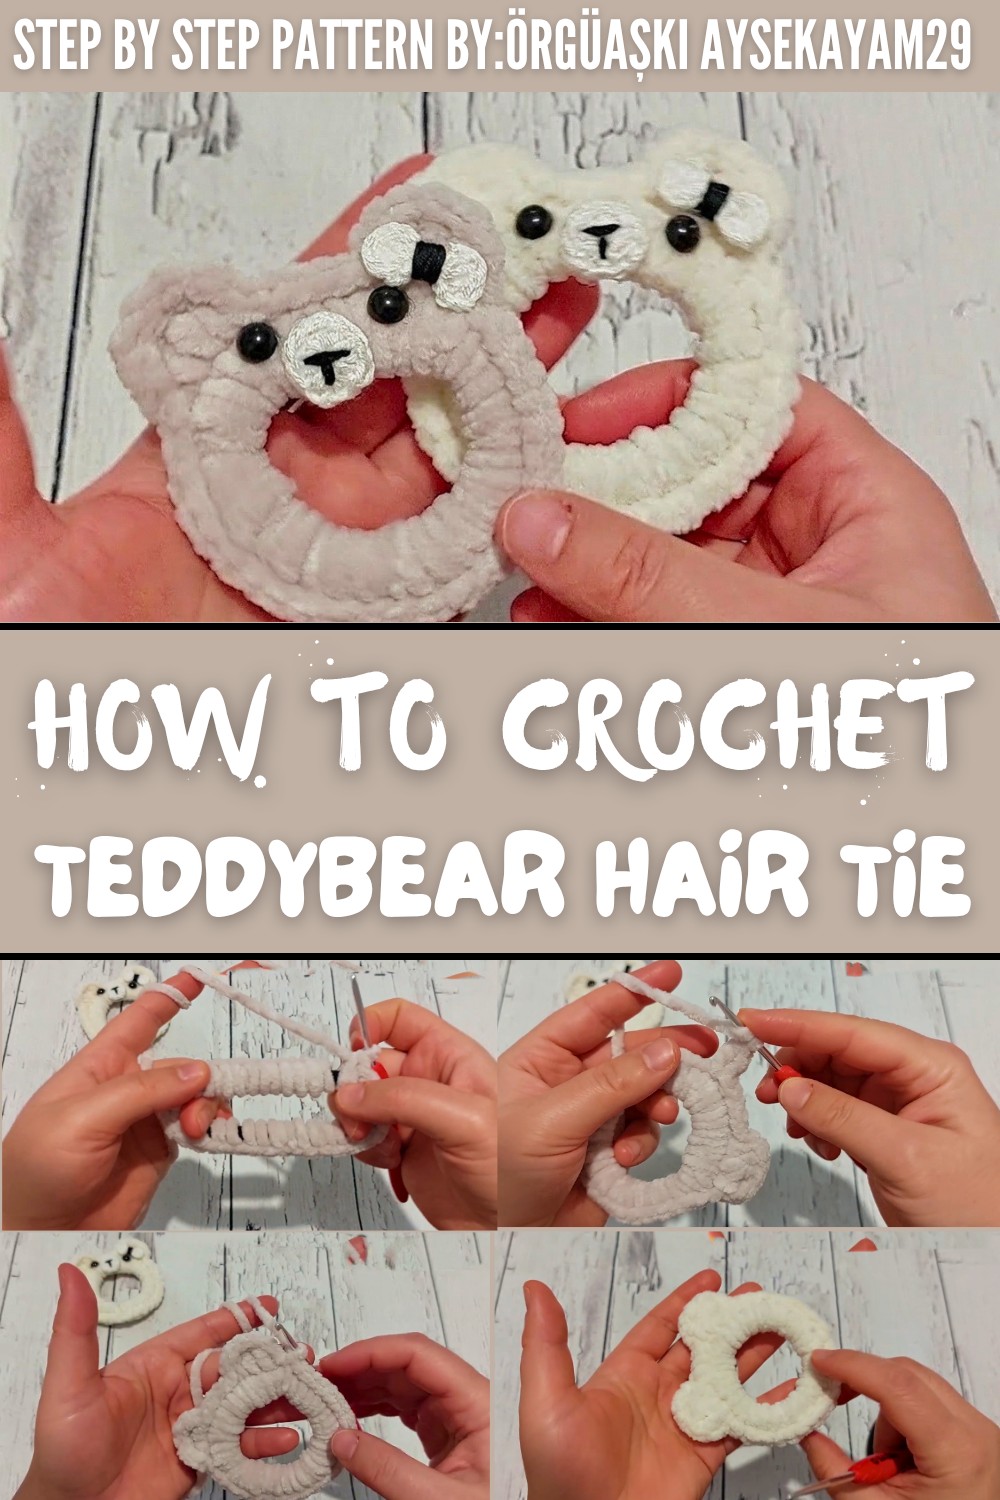
This crochet accessory offers a world of customization possibilities, it can be made to fit any size hair tie and works beautifully with a range of colorful yarns to suit every outfit or occasion. By pairing plush velvet yarn for the base and finer cotton yarn for accents, the texture stays soft yet structured, with every stitch coming together for a polished look. The construction is straightforward and beginner friendly, with simple techniques like single crochet and double crochet worked in manageable steps.
Perfect for gifting or brightening up your own hair accessories collection, this project is a joy to customize. Whether you choose subtle pastel shades or bold, vibrant colors, each piece feels personal and unique. Add your favorite details, experiment with embellishments, and let your creativity flow as you bring this charming and heartwarming crochet piece to life.
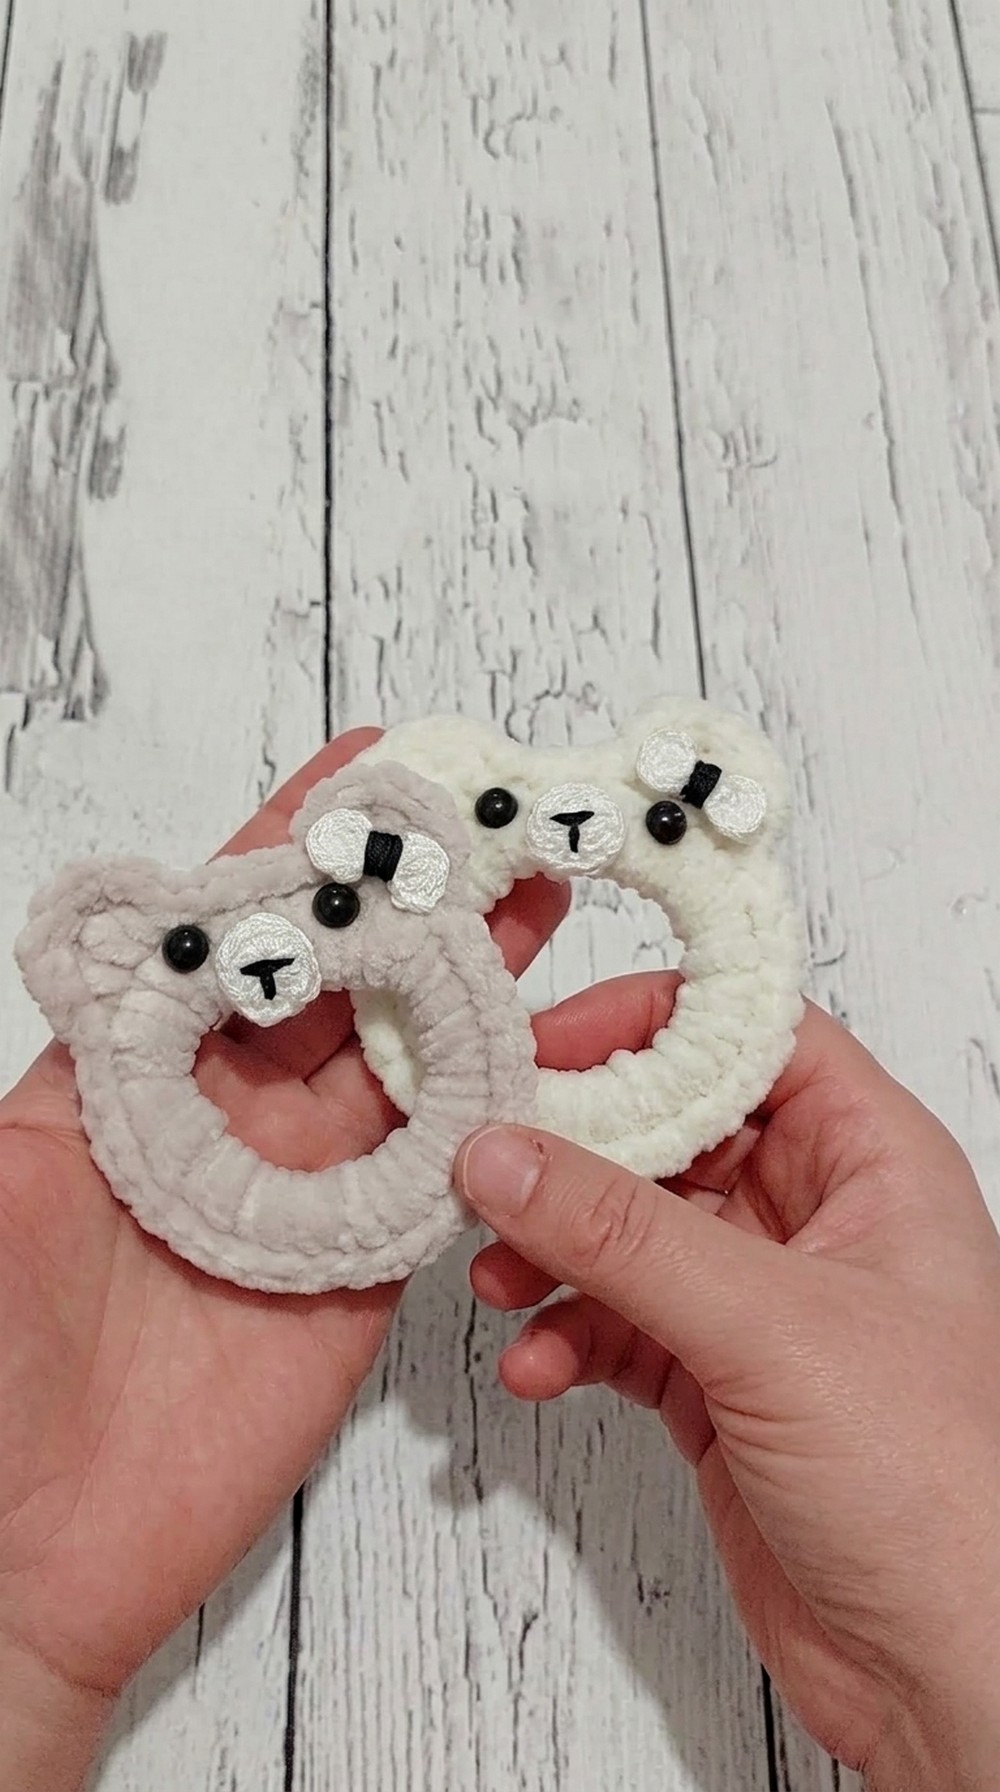
Crochet Pattern: Bear-Themed Hair Tie
This pattern provides clear instructions to guide you through creating a fun and cute bear themed hair tie. Using velvet yarn and simple stitches, this beginner to intermediate friendly project is quick to make and suitable for charming gifts or daily use.
Materials Needed
- Velvet yarn (any color for the bear and hair tie base)
- White yarn (for the snout)
- Black yarn (for the bow and snout details)
- A hair elastic (any size and color)
- 3mm crochet hook (for velvet yarn)
- 1.75mm crochet hook (for small detailing like the snout and bow)
- Two half beads or pearls (for the eyes)
- Silicone adhesive or glue gun
- Scissors
- Tapestry needle
Stitch Abbreviations
- ch - Chain
- sl st - Slip Stitch
- sc - Single Crochet
- hdc - Half Double Crochet
- dc - Double Crochet
- tr - Triple (Treble) Crochet
The Crochet Pattern
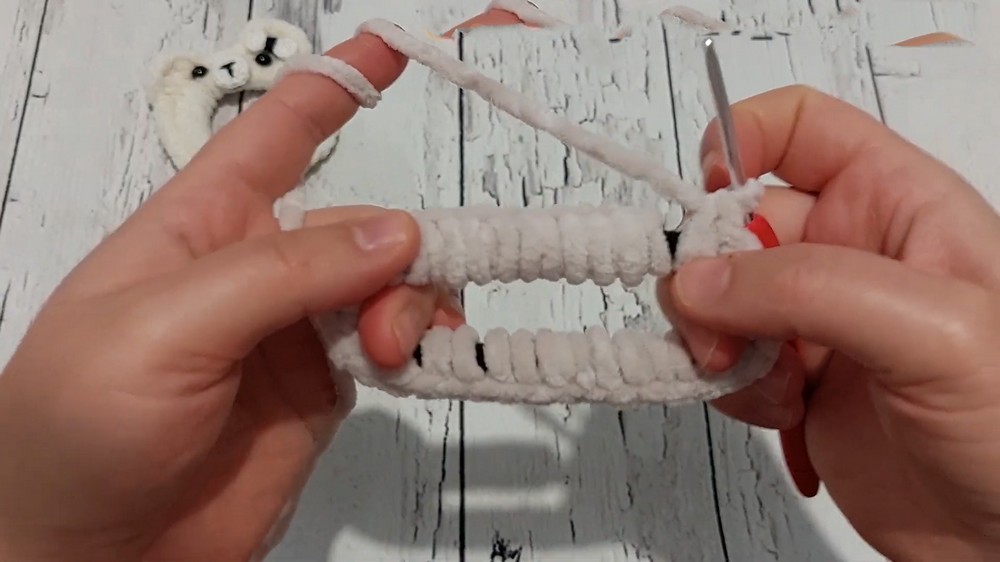
Step 1: Covering the Hair Elastic
- Attach the velvet yarn to the hair elastic using a sl st.
- Insert your hook into the elastic and pull the yarn through, forming the first sl st to secure it.
- Begin working sc (single crochet) tightly around the entire elastic band:
- Insert hook into the elastic, yo, pull up a loop, yo again and pull through both loops on the hook.
- Repeat sc stitches until the elastic is completely covered.
- Ensure the stitches are tight and close together so that no part of the elastic is exposed.
- Join the last sc to the first sc with a sl st.
- Fasten off and weave in the loose ends securely with a tapestry needle.
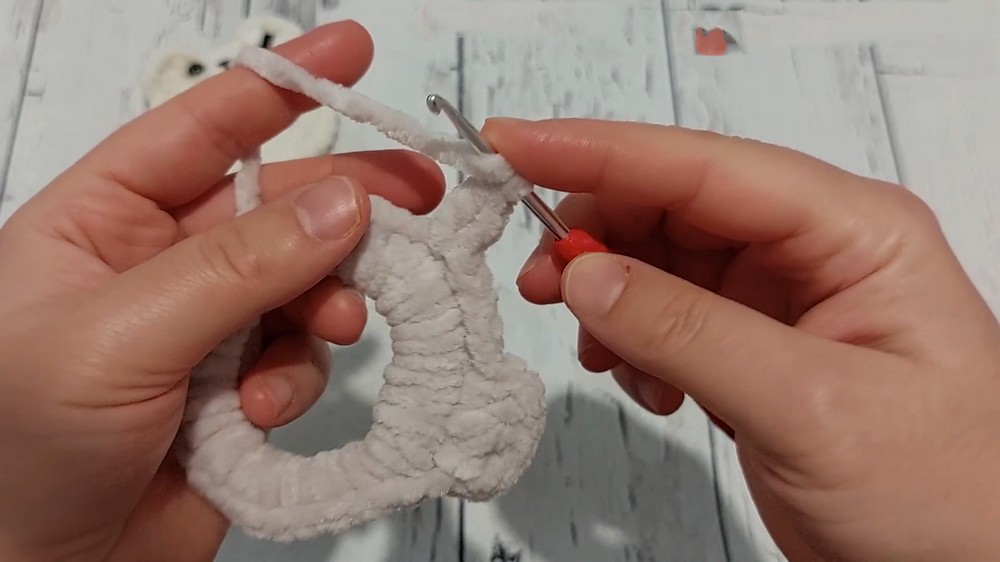
Step 2: Creating the Bear Ears
- Rejoin the velvet yarn at the top edge of the elastic band where you want to position the first ear.
- Work the following stitches into the same stitch:
- ch 2,
- 1 dc (double crochet),
- 1 tr (triple/treble crochet),
- 1 dc,
- ch 2,
- Join with a sl st into the next stitch.
- Skipping 5 stitches along the base of the covered elastic, repeat the same steps for the second ear:
- ch 2,
- 1 dc,
- 1 tr,
- 1 dc,
- ch 2,
- Join with a sl st.

Step 3: Finishing the Edge
(Optional but recommended for a clean look.)
- Begin a row of slip stitches (sl st) around the inner edge of the covered elastic.
- Insert your hook into the stitch, yo, pull up a loop, and pull it through the loop already on the hook.
- Continue sl st around the entire inner edge.
- Fasten off and weave in the loose ends with a tapestry needle.

Step 4: Making the Snout
- Use white yarn and a 1.75mm hook to create the snout.
- Start with a magic ring:
- Wrap the yarn around your fingers to form a loop. Insert your hook into the loop, yo, and pull through to form a loop on your hook.
- Work the following stitches into the magic ring:
- ch 2 (does not count as a stitch),
- 10 hdc (half double crochet).
- For hdc: Yo, insert hook into the ring, yo again, pull up a loop, yo again, and pull through all three loops on the hook.
- Pull the magic ring tight to close the loop.
- Join the last hdc to the first hdc with a sl st.
- Fasten off and weave in the loose ends securely.

Step 5: Making the Bow
- Use black yarn and a 1.75mm crochet hook.
- Create a magic ring.
- Work the following stitches into the ring for the first side of the bow:
- ch 3,
- 2 dc,
- ch 3,
- Join with a sl st to the ring.
- Repeat the same steps into the magic ring to create the second side of the bow:
- ch 3,
- 2 dc,
- ch 3,
- Join with a sl st to the ring.
- Pull the magic ring tight to secure the bow shape.
- Wrap the black yarn around the center of the bow multiple times to define the middle section.
- Fasten off and weave in the ends neatly on the back of the bow.

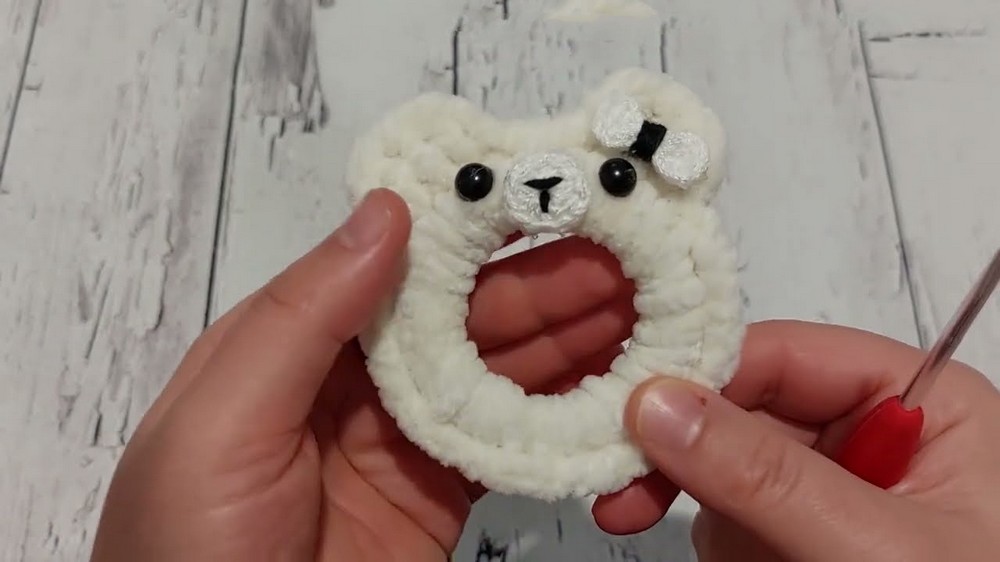
Step 6: Assembly
Attaching the Snout:
- Use a tapestry needle and black yarn to embroider the bear's nose and mouth onto the white snout:
- Create a small triangle shape for the nose and add a line downwards for the mouth detail.
- Using silicone adhesive or glue, attach the snout to the bottom center of the hair tie, below the position of the eyes.
Adding the Eyes:
- Take two half beads or pearls and use silicone glue to secure them above the snout.
- Space the eyes evenly for a balanced look and ensure they are pressed firmly to adhere fully.
Attaching the Bow:
- Apply glue to the center back of the bow.
- Place the bow near the base of one ear or slightly below the ear for an adorable effect.
- Allow all glued parts to dry completely before using.
Finishing Touches
- Make sure all glued elements are secure and undetectable from the back.
- Trim any excess threads or leftover glue from the piece.
- Gently stretch the hair tie to ensure it retains its elasticity and that the crochet stretches well.
Conclusion
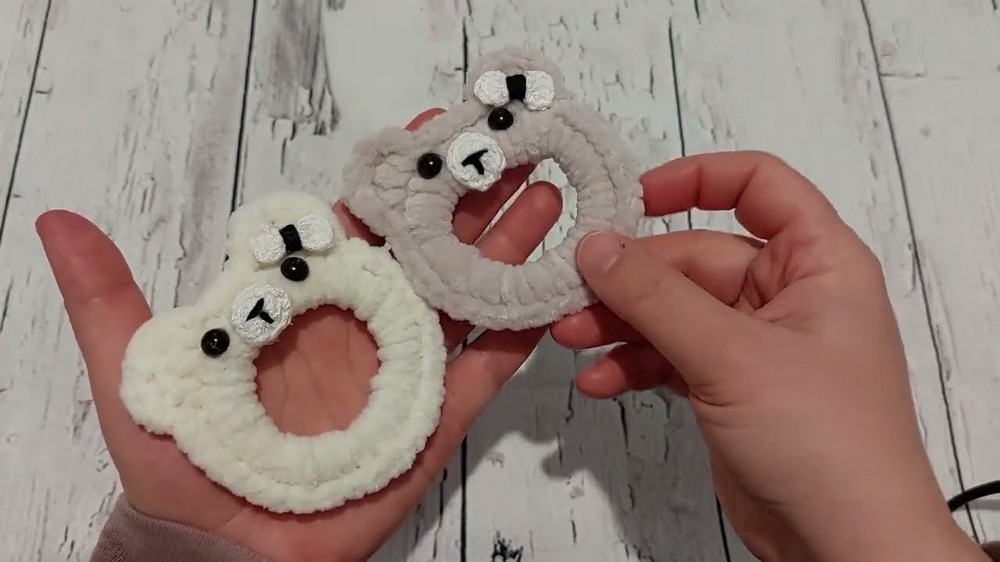
Your beautiful bear themed hair tie is now complete. This simple project blends cuteness and practicality, making it a great accessory for all ages. Whether you're making it for yourself, for gifting, or for a child who loves playful designs, this project is a surefire winner.