
Free Crochet Headphone Beanie Pattern to Boost Your Winter Look
Light up your winter style with this Free Crochet Headphone Beanie Pattern and enjoy music hands free while keeping your head warm and cozy.
The days are getting colder, and as the chilly winds sweep through, it's time to bring out cozy accessories that keep you warm and feeling good. Imagine wearing a beanie that looks like a pair of headphones, making you stand out while staying snug on frosty mornings. This is no regular winter accessory; it's a blend of warmth and creativity, designed to keep you comfortable and fashionable at the same time. The process is easy to follow, even for beginners, as it uses simple stitches like chains, double crochets, half double crochets, and front post back post double crochets.
Free Crochet Headphone Beanie Pattern that Adds Cozy Street Style

The appearance of this beanie is charming. It features two "headphone like" ear covers that are carefully crocheted, stuffed with polyester filling for a realistic look, and placed on the sides of the beanie. The beanie itself has a neat and textured design, with ribbing detail at the base that makes it fit snugly and look polished. It is made using danish yarn, which has soft and durable qualities, ensuring both warmth and comfort.
While it is designed to look like a headphone beanie, you can customize the design by experimenting with different yarn colors or adding fun accessories. The strap connecting the ear covers adds a playful detail that completes the look, making it a great gift or accessory for kids, teens, or anyone who loves creative handmade items.
With simple materials like yarn, a 4mm crochet hook, and basic stitching knowledge, you can create this fun and stylish crochet beanie. It's perfect for colder days or as a unique costume addition. The headphone beanie is not just cozy but also a true conversation starter that reflects creativity and skill. Start your project today and surprise everyone with this amazing design.
Crochet Headphone Beanie Pattern
Materials
- Yarn:
- Main Yarn: Danish yarn, 50g (133 meters per ball) for the beanie.
- Contrast Yarn: Two colors for the headphone like details (blue and black used in the example).
- Crochet Hook:
- Size 4 mm for the main beanie and all accessories.
- Stuffing: Small amount of polyester filling for the headphone ear covers.
- Scissors.
- Tapestry Needle for sewing and weaving in ends.
Techniques Used
- Slip Knot & Chains: To start the project and create the foundation.
- Double Crochet (DC): Main stitch for the beanie and strap.
- Half Double Crochet (HDC): Used for the ear covers, strap details, and chain decorations.
- Front Post and Back Post Stitches: For the ribbing and texture.
- Magic Ring: For starting a neat and tight round for the ear covers.
- Back Post Half Double Crochet (BP HDC): For special texture in the ear cover piece.
- Assembly Techniques: Sewing and attaching different pieces together.
Pattern Instructions
Part 1: Beanie
1. Step 1: Starting the Beanie
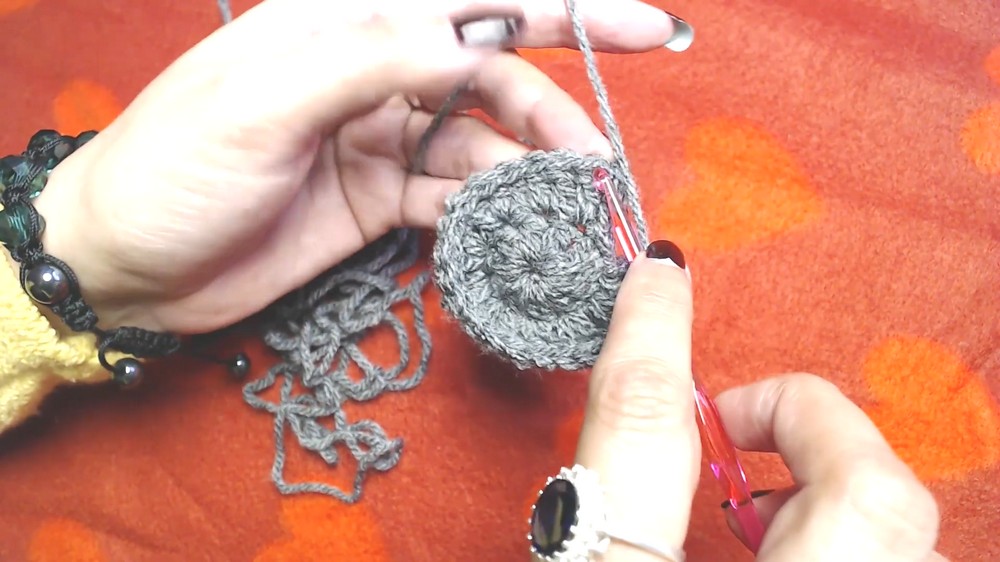
- Create a slip knot and chain 4.
- Slip stitch into the first chain to form a small ring.
- Chain 3 (this does not count as your first double crochet).
- Work 10 double crochets (DC) into the ring.
- Slip stitch into the top of the first DC to complete the round.
2. Step 2: Increasing Rounds
- Round 2:
- Chain 3 (do not count as a DC).
- Work 2 DC in each stitch around (total: 20 DC). Slip stitch to join.
- Round 3:
- Chain 3.
- Pattern: 1 DC in the first stitch, then 2 DC in the next stitch.
- Repeat this pattern to the end (total: 30 DC). Slip stitch to join.
- Round 4:
- Chain 3.
- Pattern: 1 DC in each of the first two stitches, then 2 DC in the next.
- Repeat to the end (total: 40 DC). Slip stitch to join.
- Round 5:
- Chain 3.
- Pattern: 1 DC in each of the first three stitches, then 2 DC in the next stitch.
- Repeat to the end (total: 50 DC). Slip stitch to join.
- Round 6:
- Chain 3.
- Pattern: 1 DC in each of the first four stitches, then 2 DC into the next stitch.
- Repeat to the end (total: 60 DC). Slip stitch to join.
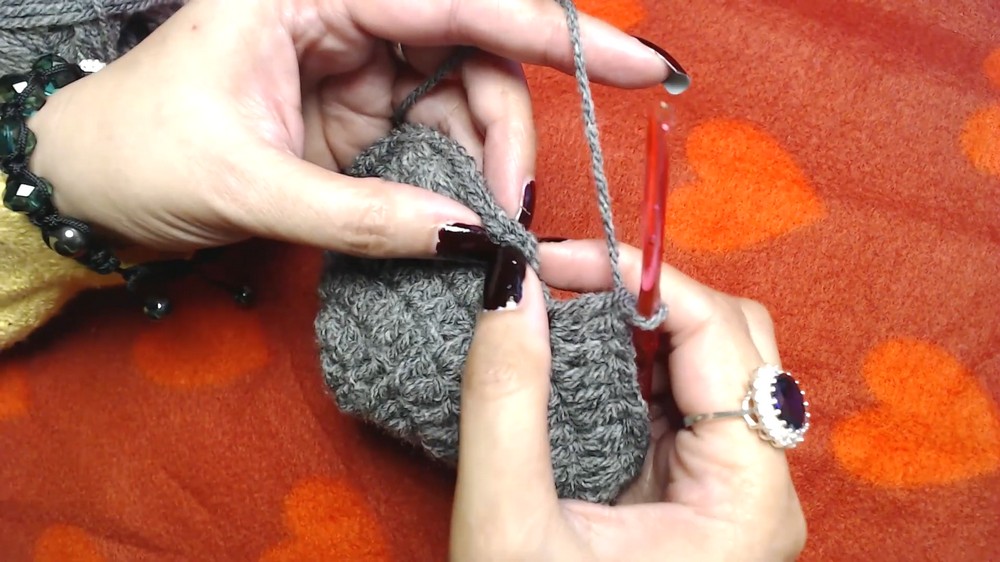
Note: Round 6 is the last increasing round.
3. Step 3: Building the Body of the Beanie
- From Round 7 onward, simply work 1 DC in each stitch around.
- Repeat this round until the beanie measures 5 inches in length.

4. Step 4: Ribbing
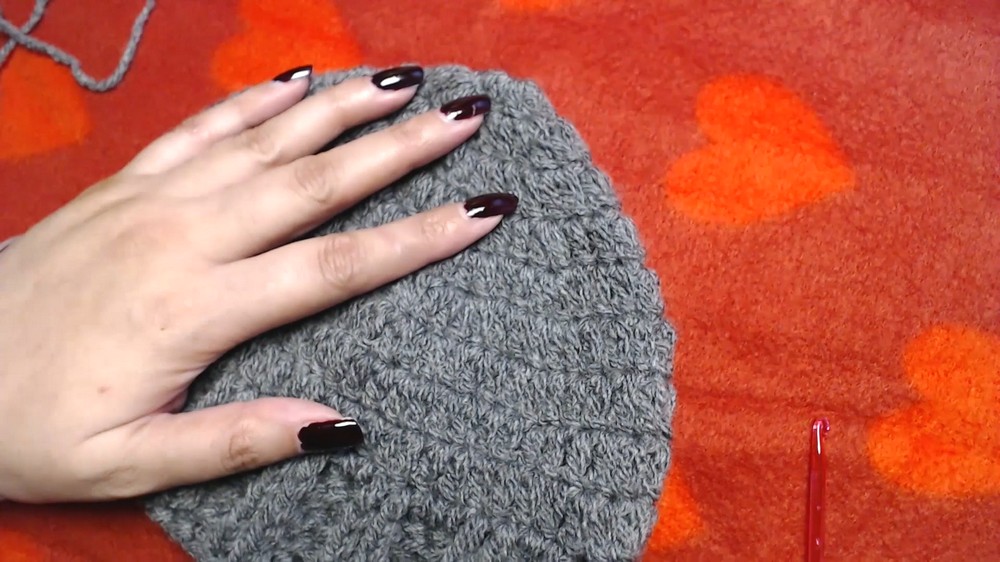
- Switch to ribbing:
- Chain 3.
- Pattern: Alternate 2 front post double crochets (FP DC) and 2 back post double crochets (BP DC) around.
- Repeat this ribbing round 2 to 3 times or until the ribbing measures 1.5 inches in depth.
- Fasten off and weave in ends.
Part 2: Headphone Ear Covers
- Magic Ring:
- Create a magic ring and chain 2.
- Work 12 HDC into the magic ring and pull it tight.
- Slip stitch into the first HDC to join.
- Round 2:
- Chain 2.
- Work 2 HDC in each stitch around (total: 24 HDC).
- Round 3:
- Chain 2.
- Pattern: 1 HDC in the first stitch, 2 HDC in the next stitch.
- Repeat to the end (total: 36 HDC). Slip stitch to join.
- Round 4:
- Chain 2.
- Work 1 back post HDC in each stitch around for texture.
- Slip stitch to join.
- Round 5:
- Chain 2.
- Work HDC 2 together (decrease) across every two stitches.
- Stuff the ear cover with a small amount of polyester filling.
- Sew the closing tightly and weave in the ends.

Repeat this process to create the second ear cover.
Part 3: Headphone Strap
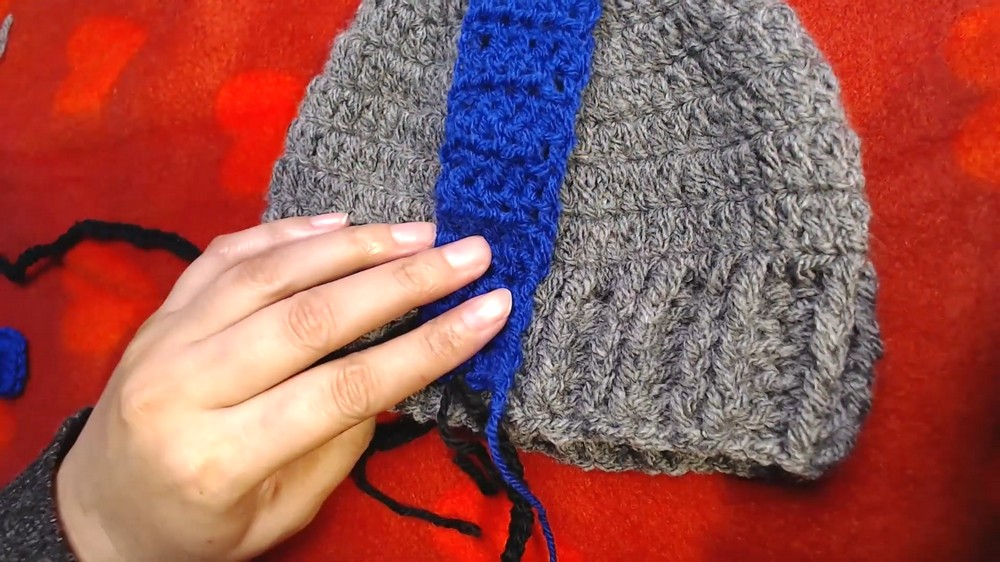
- Chain 7 for the strap.
- Skip the first two chains (counts as HDC) and work 1 HDC into each chain. (Total: 6 HDC).
- Chain 2, turn, and repeat this process to create rows of HDC.
- Continue until the strap can stretch from one side of the beanie across the top to the other side.
- Fasten off, leaving a long tail for sewing.
Part 4: Decorative Strings
- Chain 60 stitches (or your desired length).
- Cut the yarn, leaving a long tail for sewing.
- Make a second string using the same process.
Part 5: Central Ring
- Chain 9 and join with a slip stitch to form a ring.
- Work 1 HDC in each chain to complete the round.
- Fold the piece into a loop and sew the short ends together.
Assembly
Step 1: Attach the Strings
- Sew one decorative chain on each side of the strap.
- Ensure they are securely fastened.
Step 2: Attach the Strap to the Beanie
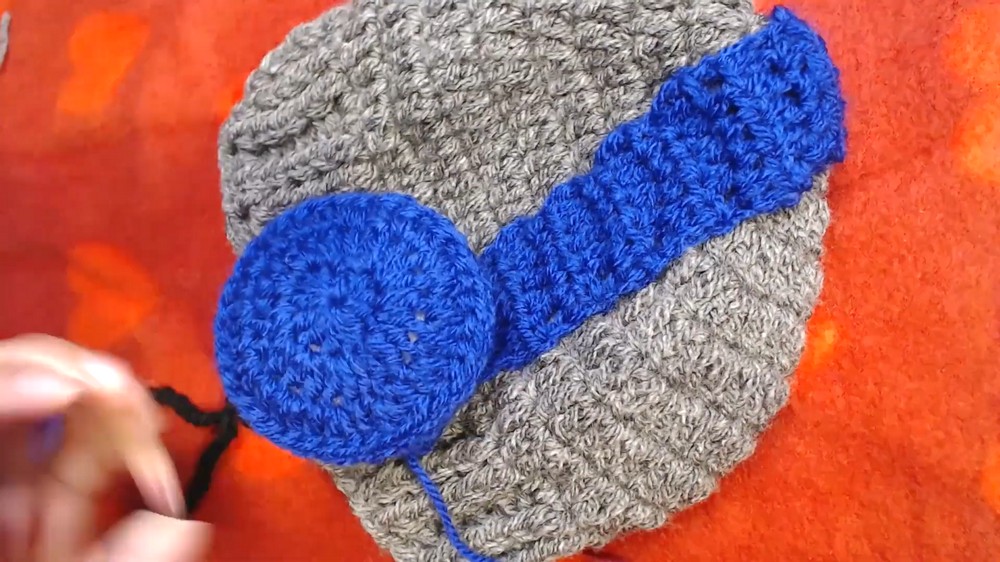
- Fold the strap in half and place it evenly across the top of the beanie.
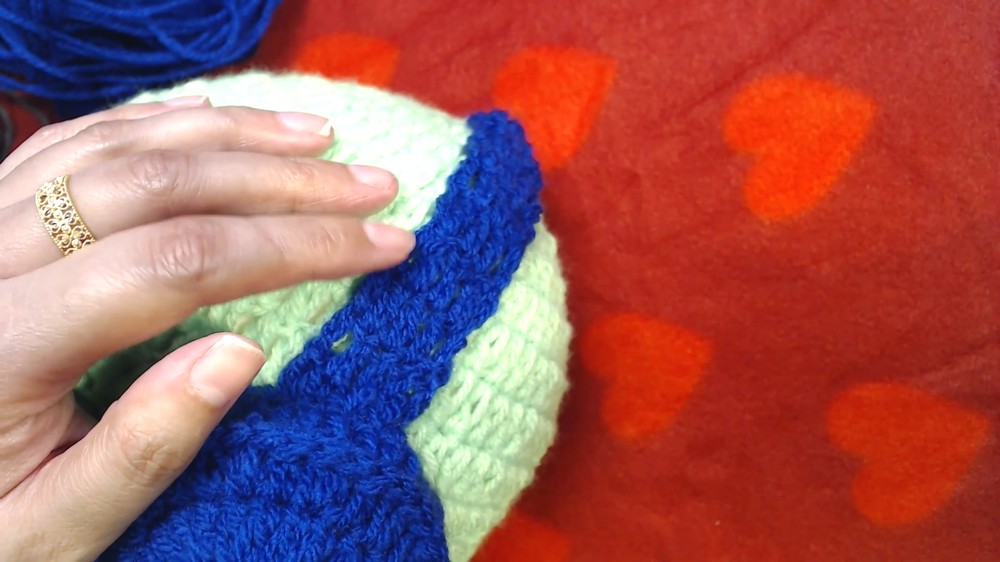
- Sew the strap edges to the sides of the beanie using a tapestry needle and yarn.
- Ensure the strap is parallel when attaching it.
Step 3: Secure the Ear Covers
- Sew the ear covers onto the beanie directly below the strap ends.
- Make sure they are symmetrically positioned on both sides.
Step 4: Add Central Ring
- Insert both decorative chains into the central ring through the top.
- Wrap the longer tail of yarn around the center of the ring to secure the chains inside.
Finishing Steps
- Weave in all loose ends using a tapestry needle.
- Ensure all pieces are tightly secured to prevent unraveling.
- Adjust the fitting of the strap and ear covers before finalizing.

Final Words and Tips
- The texture and snug fit make this headphone beanie both stylish and practical, perfect for colder weather or cosplay events.
- To maintain the structure of the ear covers, avoid overstuffing with polyester filling.
- Experiment with different yarn colors to personalize your beanie. Bright and bold combinations can make the headphone design pop.
- Use a softer yarn for comfort, especially if this will be worn for long periods.
This headphone beanie is a fun and rewarding project. With its playful design and practical use, it's sure to stand out as a unique handmade accessory.
