
Free Crochet Small Jellyfish Pattern for Ocean Themed Decor
Watch in delight as a tiny jellyfish comes to life with this Free Crochet Small Jellyfish Pattern, creating a whimsical and charming addition to your handmade collection.
Inspired by the beauty of the ocean, this tiny jellyfish bring a touch of wonder and joy to any room or crochet collection. Its soft, rounded body and flowing tentacles make it a favorite among crochet lovers and beginners alike. Crocheting a small jellyfish is one of the most fun and rewarding crochet projects you can try. This free crochet pattern lets you create a jellyfish that's colorful, lightweight, and whimsical as if it came straight out of an underwater fairy tale.
Free Crochet Small Jellyfish Pattern That Looks Too Cute
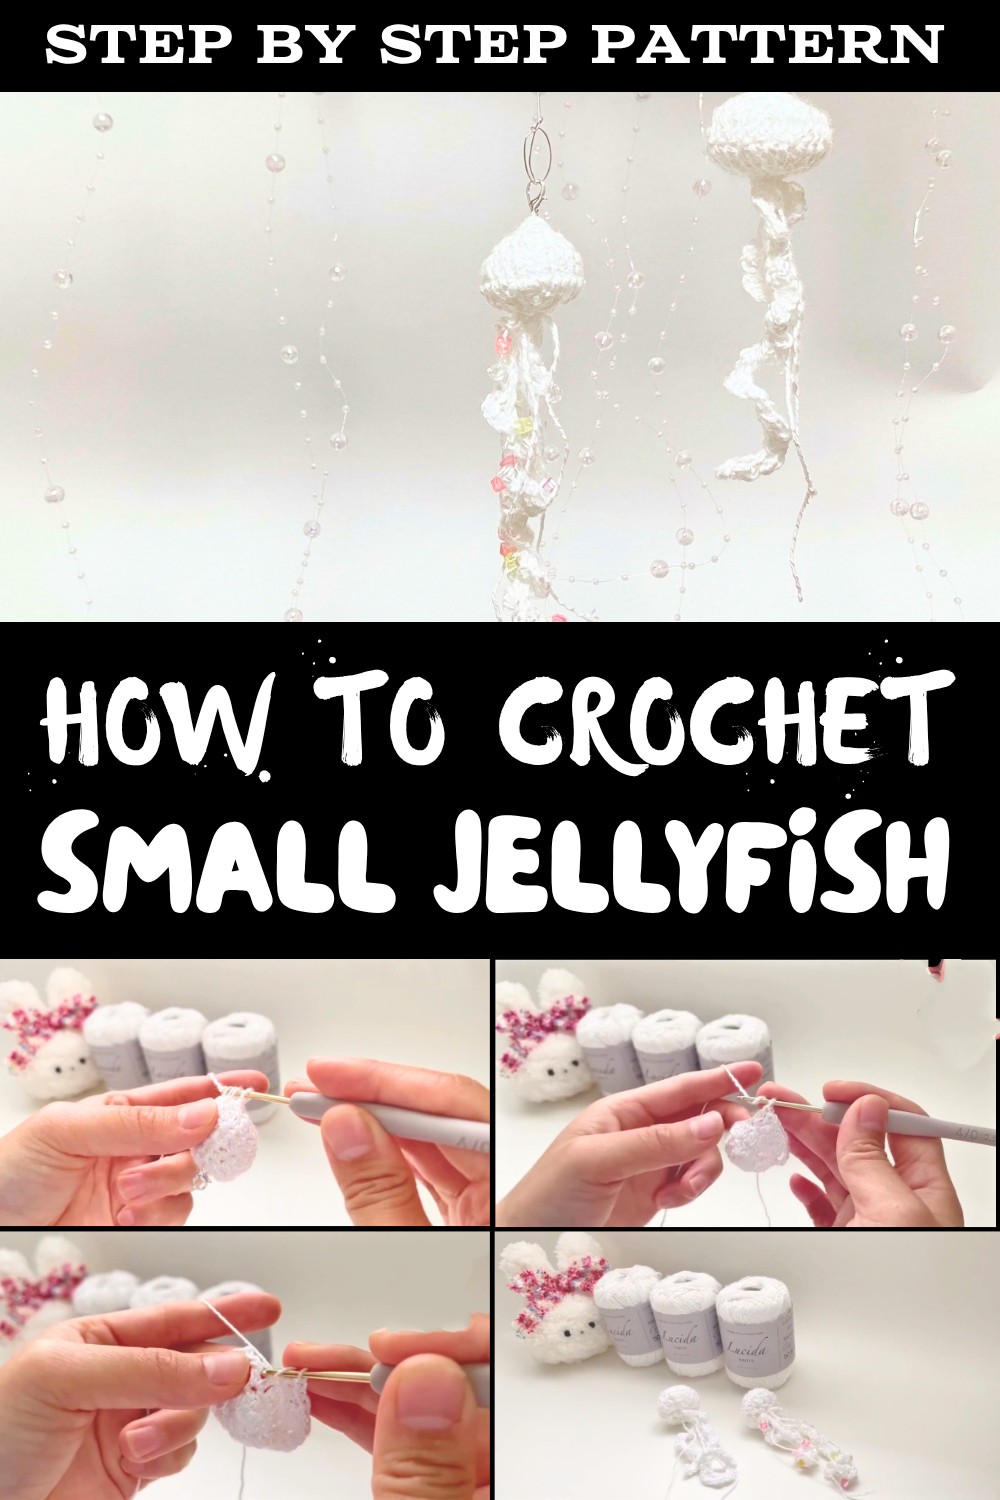
The jellyfish features shiny, smooth yarn that gives it a magical appearance, making it stand out even more. The tentacle is one of the most charming aspects-long, wavy, and full of life, it sways gently and adds movement to the design. Whether you choose a bright, vivid hue or a soft pastel shade, you can personalize your jellyfish to perfectly match your style or theme.
This adorable jellyfish isn't just pretty; it's also versatile. You can attach it to a keychain, hang it as ocean themed decor, or give it as a thoughtful handmade gift. Its compact size makes it easy to carry and display anywhere. Plus, creating one can be the first step to building a playful ocean inspired collection that brightens up your space.
The pattern itself is wonderfully simple, starting with a round, soft body and a fun curly tentacle. It uses easy stitches that are perfect for beginners or anyone looking for a relaxing crochet project. With just some yarn, a crochet hook, and a little creativity, you can dive into this exciting world of crocheting while enjoying the beauty of jellyfish magic.
Detailed Step By Step Crochet Pattern for Small Jellyfish Amigurumi
Materials Required
You will need the following materials to crochet your jellyfish:
- Yarn:
- Main Yarn: A shiny and textured DK weight yarn, such as "Lucida" by 日経正子さん (Nikkei Masako), is recommended. It gives a subtle shimmer and summery vibes to the jellyfish. You can find this yarn in craft stores or online, like Rakuten or Base. (Alternatives: Any lightweight/medium weight yarn with a soft texture.)
- Crochet Hook:
- Use a 3 mm crochet hook to achieve tight, neat stitches.
- Stuffing:
- Use polyester fiberfill (or any soft stuffing material) to give volume to the jellyfish body.
- Tapestry Needle:
- For weaving in ends, sewing the tentacles, and attaching small parts.
- Scissors:
- To trim yarn ends neatly.
- Glue:
- A fabric glue can be used to secure knots and attachments for durability.
- Optional Embellishments:
- Small beads, googly eyes, or charms to enhance the look.
Gauge
Gauge is not critical for this project. However, ensure that your stitches are tight enough to prevent the stuffing from showing through.
Finished Size
When completed, the jellyfish body will measure approximately 7 cm in diameter, with a length of 10 to 12 cm, including the tentacles. The length can be adjusted based on your preferences.
Crochet Stitches and Abbreviations
Below are the terms and abbreviations used in this pattern:
- ch: Chain
- sl st: Slip Stitch
- sc: Single Crochet
- dc: Double Crochet
- inc: Increase (two stitches in the same stitch)
- dec: Decrease (combining two stitches into one)
- st: Stitch
Pattern Instructions
This simple pattern is divided into three sections: the jellyfish body, tentacles, and finishing elements like stuffing and assembly.
Jellyfish Body
The body of the jellyfish is worked in continuous rounds (amigurumi style), so there's no joining at the end of each round. Use a stitch marker to keep track of the start of each round.
Step 1: Create a Magic Ring
- Wrap the yarn around your fingers twice to form a double loop.
- Insert the hook into the center of the loop, yarn over, and pull up a loop. Chain once to secure the ring.

Step 2: Round 1
- Ch 3 (counts as the first dc).
- Work 7 more dc into the magic ring. (Total = 8 dc, including the initial chain.)
- Pull the yarn tail tightly to close the ring.
- Sl st into the top of the ch 3 to finish the round.

Step 3: Round 2 (Increase)
- Ch 3 (counts as the first dc).
- Work 1 dc in the same st.
- Work 2 dc in each st around. (Total = 16 dc.)
- Sl st into the top of the ch 3 to finish the round.
Step 4: Round 3 (Alternating Increases)
- Ch 3 (counts as the first dc).
- Work 2 dc in the same stitch.
- In the next st, work 1 dc. In the following st, work 2 dc. Repeat from * to * around. (Total = 24 dc.)
- Sl st into the top of the ch 3 to finish the round.

Step 5: Rounds 4 to 5
- Work evenly around (1 dc in each st) with no increases for 2 rounds. (Total = 24 dc per round.)

Step 6: Stuff the Body
- Begin adding stuffing to the jellyfish body. Use enough fiberfill to make it fluffy and firm but not overstretched.

Step 7: Rounds 6 to 7 (Decreasing Rounds)
- Round 6:
- Work 1 dec, then 1 dc. Repeat around. (Total = 16 st.)
- Round 7:
- Work decreases in every stitch around. (Total = 8 st.)
- Pull the tail tightly to close the remaining hole.

Tentacles
The tentacles add charm and movement to the jellyfish. You can make them short, long, or both for a whimsical look.
Step 1: Short Tentacles
- Ch 15 (or desired length).
- Work 1 sc in each ch back to the start. Fasten off and leave a long tail for sewing.
Step 2: Long Tentacles
- Ch 30 (or desired length).
- Work 1 sc in each ch back to the start. Fasten off and leave a long tail for sewing.

Step 3: Attach Tentacles to the Body
- Use the long yarn tails to sew the tentacles securely to the base of the jellyfish body (the closed end).
- For durability, you can also glue the attachment points using fabric glue.
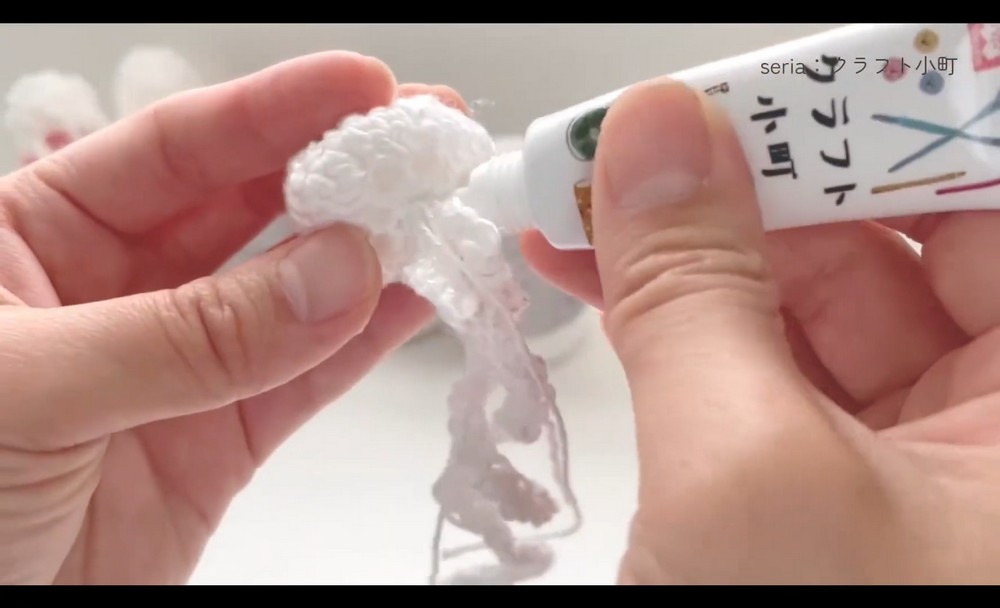
Finishing Touches
- Shape the Jellyfish Body:
Gently adjust the stuffed body with your hands to ensure it is round and smooth. - Secure Knots and Threads:
Use fabric glue to secure any visible knots for long term stability. - Customize the Look:
- Add beads to the tentacles for extra flair.
- Use googly eyes or embroidery to give the jellyfish a face.

Tips for Success
- Keep Track of Rounds:
Use a stitch marker to mark the start of each round, as this project is worked continuously in a spiral. - Tight Stitches:
Ensure your tension is tight; this helps prevent the stuffing from peeking out. - Customize Freely:
Don't hesitate to experiment with colors, tentacle lengths, or embellishments.
Customization Ideas
- Gradient Shades:
Use ombre or gradient yarn for a magical look. - Play with Tentacle Numbers:
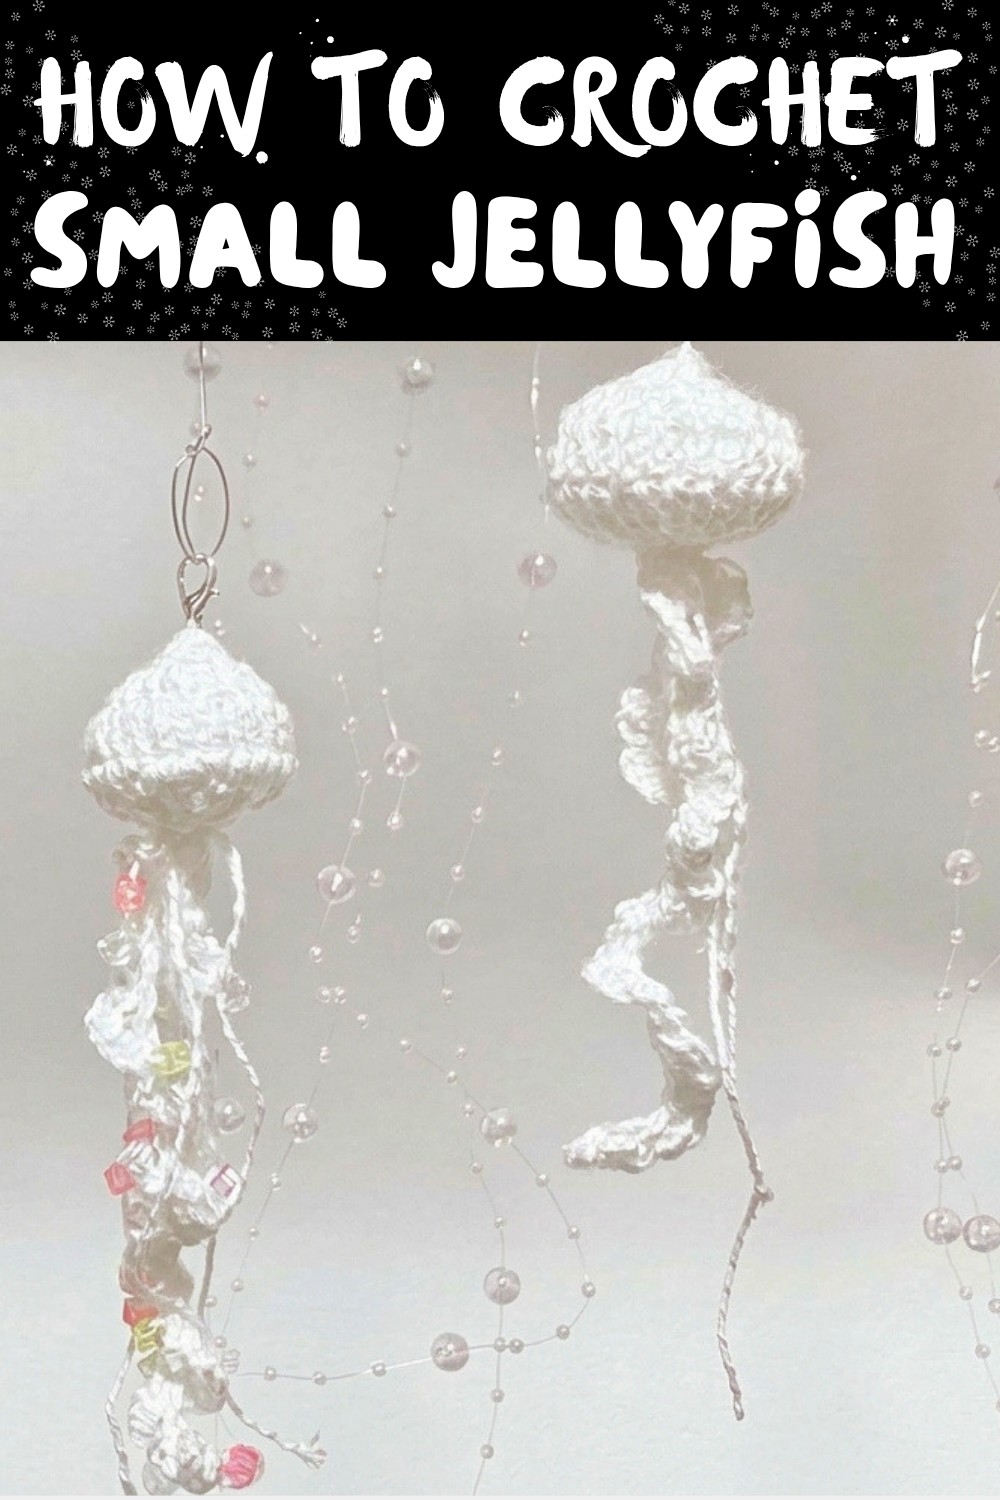
Jellyfish in the wild have many legs, so feel free to add more tentacles for a realistic touch. - Keychain Attachment:
Add a keyring or lobster clasp to turn the jellyfish into a cute keychain or bag charm.
Conclusion
Congratulations, You've successfully crocheted a cute jellyfish amigurumi. This fun project allows plenty of room for creativity, whether experimenting with vibrant yarns, adding embellishments, or adjusting tentacle lengths.
Your jellyfish can now decorate your space, become a thoughtful handmade gift, or even serve as a comforting little companion.