
Free Crochet Starfish Pattern for Coastal Style Projects
Float into seaside creativity with this Free Crochet Starfish Pattern a playful and cute project that brings ocean magic to your crochets.
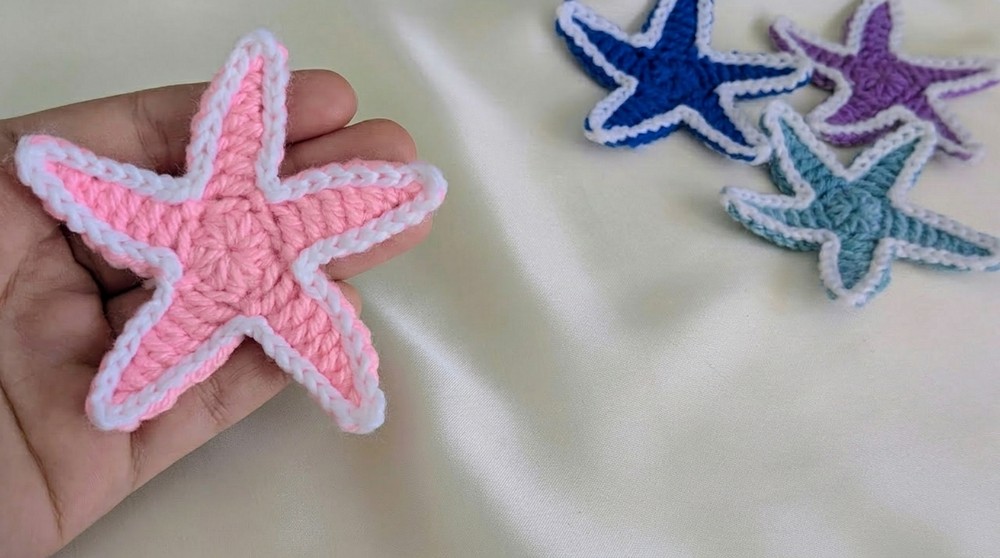
Do you love cute and colorful ocean creatures? This Free Pattern will help you create a pretty starfish that is both easy and fun to make. This project is beginner friendly, making it perfect for anyone who is just starting their crochet journey. The starfish is designed with five arms, just like a real starfish, and has a neat, rounded base at the center. Its symmetrical shape and soft texture make it look lively and unique. You can use bright or pastel colored yarn to make it cheerful and eye catching. Add a second color for the edges to give it a decorative and polished look.
Free Crochet Starfish Pattern for Beach Basket Decor
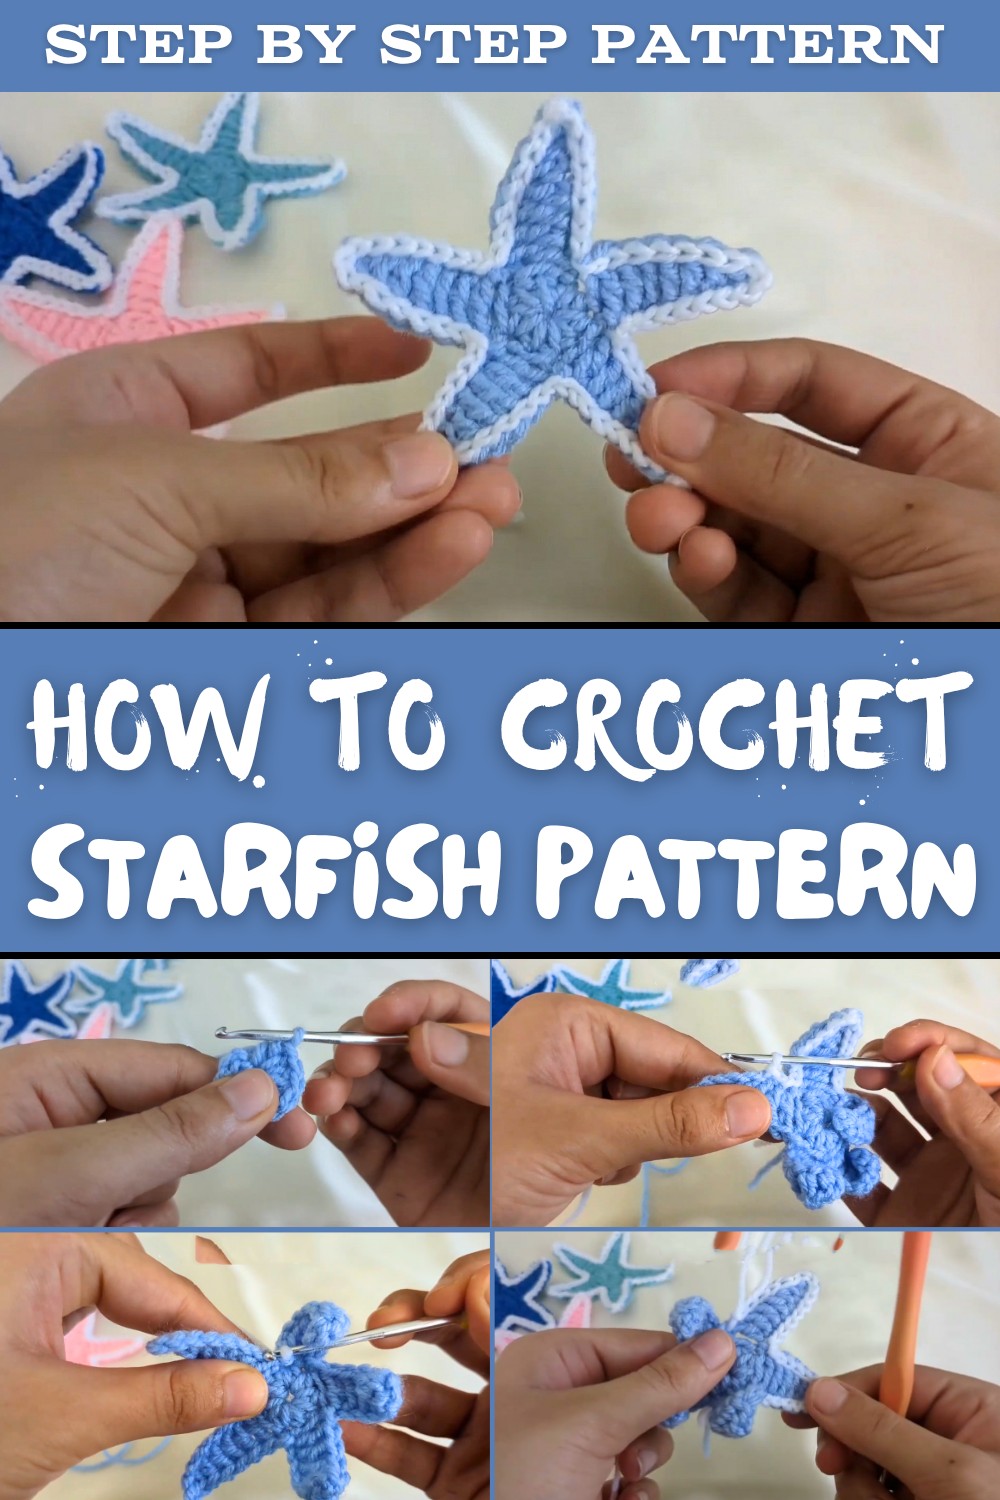
What's great about this starfish is that it is small and lightweight, meaning you can use it as a keychain, decoration, or even as a small gift for someone special. The edges have a chain one detail at each tip, giving the arms a neat, slightly pointed finish. You'll use basic crochet stitches like the magic ring, half double crochet, and double crochet, making this project simple to follow even if you are not an expert.
This starfish is not just beautiful; it's also customizable. Whether you want to make it larger, use different colors, or add patterns, the possibilities are endless. It's a wonderful project to introduce kids and beginners to the joy of crochet.
Get your yarn and hook ready and watch as a piece of the ocean comes alive in your hands. Crochet a starfish that's cute, unique, and filled with love.
Crochet Starfish Pattern
Materials Required
- Yarn:
- Use 3 ply acrylic yarn (any color of your choice).
- Optional: Use white or contrasting yarn for finishing the edges.
- You can substitute acrylic with cotton yarn if you prefer.
- Crochet Hook:
- Suggested size: 2.5 mm for a small starfish.
- For a larger starfish, use a 3.5 mm hook.
- Additional Tools:
- Tapestry needle (for weaving in ends and securing knots).
- Scissors (for cutting yarn).
- Stuffing (optional):
- For a puffier look, soft stuffing can be added, although this pattern doesn't include filling.
Special Techniques
1. Magic Ring:
This is a common crochet method used to start circular projects. Wrap the yarn around your fingers, insert the hook, pull up a loop, and create a chain to secure the ring.
2. Slip Stitch (sl st):
Insert the hook into the stitch, yarn over, and pull through all loops on the hook to create a seamless join or to finish edges.
3. Chain Stitch (ch):
One of the foundational crochet stitches, chains are used to create the base for arms/wings. Simply yarn over and pull through the loop on the hook.
4. Half Double Crochet (hdc):
Yarn over, insert the hook, pull up a loop, yarn over again, and pull through all three loops on your hook.
5. Double Crochet (dc):
Yarn over, insert the hook, pull up a loop, yarn over again, pull through two loops, then yarn over once more and pull through the last two loops.
Step by Step Instructions
Step 1: Create the Base Circle of the Starfish
- Start with a magic ring:
- Wrap the yarn around your finger, insert the hook, pull up a loop, and make 1 chain to secure the ring.
- Work 10 half double crochets (hdc) into the magic ring:
- Yarn over, insert your hook into the ring, pull up a loop, yarn over again, and pull through all three loops on the hook.
- Repeat this process until you have 10 hdc stitches worked into the magic ring.
- Tighten the magic ring:
- Pull the tail end of the yarn to close the ring into a circle.
- Slip Stitch to complete the round:
- Insert your hook into the first hdc from the round, pull up a loop, and slip stitch to join.


The base circle of your starfish is now complete.
Step 2: Create the First Arm of the Starfish
- Chain 8:
- After completing the slip stitch, chain 8 stitches to begin the first arm.
- Work your way back along the chain:
- Skip the first chain (closest to the hook).
- In the second chain, make a slip stitch (sl st).
- In the third chain, make a single crochet (sc).
- In the fourth chain, make a half double crochet (hdc).
- In the remaining four chains, make a double crochet (dc) for each chain.
- Attach the arm back to the base:
- Skip the next stitch from the base circle, and slip stitch into the following stitch to secure the arm.

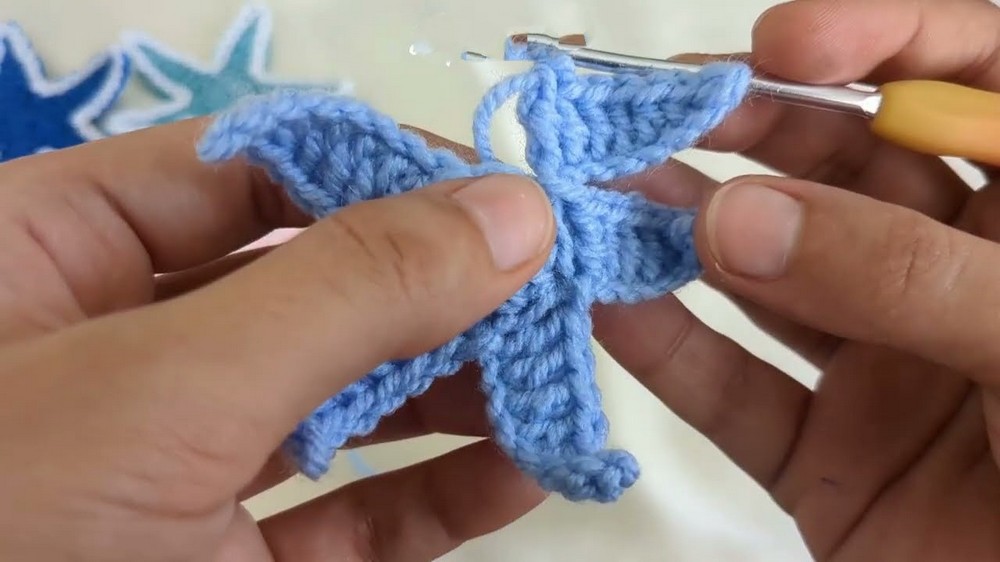
Step 3: Repeat for the Remaining Arms
- Repeat Step 2 to create additional arms:
- For each arm, chain 8, work your way back with sl st, sc, hdc, and dc as before.
- Attach the arm to the base circle with a slip stitch, skipping a stitch for spacing.
- Continue repeating until you have a total of 5 arms.

Step 4: Finalize the Base of the Starfish
- Once all 5 arms are complete, slip stitch into the same stitch where you finished the last arm for a seamless join.
Step 5: Add a Contrasting Border (Optional)
Adding a border enhances the overall appearance of the starfish, making it more polished.
- Change the yarn:
- Attach a contrasting color (e.g., white) to the base circle by making a slipknot and inserting the color change loop onto your hook.
- Secure the color change with a slip stitch.
- Work slip stitches along the edges:
- Work slip stitches along every stitch of the starfish, starting from the base and continuing along the edges of the arms.
- Pointed tops of the arms:
- At the tip of each arm, make 1 chain before continuing with slip stitches. This creates a pointed edge for the arm, giving it a sharp finish.


Finishing the Pattern
- Securing the Yarn:
- After finishing the slip stitch border, cut the yarn with scissors, leaving a small tail.
- Use a tapestry needle to weave in all loose ends securely at the back of the starfish.
- Knot the Ends for Security:
- On the back of the starfish, tie knots between the yarn ends to ensure they don't unravel.
- Trim Loose Threads:
- Trim any excess yarn after securing and knotting.

Final Words
Congratulations, Your crochet starfish is complete. This simple pattern creates a cute and versatile starfish that's perfect for decorations, gifts, or even keychains. While the process is straightforward, the final result is stunning.
Tips to Maintain and Use the Starfish
- Cleaning:
- Hand wash gently with mild soap if it gets dirty. Avoid harsh detergents.
- Use as Keychain:
- Attach a small keychain loop to one of the arms for a portable and adorable accessory.
- Gifting Idea:
- Make a set of starfish in different colors for variety and present them as thoughtful, handmade gifts.
- Practice Makes Perfect:
- If you're a beginner, don't worry if the stitches aren't perfect. With practice, your starfish will look even better.
- Customization:
- Experiment with different colors or add embellishments like beads at the center to make your starfish unique.

This pattern is beginner friendly but provides enough variety for seasoned crocheters to enjoy. It's a delightful creation, and each arm comes together with ease.