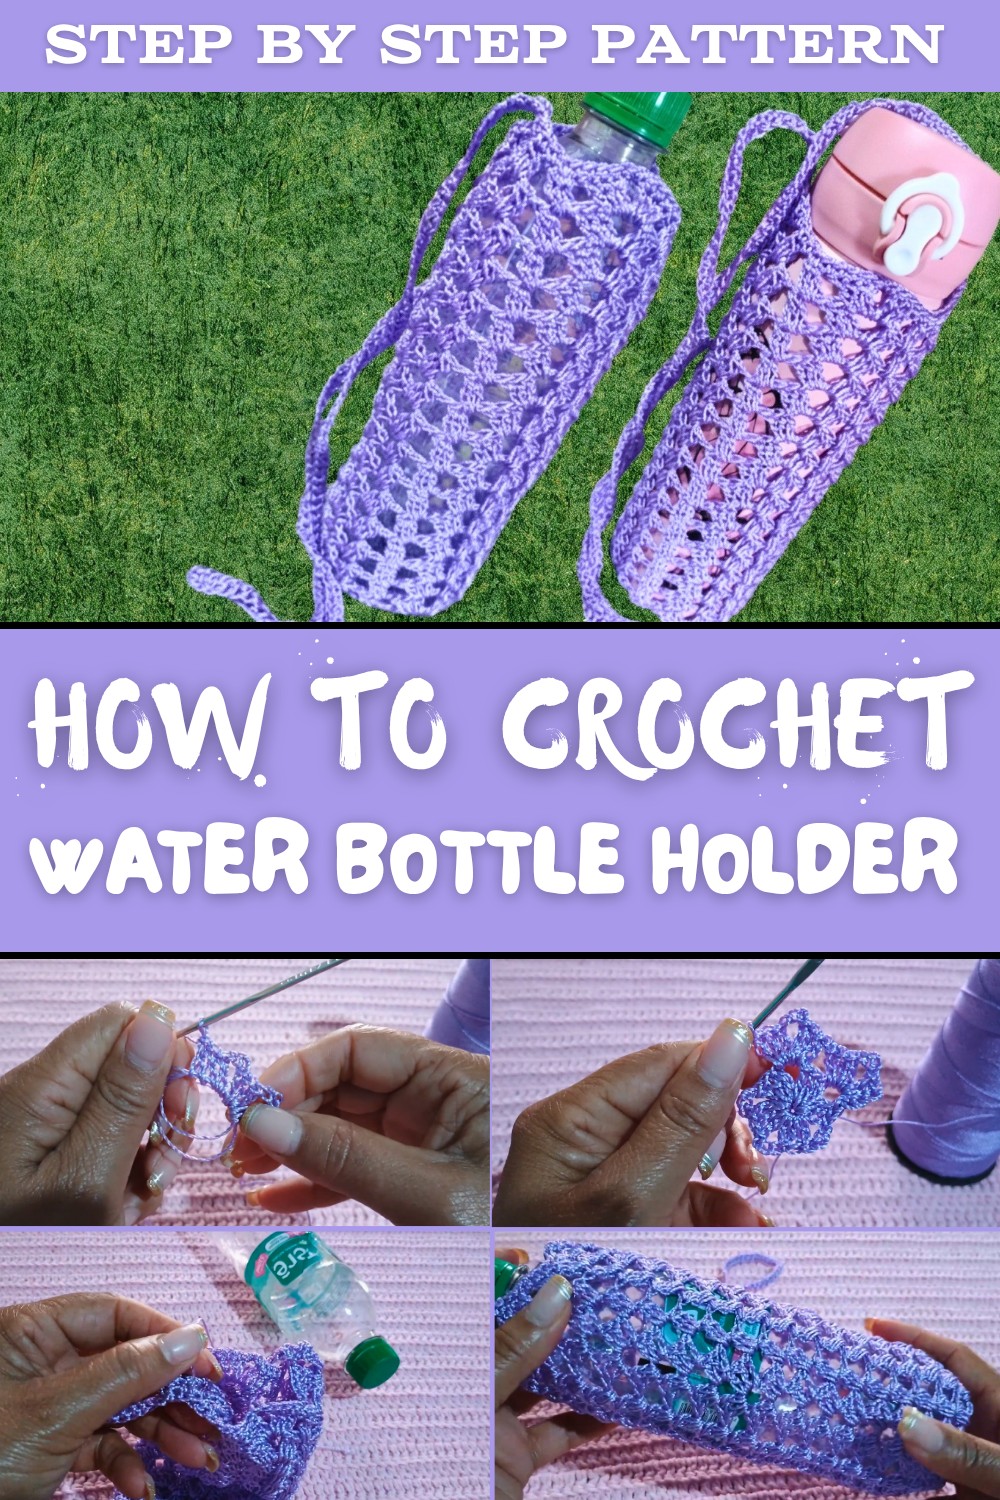
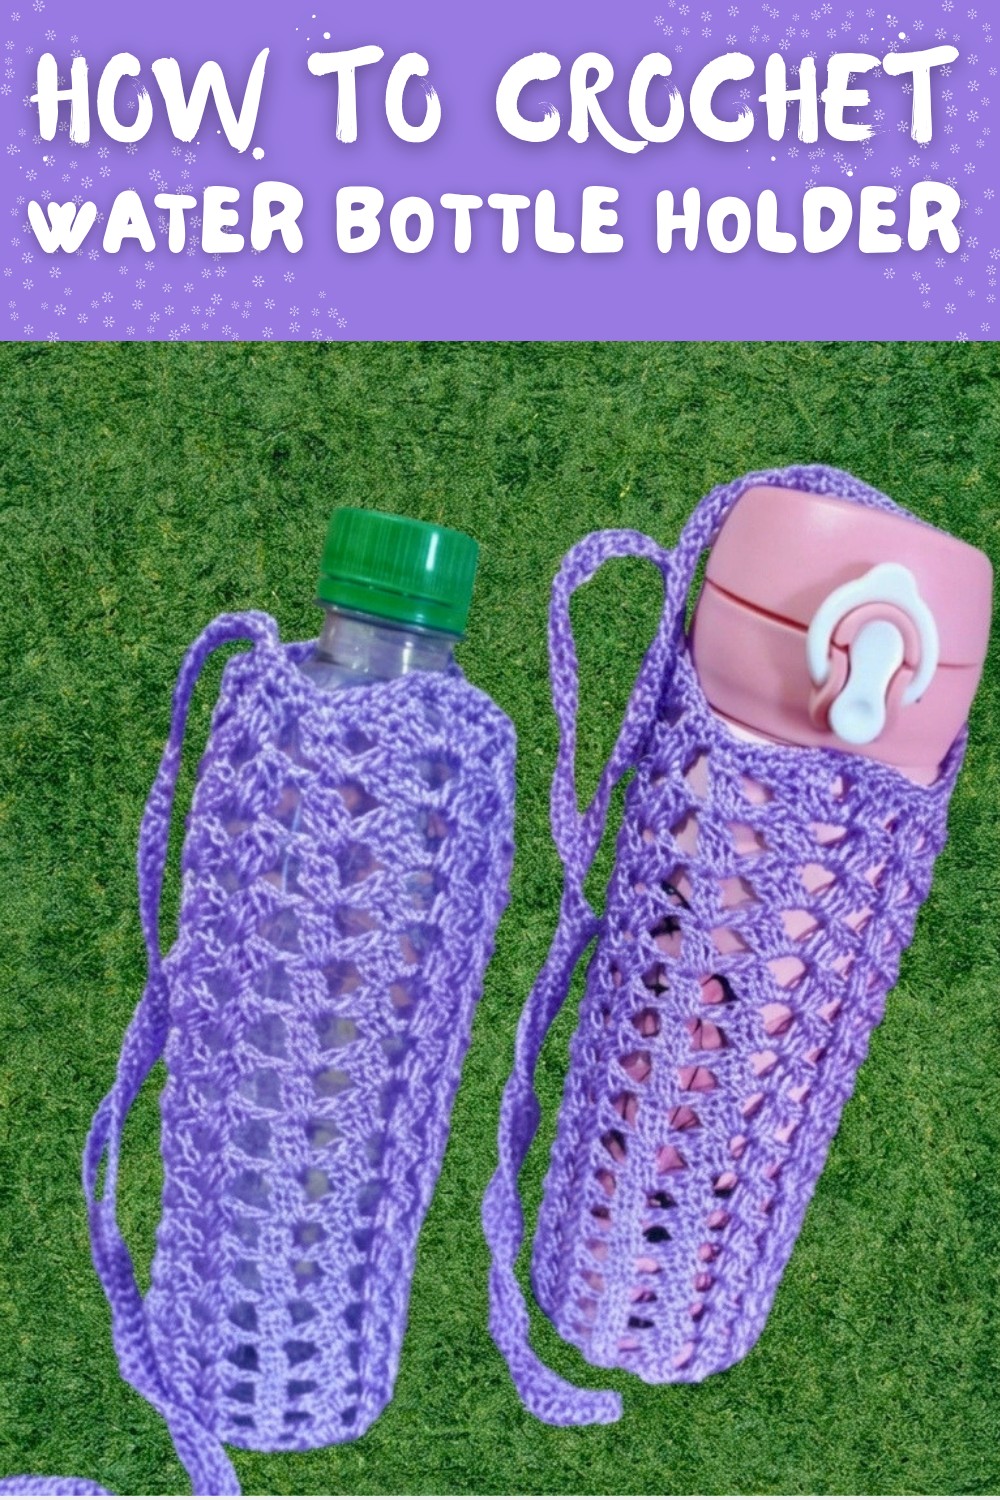
Free Crochet Water Bottle Holder Pattern For Active Life
Stay refreshed in style with this free crochet water bottle holder pattern that keeps your drink easy to carry and adds a cute handmade touch to your day.
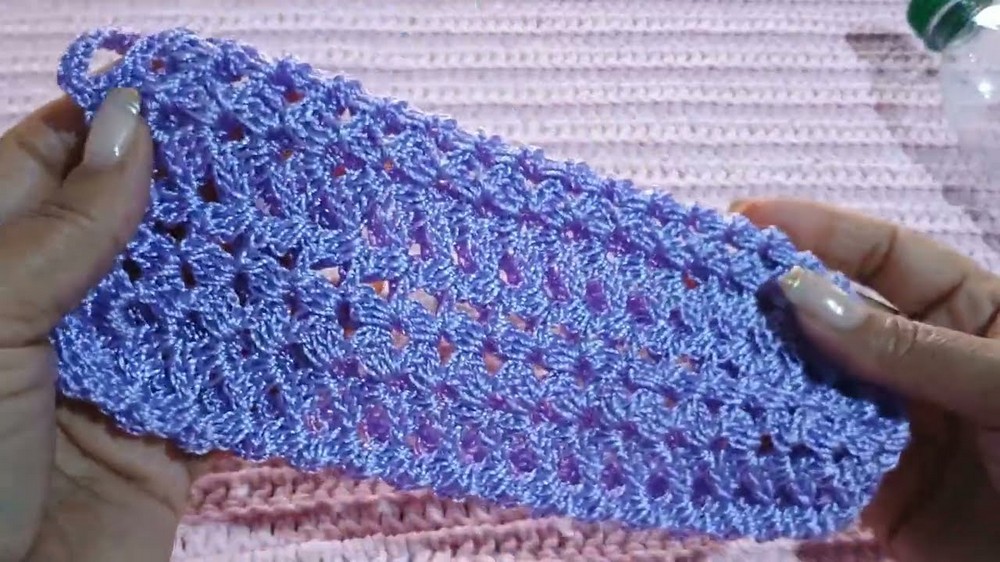
This amazing bottle holder is like a charm for your outdoor adventures. With its tall round body and matching shoulder strap, it looks just like a luxury accessory create with love and care. The design stands out with its bright solid base and an airy mesh middle that gives it a cheerful and trendy look. Made with soft cotton yarn, it is lightweight, durable, and perfect for carrying your cold gym drinks or even your heavy school flasks. It's more than just pretty-this water bottle holder is super practical. A snug hidden line secures your bottle tightly so it won't slip, even during active walks or bike rides. The smooth texture feels gentle on your skin, and the design protects your hands from cold water drops.
Free Crochet Water Bottle Holder Pattern To Stay Cool Anywhere
This crochet pouch is not just functional; it's a true style statement. Its unique appearance makes it great for gifting. Imagine giving a thoughtful, handmade holder to your friends or family-it's a useful and creative keepsake. You can customize it in your favorite colors or add playful details to match your personality.
Whether you're heading to school, the park, or just cycling around the block, this lovely hydration companion will add a splash of color and functionality to your day. Follow the simple steps of this free pattern, and you'll have a beautiful, practical, and one of a kind water bottle carrier ready in no time. So grab your yarn and hook, and start weaving magic.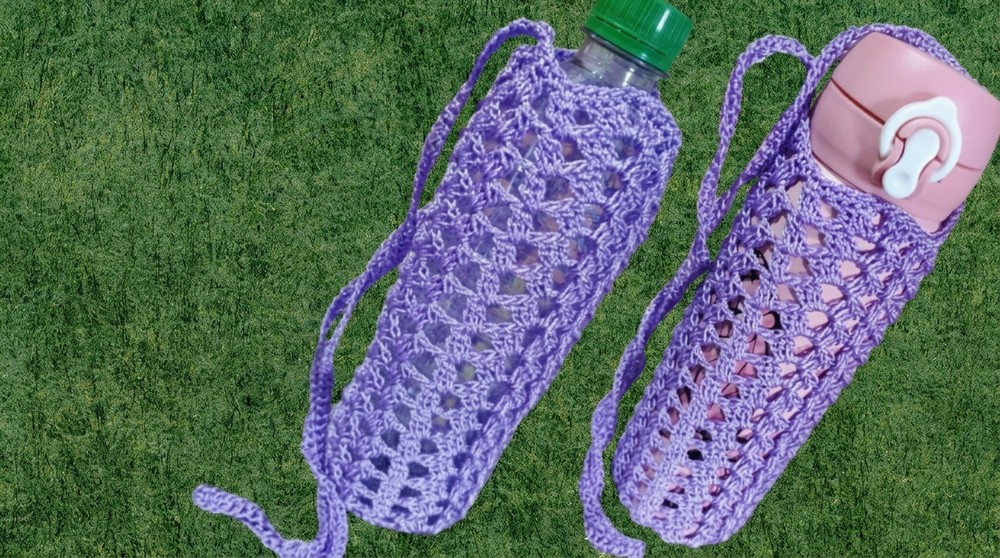
Crochet Water Bottle Holder Pattern
Materials Needed:
- Yarn: A silky yarn (used in the video), but you can opt for a yarn of your choice. It could be cotton, acrylic, or any yarn suitable for a sturdy project like a tote.
- Suggested alternatives: Amigurumi thread, twine, or regular crochet thread.
- Crochet Hook: 2mm hook.
- Lighter or Candle: To carefully burn and seal the ends of your yarn, especially if using a silky thread.
- Scissors: For cutting the yarn.
- Measuring Tape: To check the measurements.
Gauge:
The gauge depends on the yarn and hook you're using. For this pattern, the finished bottle holder is approximately 22.5cm in height for a standard sized water bottle.
Finished Size:
The project is made to fit a standard water bottle of approximately 20cm-22.5cm in height. You can adjust the size to fit other bottles (see Customization Ideas below).
Special Techniques Used:
- Magic Ring: Used to begin the round. This creates a tight center with no visible gaps.
- Slip Stitch (ss): Used to close rounds.
- Chains (ch): Used to create spaces and move between sections.
- Double Crochet (dc): Basic crochet stitch used throughout the project.
- Single Crochet (sc): Used for finishing touches and building the strap.
- Invisible Join (optional): Helps to cleanly finish rounds without leaving a thick seam.
Pattern Instructions:
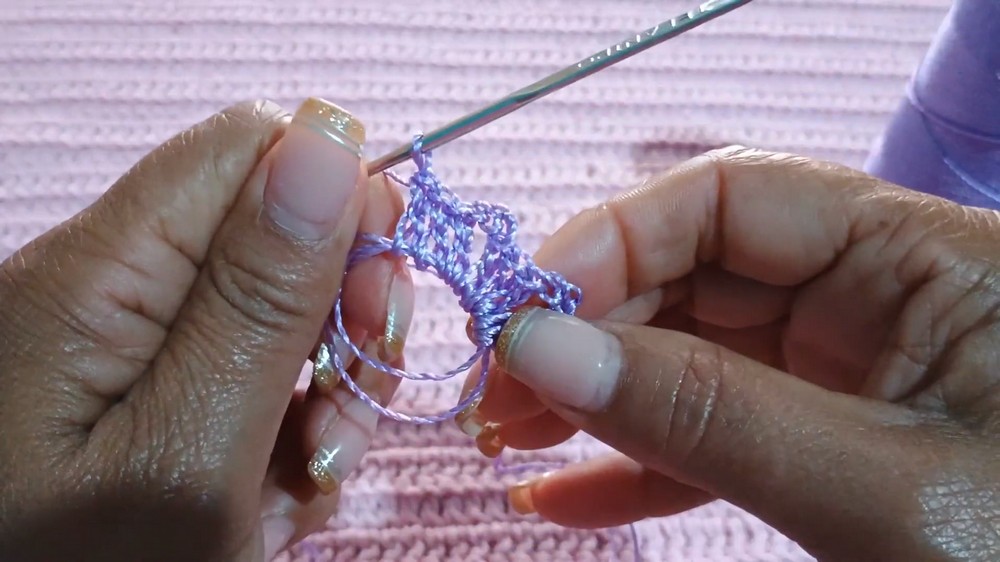
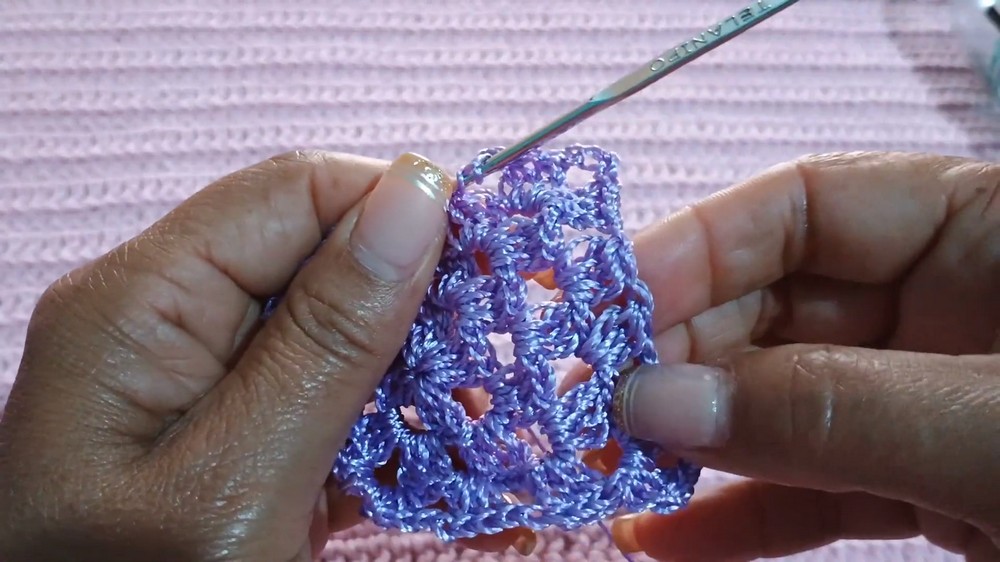
Base of the Bottle Holder:
- Begin with the magic ring. Wrap the yarn around your fingers three times, slide off, and secure it with a stitch to create a base.
- Chain 2 (ch 2) to begin your first round.
- Work 2 double crochet (dc) into the magic ring:
- Yarn over, insert the hook into the ring, and pull through.
- Yarn over, pull through two loops, repeat the process to complete the dc.
- Chain 3 (ch 3) as a spacer.
- Repeat the process (2 dc + ch 3) until you form 4 groups of stitches (2 dc clusters). This creates four loops.
- Pull the short end of the magic ring tightly to close the circle.
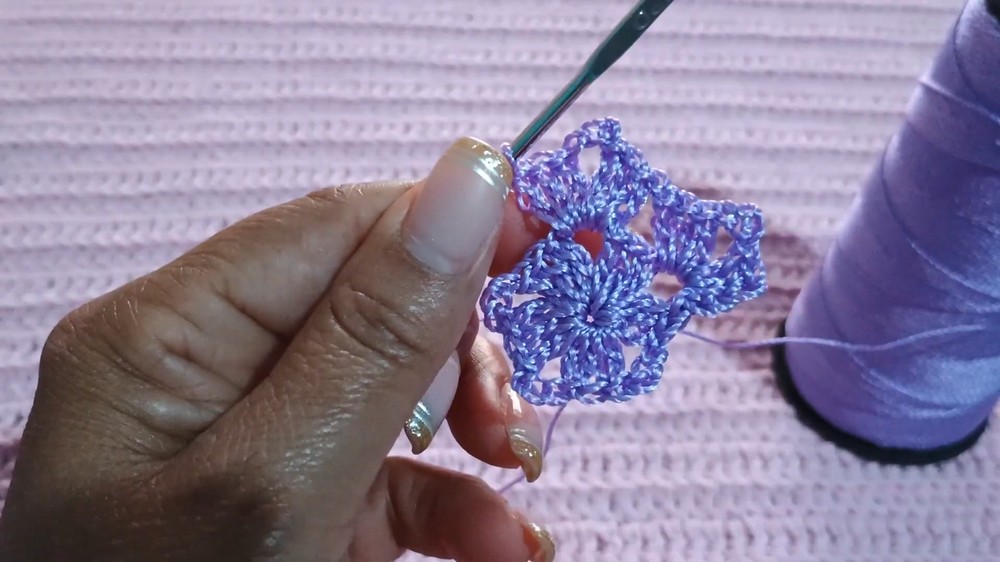
Round 2 (Simple Expansion):
- Close the first round with a slip stitch (ss) in the starting chain.
- Work slip stitches (ss) to move the yarn to the middle of one of the chain 3 loops.
- Chain 3 (ch 3) to start the new round.
- Create a cluster: Work 3 dc, ch 3, 3 dc into each of the chain 3 loops from the previous round.
- Repeat the process in all loops around the base.
- Finish the round by closing it with a slip stitch.
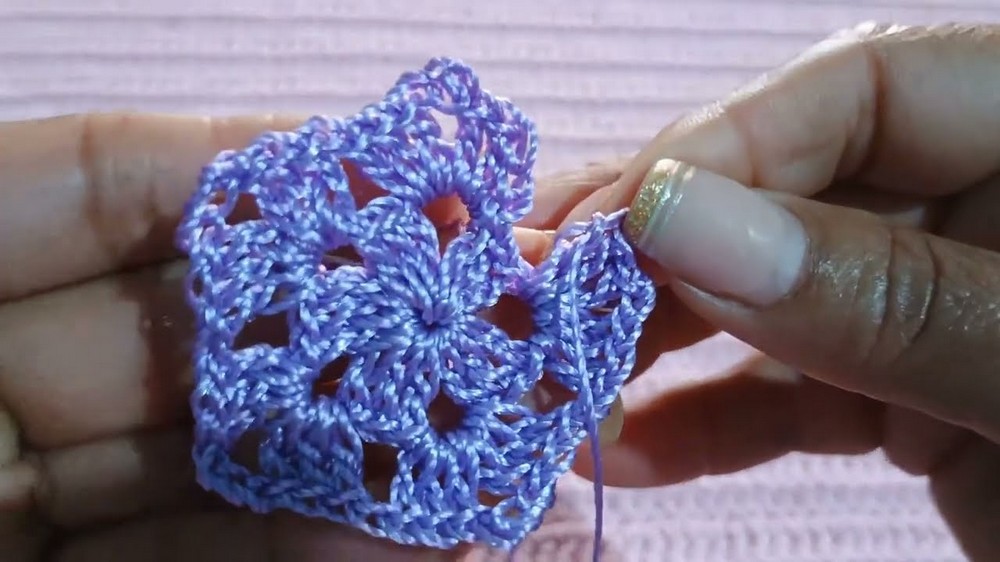
Round 3 (Continuation of Base):
- Continue creating clusters into the chain 3 spaces, working 3 dc, ch 3, 3 dc in each.
- Stop at this stage if the base size is sufficient for your water bottle. Adjust the size by adding or removing rounds.Tip: The base should lie flat.
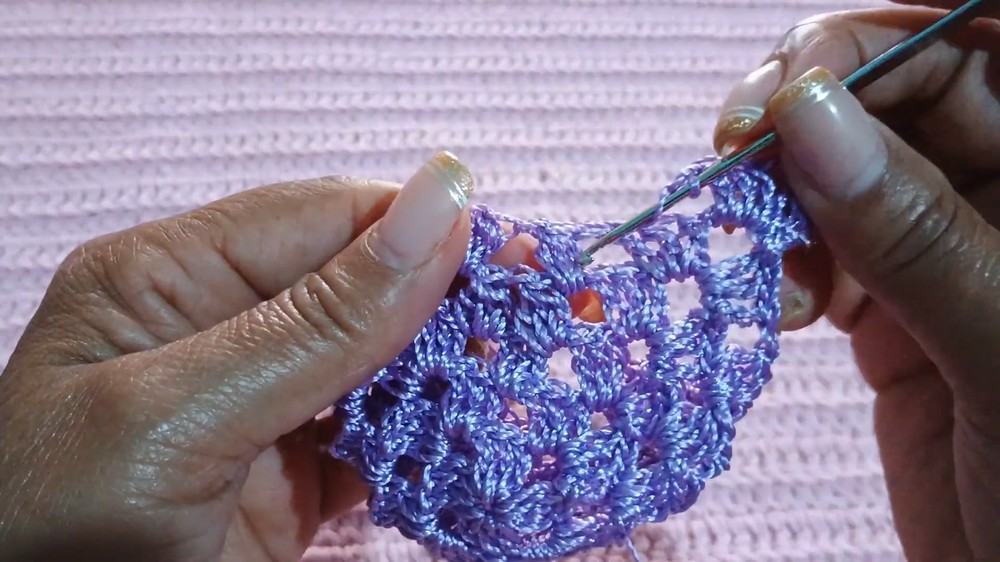
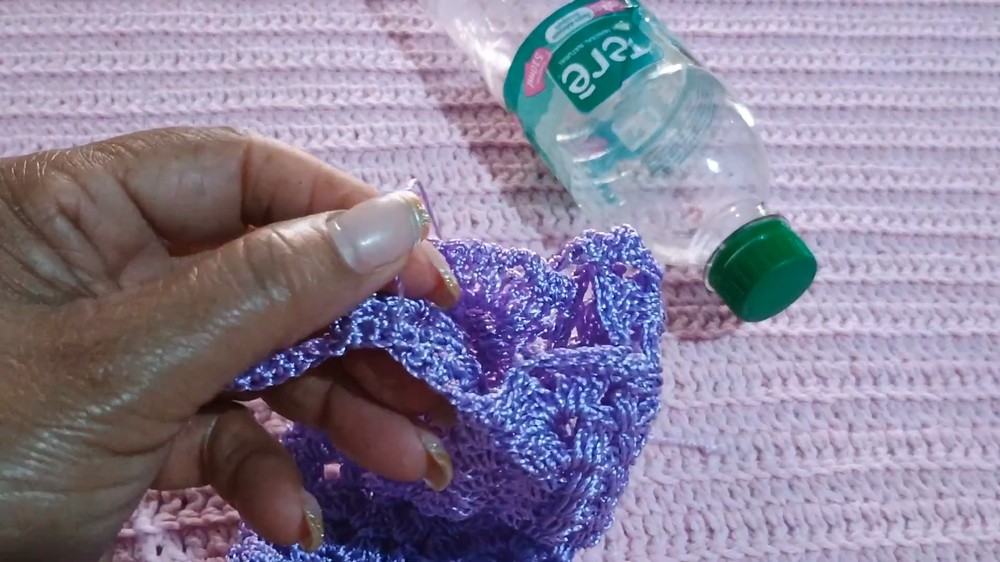
Body of the Bottle Holder:
- Once the base covers the size of the bottle bottom, stop increasing.
- Begin working upwards by forming clusters directly without increasing:
- For every ch 3 space of the previous round, work: 3 dc, ch 1 into each space, skipping intermediate spaces.
- Continue this pattern for several rounds.
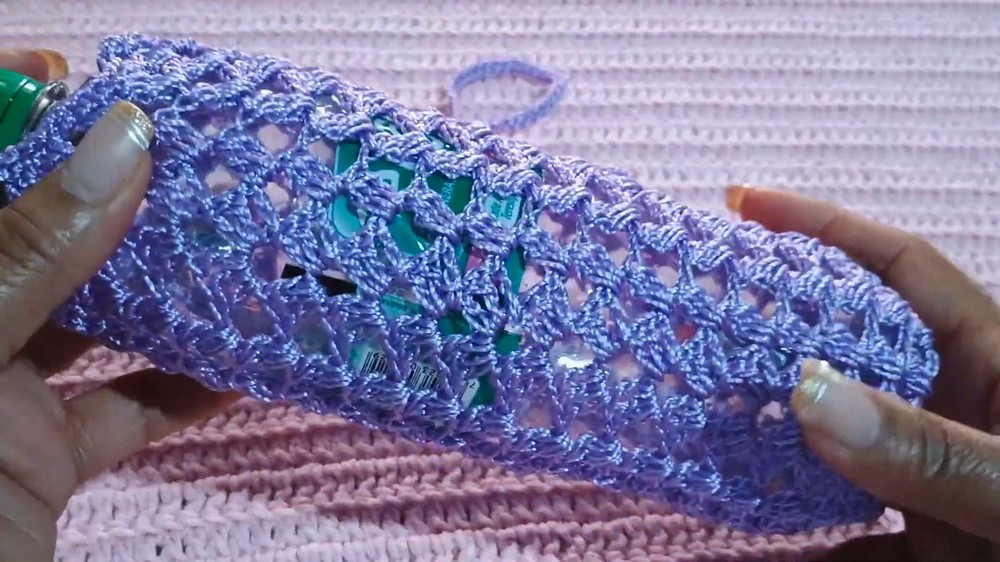
- Use the Bottle for Reference:
- Place the bottle inside to check if the sides match the height of your bottle.
Top Finishing Rounds:
- To finish the top edge neatly, do one full round of single crochet (sc), working point by point.
- At corners or chain spaces, add 2 sc for a more rounded edge.

Strap Construction:
- Determine the Strap Length:
- Chain 150 chains for a longer strap. For a shorter version, reduce the number of chains based on your needs.
- Attach the strap:
- Securely attach the chains on opposite sides for even weight distribution.
- Once the chain length is secured, turn your work and do a round of single crochet (sc) along the length of the chain to make the strap sturdier.
- Attach the other end of the strap to complete it.
Customization Ideas:
- Color Choices: Use multiple colors for a striped or gradient effect.
- Sizing: Adjust the size by increasing or decreasing base rounds or the number of chains used for the strap.
- Stitch Variety: Add decorative stitches, such as puff stitches or shells, for a unique pattern.
- Extras: Crochet a small flower, tassel, or keychain and attach it to the strap for more personalization.
Tips for Success:
- Keep your chains loose, especially when working straps; it makes it easier to add stitches evenly.
- If you're working with slippery yarn, use a lighter or candle to seal the edges after trimming to avoid fraying.
- Regularly check your work against the bottle to ensure a snug fit.
Conclusion:
The crochet water bottle holder is a simple project that combines utility and creativity. Its functional design keeps your water bottle handy, whether you're heading out for a walk, to the gym, or running errands. The project can also be personalized to suit any style, making it a perfect gift or an item to sell.
The pattern showcases a perfect example of balancing ease and elegance in crochet. By following the steps above, you'll achieve a neat, professional looking bottle holder. Share your finished project with friends or on social media to inspire others to try this useful and stylish creation.
Final Remarks:
- Ensure the final strap is securely attached to avoid tearing under the weight of a filled bottle.
- Use yarn that's washable to keep your holder clean and hygienic.
- Share your creations with others for inspiration and feedback.
Your finished water bottle holder will not only be practical but also a stylish accessory that shows off your crochet skills.