
Crochet a Frog Bag Free Pattern That Looks Cute From Every Angle
Create the cutest crochet accessory with this beautiful frog bag pattern, featuring adorable eyes, playful legs, and just the right size for your daily essentials.
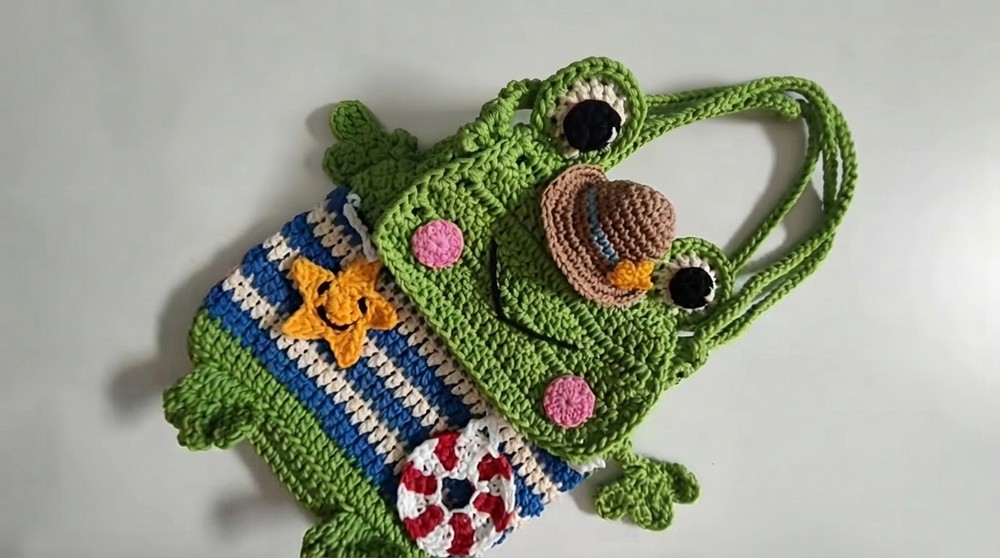
Sometimes, a bag is more than just a bag-it's a little bundle of personality, The Crochet Beautiful Frog Bag Pattern is proof of that, with its quirky design that's equal parts fun and functional. Featuring rounded edges, cartoonish froggy details like bright pop out eyes and dangling legs, and a soft but sturdy texture, this bag is perfect for adding a playful vibe to your day. Whether you want it for carrying essentials or as an adorable statement piece, it's sure to turn heads and spark plenty of smiles.
Crochet a Frog Bag Free Pattern for Sunny Days Out
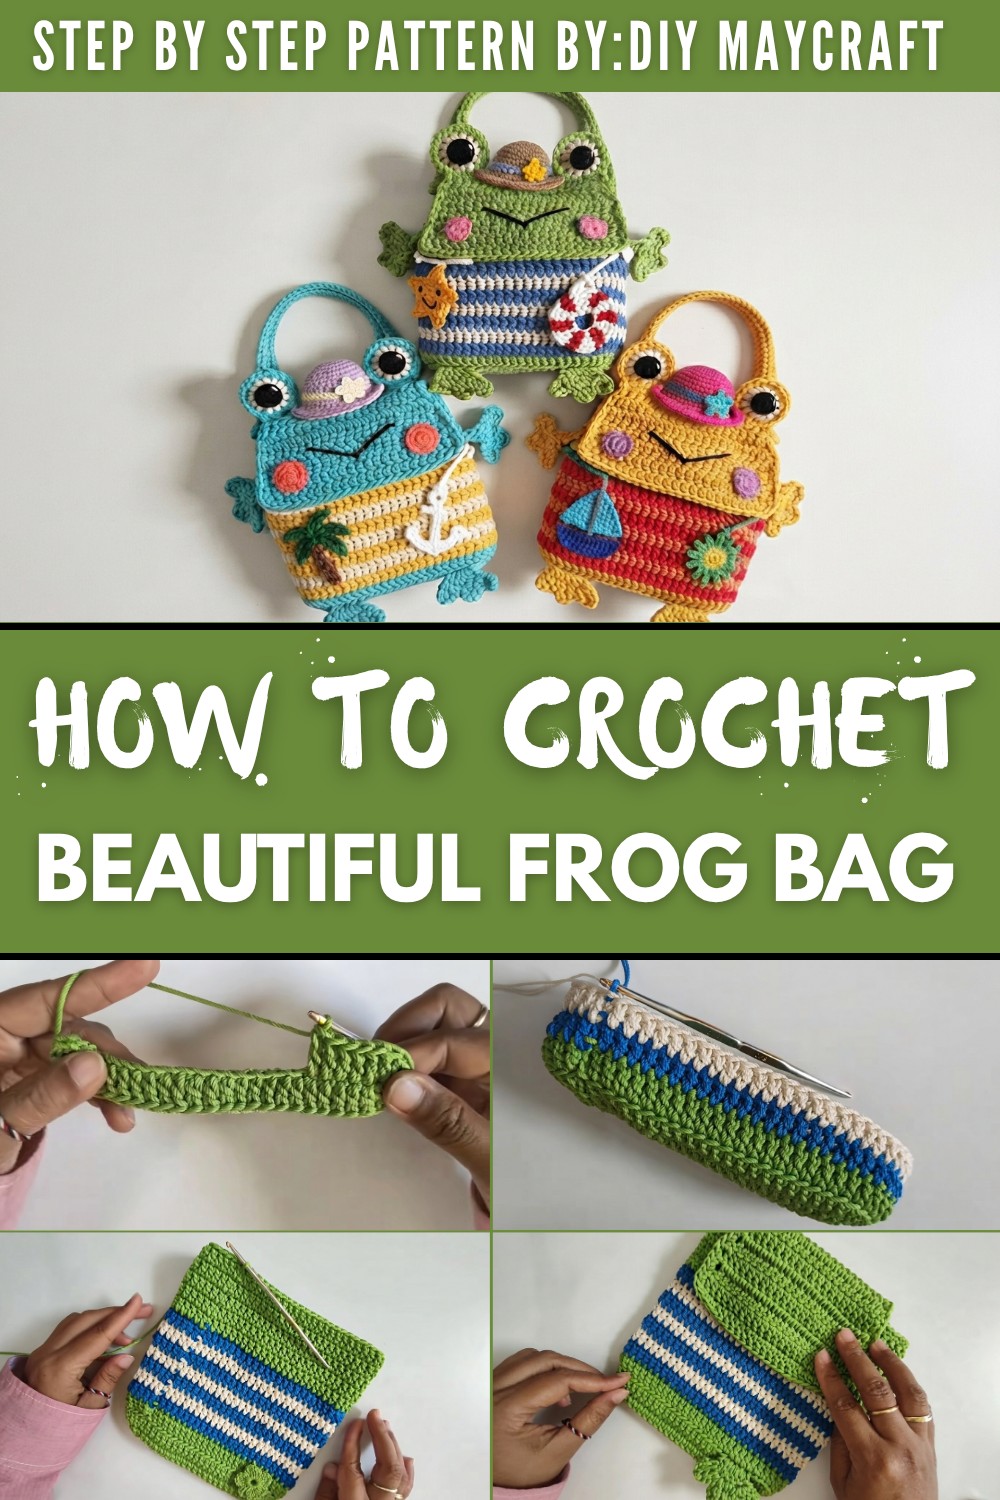
This bag works for all ages-kids, teens, adults... basically anyone who can confidently say, "Why yes, I am ready for a frog companion." The standard size is compact but roomy, and with a little tweaking, you can make it as big or small as you want. Using lively yarn colors like greens and blues brings out the charm of the frog theme, but feel free to shake things up with neon pop shades or pastel tones to suit your personal style.
Its construction is straightforward and fun-you'll start at the base, build up the sides, and finish with decorative features like the froggy eyes and legs. Polythick yarn is the star here, offering a dense texture that highlights each stitch and gives the bag just enough structure to keep its shape while staying lightweight.
Whether it's a thoughtful handmade gift, a showstopper for a crochet fair, or an accessory to brighten your day, this frog bag is completely up for personalization. Add flowers, embellishments, or playful color combinations to make it uniquely yours. Get creative and let your crochet hook bring this adorable frog bag to life-it's the kind of fun project that keeps you smiling long after it's finished.
Crochet Frog Bag Pattern: Step by Step Guide
Finished Size:
The finished frog bag measures approximately 5 inches wide by 7 inches tall (excluding the strap and embellishments).
Materials Needed:
- Yarn: Polythick yarn in green, blue, white, and additional colors for decorations (like yellow and red for star and lifebuoy).
- Crochet Hook: Size 6/0mm or similar (adjust based on your tension if necessary).
- Magnetic Button: For the closure.
- Scissors (and lighter for finishing yarn ends).
- Tapestry Needle: For sewing.
- Optional Decorations: Miniature accessories like buttons, beads, or sequins for embellishment.
Gauge:
- 4 double crochets = 1 inch.
- Adjust hook size if necessary to achieve the correct gauge.

Tips:
- Familiarize yourself with basic crochet techniques like slip knots, chains, slip stitches, single crochet, double crochet, and increases.
- Switch colors as needed, but ensure neat transitions by securing yarn ends properly.
Pattern Instructions:
Bag Base:
- Create the Foundation:
- Start with a slip knot.
- Make 24 chains.
- Row 1:
- Skip the last 2 chains (closest to your hook).
- In the next chain, create 5 double crochets in one hole.
- Work 20 double crochets, filling 1 double crochet in each stitch along the chain.
- In the final chain, make 5 double crochets in one hole.
- Continue on the other side, completing 20 double crochets along the return row.
- Slip stitch to join, ending the row. You should have 50 total double crochets.
- Row 2:
- Start with 2 chains.
- Work a double crochet increase in each of the next 5 stitches (2 double crochets in one hole).
- Continue with 20 double crochets along the side.
- Make another double crochet increase in the next 5 stitches.
- Complete the row with another 20 double crochets along the return side.
- Slip stitch to join, resulting in 60 total double crochets.
- Row 3:
- Start with 2 chains.
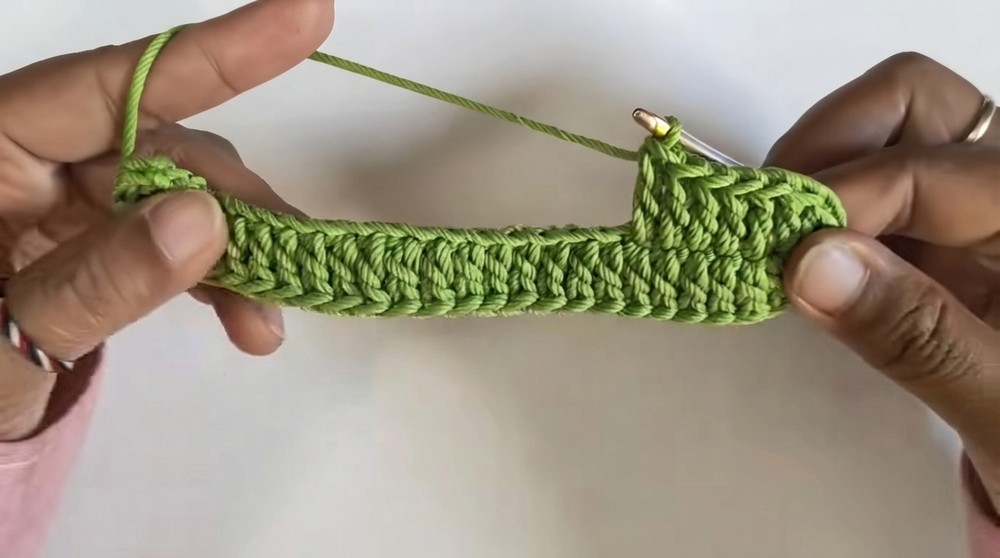
- Work double crochets in back loops only across all 60 stitches. This creates a textured bottom for the bag and adds depth.
- Slip stitch to join when finished.
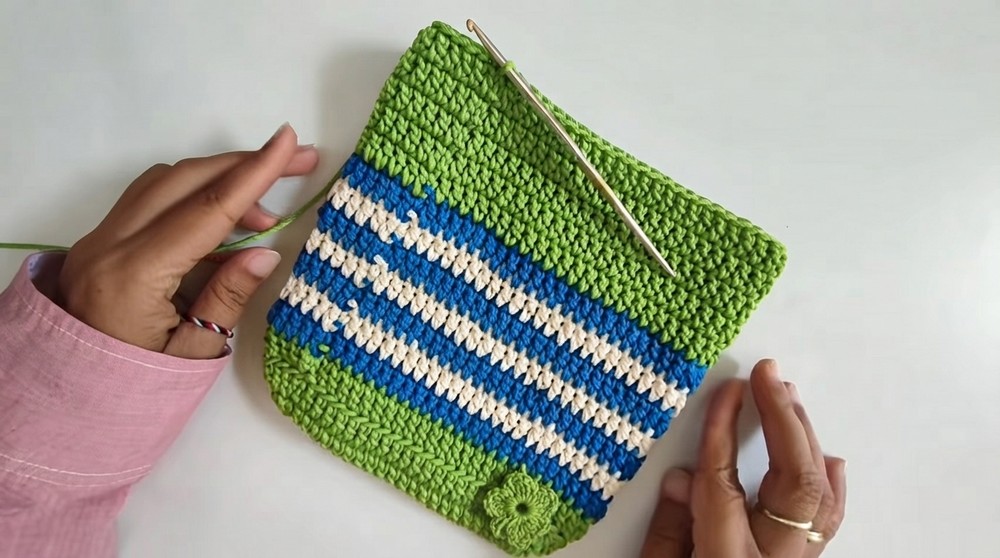
- Rows 4-10:
- Change to blue yarn (use a lighter to secure ends of the previous color).
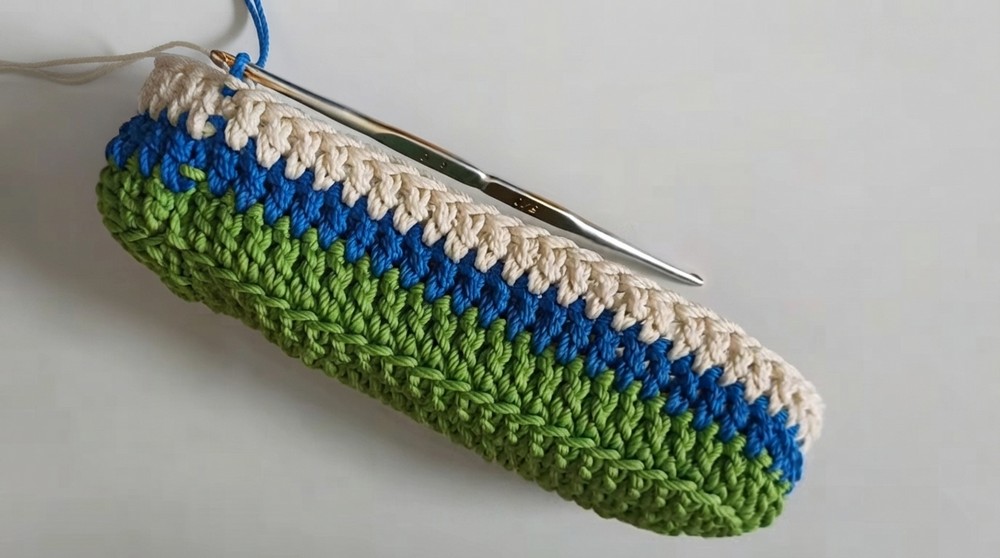
- Work 60 double crochets in each row, alternating colors between green, blue, and white on every row.
- Rows 11-15:
- Switch back to green yarn.
- Repeat the process of double crochets for these rows. By now, your bag should start taking shape with neat stripe patterns.

Creating the Bag Lid:
- Row 1:
- From the finished bag, start with two initial chains and turn the work.
- Work 18 double crochets to create the lid flap.
- Rows 2-3:
- Begin with two chains, turn the work, and continue creating 18 double crochets across each row.
- Row 4:
- Start with two chains and turn the work.
- In the first stitch, work a double crochet increase (two double crochets in one hole).
- In the next 16 stitches, make double crochets.
- Work another double crochet increase in the last stitch. You should now have 20 double crochets.
- Row 5:
- Begin with two chains and turn the work.
- Work a double crochet increase in the first stitch.
- Make 18 double crochets.
- End the row with another double crochet increase. Total stitches: 22 double crochets.
- Rows 6-8:
- Work two chains at the start of each row, turn the work, and make 22 double crochets with no increases.
- Edging Around Lid:
- With the same color, create single crochets around the edge of the lid for a more polished look:
- Insert your hook into the same hole, make a chain, and begin working.
- For the row holes along the sides of the lid, add two single crochet stitches per hole.
- Finish off neatly.
- With the same color, create single crochets around the edge of the lid for a more polished look:
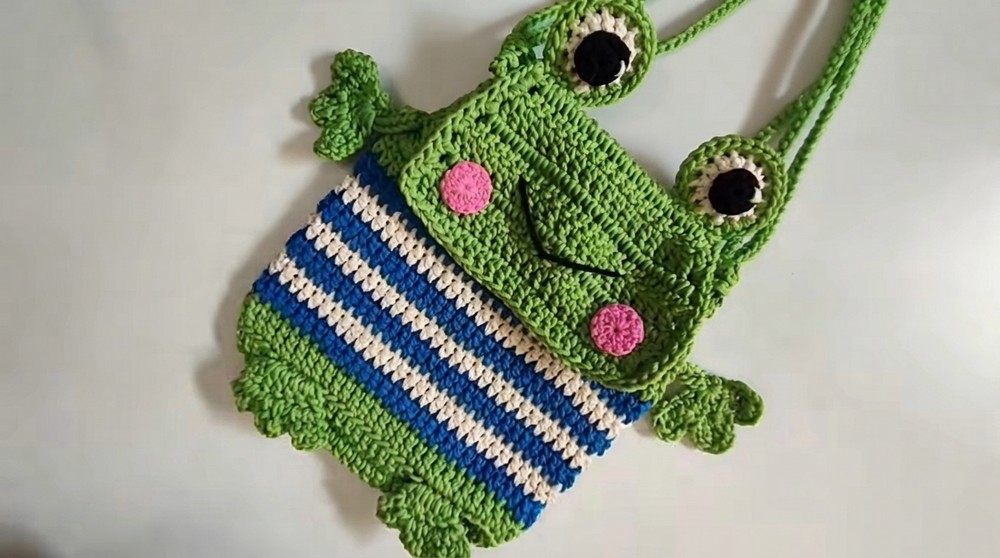
Creating Frog Legs:
- Bottom Legs:
- Turn the bag upside down and locate the front loop from row 2.
- Identify the spots for leg placement:
- First leg: Skip 14 stitches from the slip stitch.
- Second leg: Skip 30 stitches.
- Begin with a slip knot, then connect the yarn.
- Start with six double crochets in the first leg area.
- Row 2: Create three chains, work triple crochets, and arrange as displayed in the pattern to form frog leg details.
- Top Legs:
- Begin with a slip knot and follow the pattern by creating 20 chains joined with a slip stitch in the first chain.
- Repeat the frog leg pattern and make two identical parts.

Making Frog Eyes:
- Create Base:
- Start with a magic ring.
- Make two chains, followed by 12 double crochets in the ring.
- Join with a slip stitch and pull the ring tight.
- Second Layer:
- Create a second part in white yarn with the same steps.
- Combine and Finish:
- Join the two parts with 12 single crochet increases around the edges.
- Leave 15-20cm of extra thread for sewing.
- Attach the completed eyes to the second row of the bag lid with a tapestry needle.
Bag Strap and Closure Details:
- Use the strap gaps provided by folding the side edges. Skip stitches as directed (skip 5, skip 3, skip 5) and insert the strap.
- Attach a magnetic button to the lid, emphasizing functionality and security.
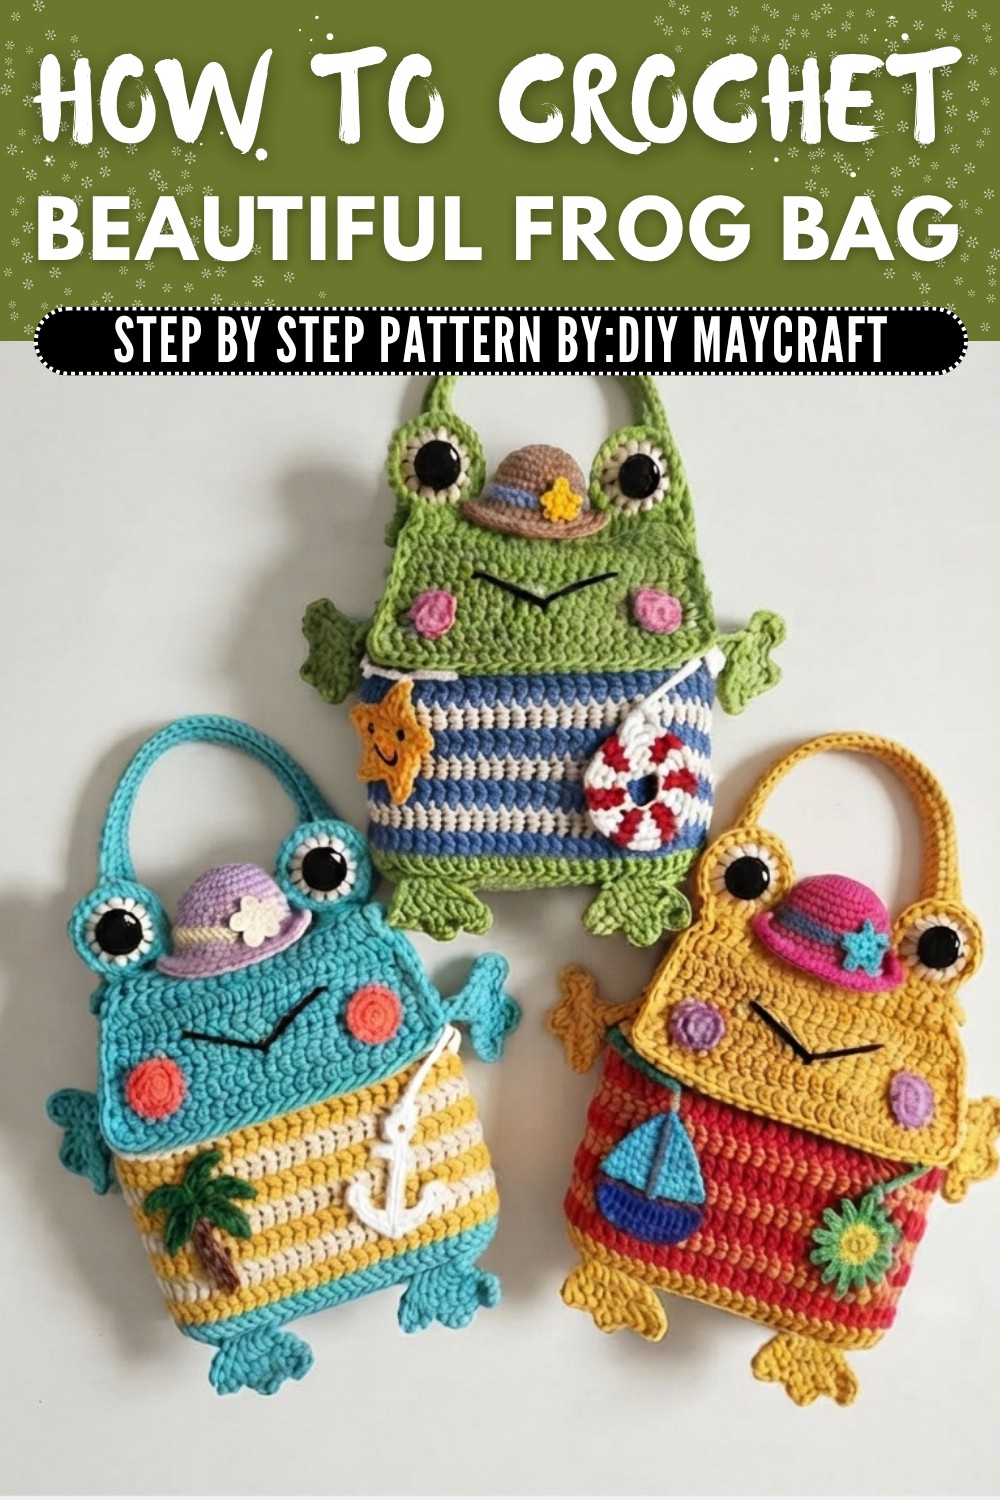
Decoration Ideas:
- Add small embellishments such as stars, lifebuoys, or miniature hats as in the pattern.
- Use colorful yarn and patterns to create a playful, vibrant design.

Special Techniques Used:
- Back loop double crochet for textured detailing.
- Single crochet increases for smooth edges and shaping.
- Magic ring for perfectly circular frog eyes.
Conclusion:
This crochet frog bag is a delightful, functional accessory that's perfect for gifting or personal use. With sufficient attention to detail and care, your bag will stand out as unique and handcrafted. Be sure to experiment with yarn colors and embellishments to customize your bag's personality further.
Important Remarks:
- While crocheting, count stitches carefully to maintain symmetry.
- The magnetic button adds practicality, while the fun decorations make this an eye catching statement piece.
- Properly finish and secure all yarn ends with a lighter to ensure durability.