
Crochet Remote Control Caddy Pattern for Everyday Convenience
Tidy up your couch area seamlessly with this easy and free crochet remote control caddy pattern featuring stylish texture and handy pockets.
A tidy living room suddenly feels more relaxing, and this free crochet remote control caddy pattern is such a simple way to get there. In this project you turn a few rows of yarn into a neat organizer that hangs beautifully over the arm of your couch and keeps all your remotes in one place.
Unique Free Crochet Remote Control Caddy Pattern for a Clutter-Free Space
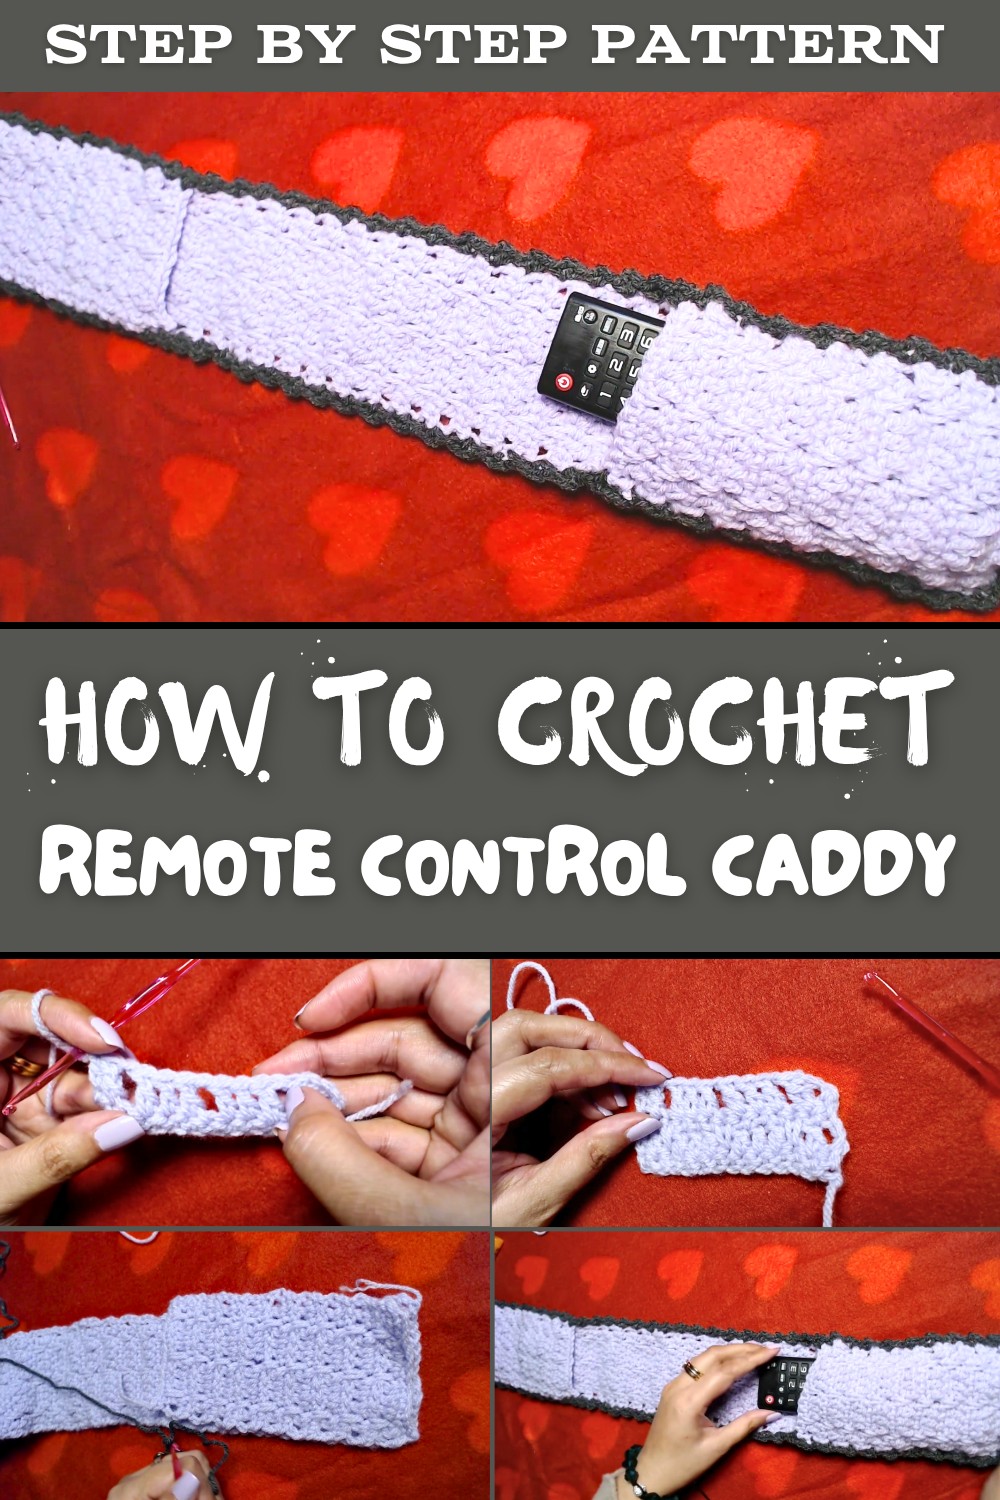
The pattern is pretty and practical at the same time, with a subtle textured look that comes from mixing basic stitches like single crochet and double crochet with a lovely long single crochet that reaches down into skipped stitches and gives a gentle woven effect. The same stitch combination can also be used to make matching phone holders, tablet sleeves, chair arm organizers, or even textured dishcloths and placemats.
The pattern is worked in simple rows, starting with a base that you can easily adjust to the width of your own remote. Everything is then joined neatly so the pockets sit on top of the base, and a final edging of single crochet and chain spaces gives it a clean, finished look. Even if you are new to crochet, the steps are explained in a very gentle way and you only need a small amount of yarn and a 4 mm hook.
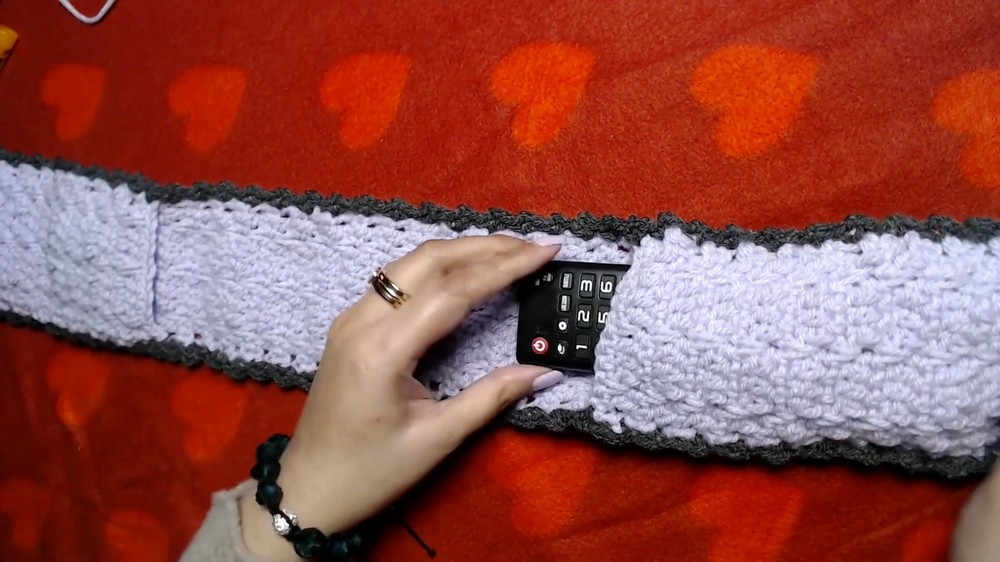
From this pattern you will learn how to keep your stitch count even, how to use long single crochet to add texture, and how to join flat pieces together so they look neat and sturdy. Once you understand this stitch pattern and construction, you can use the same idea to crochet other organizers such as bed side caddies, hook and scissor pockets for your crochet space, or slim wall hangers to hold mail and notes, all with the same pretty textured fabric.

Step-by-Step Crochet Pattern for Remote Control Caddy
About the Pattern
This free crochet remote control caddy pattern is a practical and stylish addition to your home decor. It allows you to keep remote controls organized and readily accessible while maintaining a neat and clutter-free living space. The caddy pattern includes a main body and additional pockets, making it perfect for holding remotes and other small items that tend to get misplaced. The pattern incorporates basic crochet techniques, making it ideal for beginners and experienced crocheters alike.
2. Skill Level and Special Features
- Skill Level: Beginner-friendly
- Features:
- Uses simple stitches like single crochet (SC), double crochet (DC), and long single crochet.
- Includes a repeating, textured stitch design that creates a visually appealing and functional item.
- Versatile pattern: Can be adjusted for varying sizes of remotes or other items.
- A finishing technique ensures a polished look, suitable for gifting or personal use.
3. Materials Needed
- Yarn: Approximately 50g acrylic yarn, plus 10g contrasting yarn (cotton yarn is recommended, but improvisation with acrylic works too).
- Suggested yarn length: 133 meters (for 50g).
- Crochet Hook: 4mm crochet hook.
- Scissors
- Tapestry Needle (to weave in ends).
4. Abbreviations
- CH: Chain
- SC: Single Crochet
- DC: Double Crochet
- L-SC: Long Single Crochet
- SK: Skip
- SL ST: Slip Stitch
5. Step-by-Step Pattern Instructions
Step 1: Create the Base
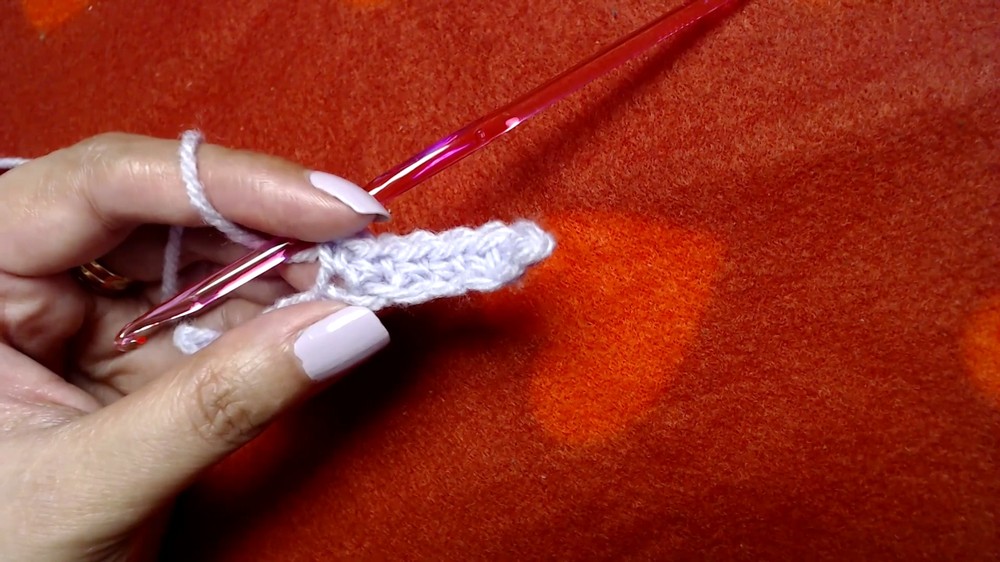
- Determine Width: For the base width, chain a number divisible by 4 + 2. In this tutorial, CH 14 was used.
- Starting from the 2nd chain from the hook, make SC across all chains. You should end with 13 SC.
Step 2: Textured Stitch Pattern (Repeat for Length):
- Row 1:
- CH 3 (counts as the first DC).
- DC in the next stitch.
- CH 1, SK 1 stitch, DC in the next 3 stitches.
- Repeat until the end of the row. You'll end up with 3 sections of 3 DC separated by CH spaces.
- Row 2:
- CH 1, turn. SC in the first stitch, SC in the next stitch.
- Insert hook into the skipped stitch from Row 1, pull up a loop to make a L-SC (don't pull too tightly).
- SC in the next three stitches.
- L-SC into skipped stitch, SC in the next three stitches.
- Repeat all the way across.
- Toward the end, you should have 3 L-SC and 10 regular SC per row.
- Repeat Rows 1 and 2 until reaching the desired length. In the tutorial, the base length was approximately 3x the length of the remote control + extra for allowance.


6. Assembly Instructions
Step 1: Make Pockets
Follow the same stitch pattern to create additional pieces for the pockets. Make them slightly shorter than the remote's length (reduce by around 2cm).

Step 2: Attach the Pockets
- Place the pockets over the base with the right sides facing up.
- Use slip stitches and SC to attach them securely. Start from the corner of both pieces.
Step 3: Finishing Touches
- Work additional rows of SC, CH 2, SC across the edges to give it a polished look. Ensure this is done both on the base and pockets.
- Weave in loose ends using the tapestry needle.

7. Tutor's Suggestions
- Best Yarn: Cotton yarn is recommended for durability and stability.
- Hook Size: Adjust your hook size to match the yarn weight for a tight and sturdy structure.
- Improvisation: Feel free to tailor the number of rows for larger remotes or different items.
8. Special Techniques Used
- Long Single Crochet (L-SC): This stitch adds texture by inserting the hook into skipped stitches from previous rows. It requires a loose tension for uniformity.
9. Tips for Beginners
- Keep tension consistent, especially for the L-SC stitches.
- Cotton yarn is easier to manage for beginners.
- Double-check stitch counts at the end of each row to avoid mistakes.
- Use contrasting yarn for clearer visibility when following the pattern.
10. Conclusion and Remarks
This remote control caddy pattern proves to be an innovative and functional project, combining style and practicality. The textured design adds visual appeal, and the pattern is beginner-friendly yet versatile for experienced crocheters. The pockets make it highly useful in maintaining a clutter-free home while keeping essentials handy.
11. What I Learned from this Pattern
From this pattern, I learned the importance of precision in stitch counts and the creative use of contrasting yarns to enhance texture and visibility. The addition of finishing touches, such as edge detailing, transforms a basic project into a polished masterpiece. It highlighted how improvisation with materials can yield excellent results.