
Crochet Top Pattern Free for a Modern Look
Refine your handmade wardrobe with this chic free crochet top pattern that is comfortable to wear, and perfect for effortless summer style.
Summer style just got better with this Free Crochet Top Pattern that blends simplicity and fashion perfectly. Lightweight, breathable, and trendy, it's the ultimate choice for updating your summer wardrobe in a creative way. The design features neat double crochets for the body, paired with an elegant scalloped edge that adds a fun and decorative touch. It's adjustable to fit any size, making it perfect for everyone, and the tie back detail not only ensures a snug fit but also creates a lovely bow effect at the back. This one of a kind detail makes the top look extra charming and unique.
Endless Style Awaits with This Free Crochet Top Pattern
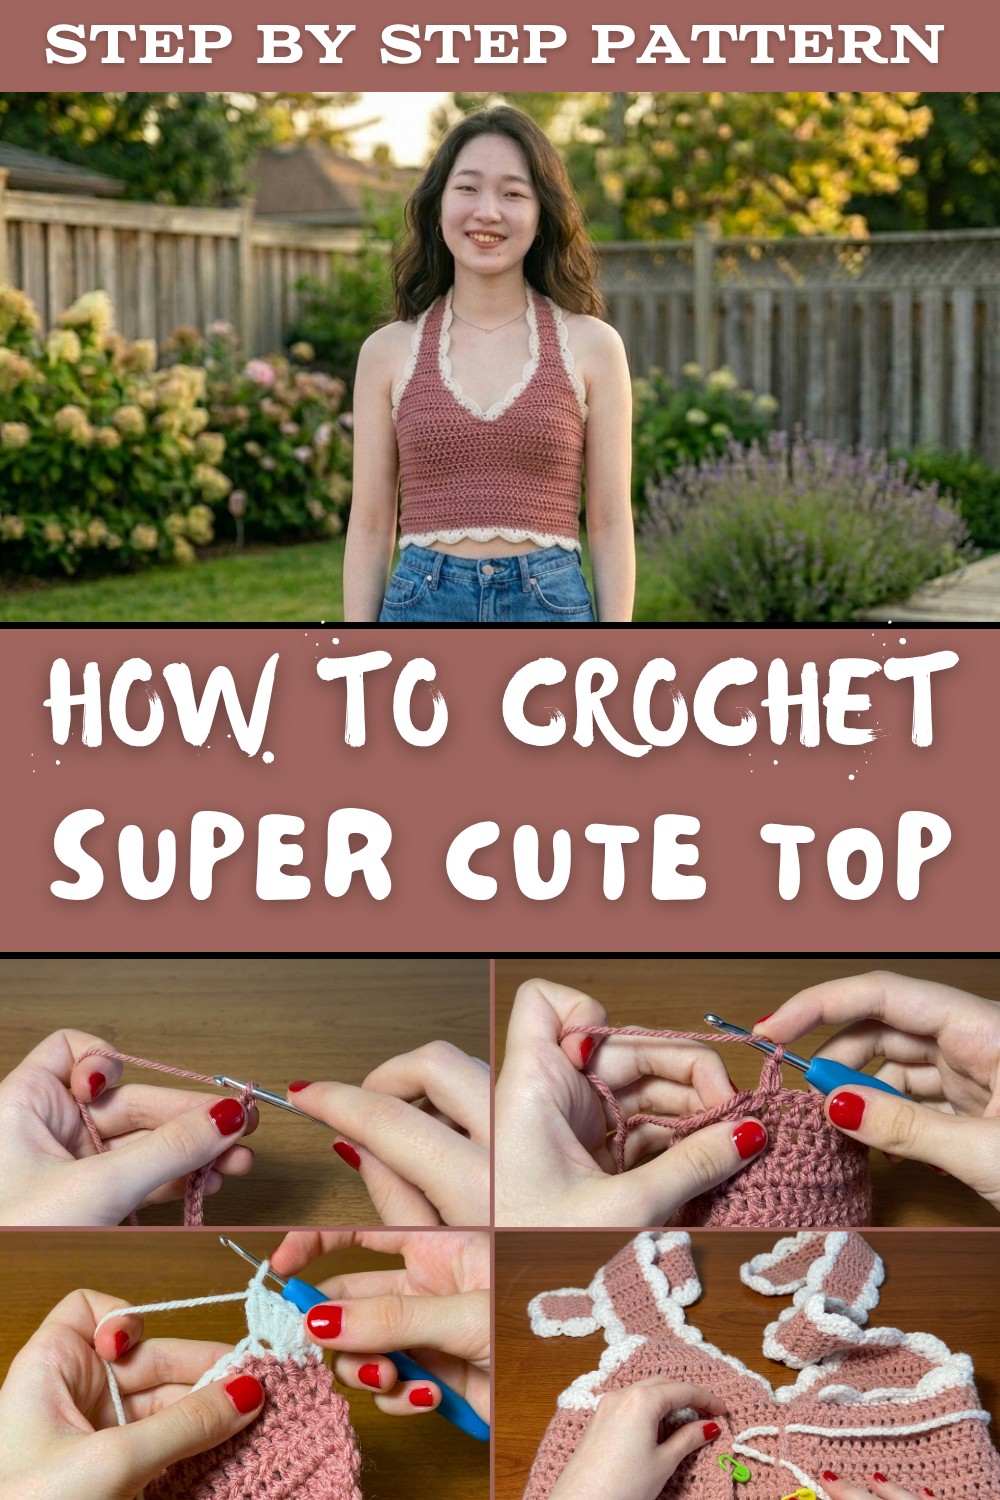
One of the standout features of this pattern is its versatility. You can pair the finished top with denim shorts, flowing skirts, or even layer it under a jacket for cooler evenings. Choosing vibrant or pastel yarns allows you to add your personal flair to the design, creating something colorful and exciting or soft and elegant-it's entirely up to you!
This crochet top is more than just stylish; it's also practical. The airy design keeps you comfortable during warm weather, making it ideal for vacations, outdoor events, or a casual day out. Plus, the instructions make the process enjoyable and doable for crafters at any level.
Start your crocheting adventure and bring this free crochet top pattern to life! It's fun and rewarding to make, and the end result is a trendy piece that stands out wherever you go. Add a touch of creativity to your summer style.

Crochet Top Pattern
Materials:
Yarn:
- Main yarn: Approximately 154.3 yards of yarn suitable for wearables. (The example used yarn from Hobbycraft; links mentioned in the video description.)
- Scrap yarn (white): Small amount for scalloped edging (alternative color recommended for contrast).
Tools:
- Hook size: Compatible with your yarn gauge (4mm-6mm for most yarns or as recommended by the yarn label).
- Stitch markers: At least 4.
- Tapestry needle: For weaving in loose ends.
- Scissors: Sharp for trimming yarn.
Pattern Instructions:
Step 1: Foundation Chain
- Begin by making a slip knot on your hook.
- For size XS, chain 75 chains to form the base.
- Adjust the chain count according to your size: ensure the length fits across your back, leaving a few inches of space for the ties.
- Add 3 extra chains for turning.

Step 2: Row 1
- Starting in the 4th chain from the hook, place double crochets (DC) along the entire foundation chain:
- Yarn over, insert the hook into the stitch, pull through, yarn over, pull through two loops, yarn over, pull through the last two loops (double crochet made).
- Repeat this process until the end of the chain.
- You should have 75 double crochets at the end.
- Chain 1, turn your work.
Step 3: Rows 2-13 (or desired height)
- For each subsequent row, chain 1 and turn at the start.
- Place normal double crochets (DC) into each stitch across.
- Adjust the number of rows based on your desired length; for size XS, create 13 rows.
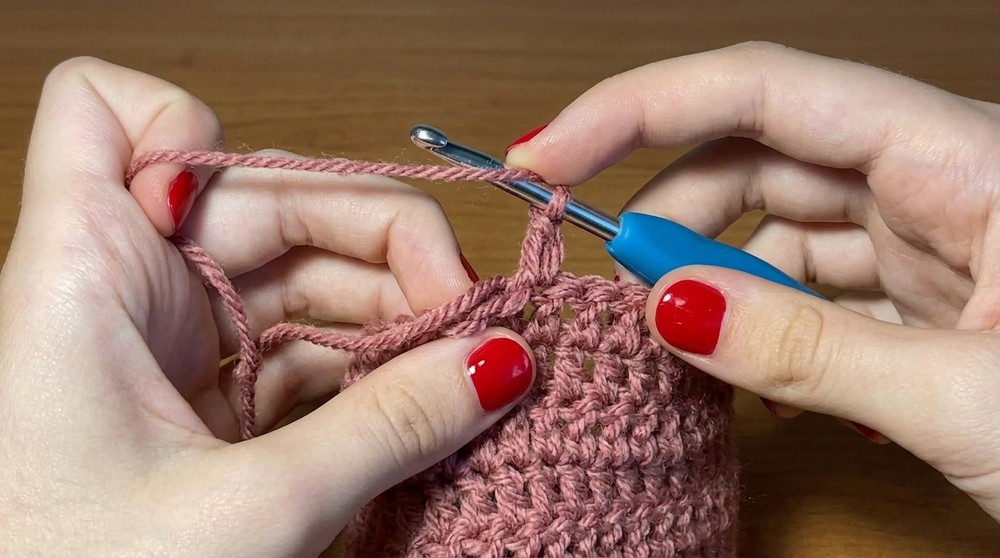
Step 4: Adding Stitch Markers for Cups
- Find the middle stitch of the panel by folding it in half and marking the center with a stitch marker.
- Place side stitch markers:
- Count 18 stitches from either side of the middle marker for size XS.
- For larger sizes, adjust based on measurement. The markers position the underarm sections leading into the cups.
Step 5: Making the Cups
Cup Setup:
- Remove one side's stitch marker and insert your hook into the stitch.
- Attach a new yarn color (or continue with the same), pull through the stitch, and chain 1 to secure.
- Create double crochets across the panel, stopping at the stitch marker before the middle.
Cup Rows:
- Begin with 6 rows of double crochet decreases:
- Reduce at the beginning and end of each row:
- Yarn over, insert the hook into the first stitch, pull through, yarn over, pull through two loops. Without completing the stitch, yarn over again, insert into the next stitch, pull through two loops, then pull through three loops.
- Continue with regular double crochets, leaving two stitches at the end for another decrease.
- Reduce at the beginning and end of each row:
- After completing the decreasing rows, create the strap by crocheting straight rows of double crochets without increases or decreases:
- For size XS, create a 16 inch strap or approximately 34 rows.
Repeat for Second Cup:
- Follow the same steps for the second cup, starting at the other side stitch marker.
Step 6: Scalloped Edging
- Base Single Crochet Row:
- Across the bottom edge of the top, place single crochets into each available loop.
- Chain 1 at the end and trim the yarn.
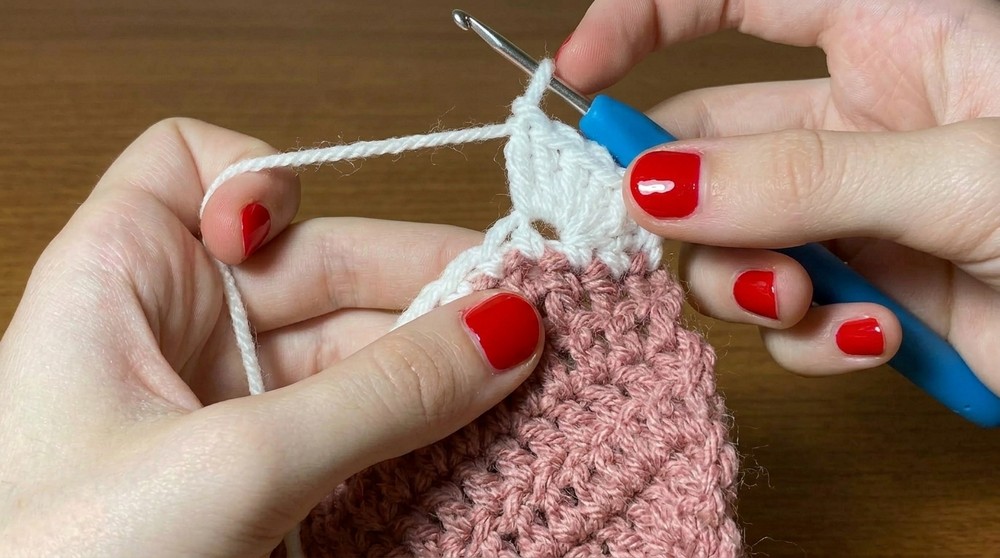
- Scalloped Edging:
- Reattach yarn for the edging, starting at one end of the single crochet row.
- Skip 3 stitches and place 5 double crochets into the 4th stitch.
- Skip 3 stitches, then place a slip stitch in the next stitch to secure the scalloped cluster.
- Repeat this pattern along the bottom edge.
Step 7: Side Finishing
- Along the side edges of the top (where the straps meet the body), fill gaps with single crochets:
- Insert the hook in random loops along the side and place single crochets evenly.
- This provides a foundation for clean borders later.
- Once the single crochet row is complete, chain 1 and trim the yarn.
- Add double crochets over the foundation single crochets for extra structure.
Step 8: Tie Back Strings
- Start with a slip knot on your hook and create a chain long enough to tie securely: 150 chains recommended.
- Adjust the chain length for larger bows or different aesthetic preferences.
- Secure both ends by weaving in loose strings with a tapestry needle.
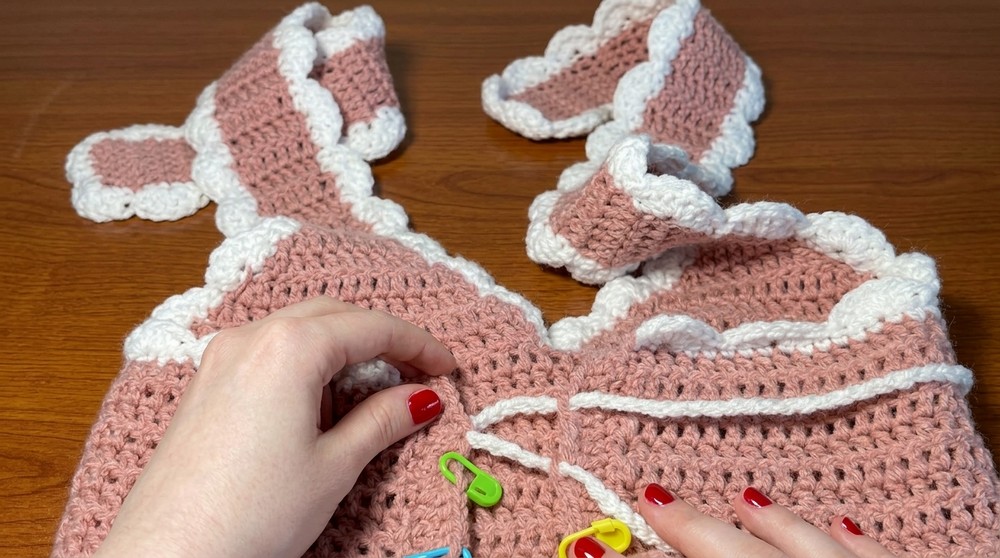
Step 9: Assembling the Tie Back
- Thread the tie back strings into the designated stitches along each side of the top.
- Start at the bottom and alternate sides, crossing over one another for a criss cross tie.
- Knot the ends into a bow.
Finishing Touches:
- Weaving Loose Ends:
- Use a tapestry needle and pull loose yarn tails through nearby stitches on the backside to hide them securely.
- Final Adjustments:
- Check the alignment of straps, cups, and ties for symmetry.
- Stretch the fabric slightly to remove any puckering.

Tips to Maintain Your Top:
- Washing: Hand wash gently or machine wash on a delicate cycle with mild detergent. Lay flat to dry.
- Storage: Fold neatly rather than hanging to prevent stretching.
- Customization: Experiment with color combinations for the scalloped edges and ties. Adjust strap length and panel size to ensure a perfect fit.
Final Words:
Congratulations on completing this adorable crochet top. Its elegant scalloped edging and tie back details make it a versatile addition to your wardrobe, perfect for summer outings or layered styling. Share your finished work, and don't hesitate to explore more patterns and projects for creative inspiration.