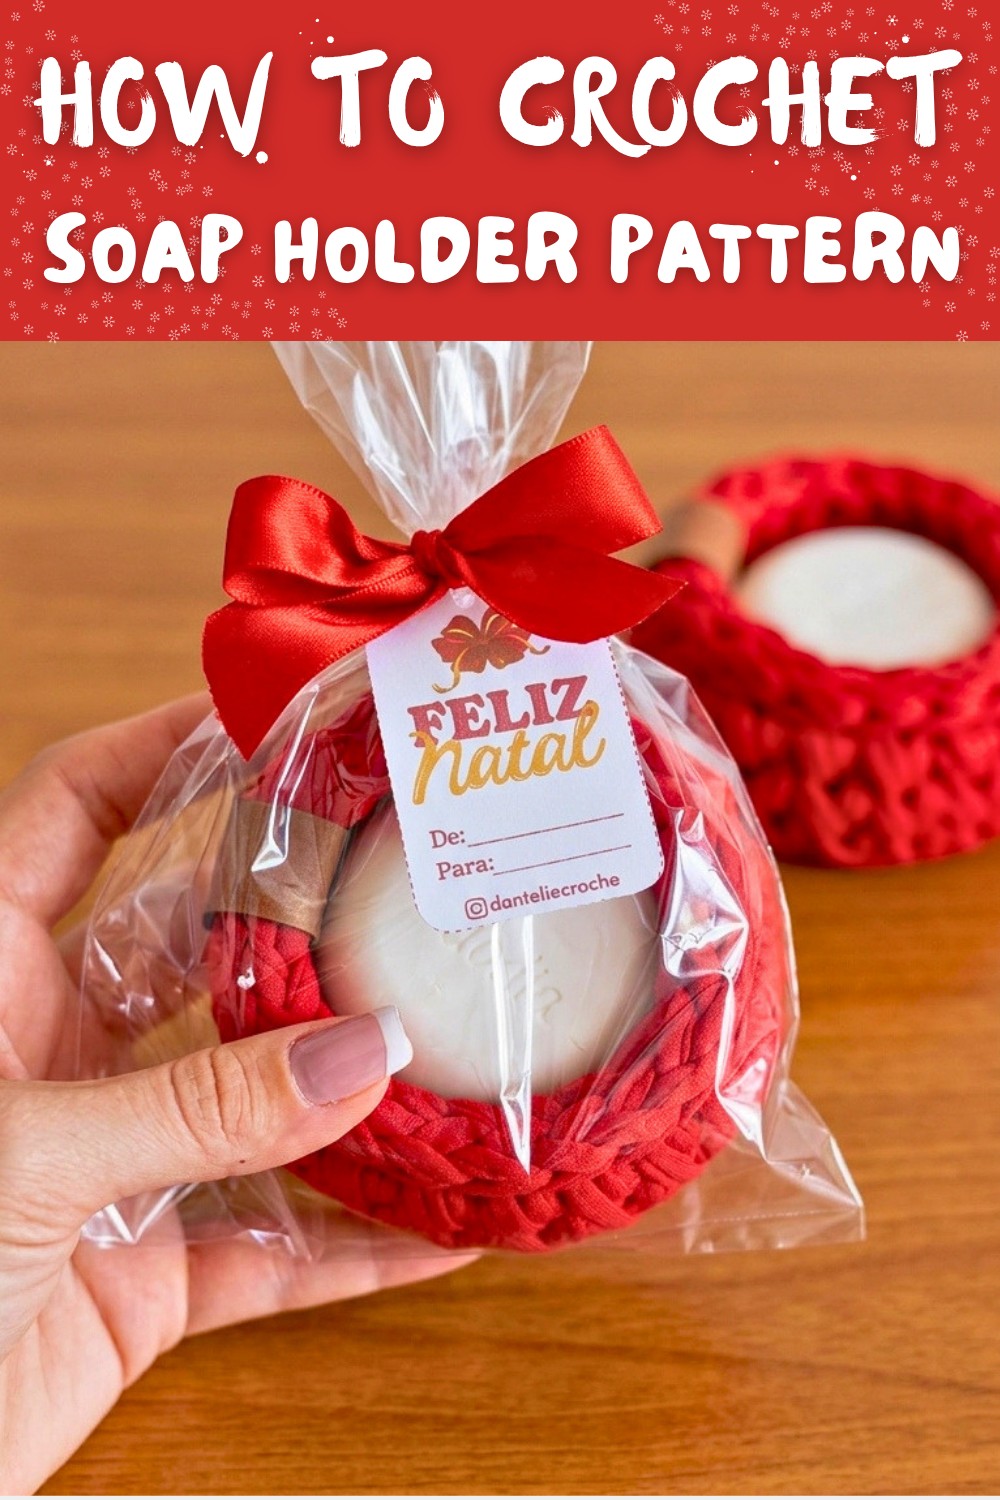
Eco-Friendly Crochet Soap Holder Pattern for Thoughtful Gifts
Solve your packaging challenges with this versatile Free Crochet Soap Holder Pattern perfect for soaps, chocolates, and tiny treasures.
Turning simple, functional items into thoughtful treasures is a challenge many face when searching for unique and memorable gift ideas. This versatile and practical crochet soap holder pattern serves as the perfect solution to elevate small gifts like soaps, chocolates, or other trinkets into something truly remarkable. Not only does it provide an eco-friendly alternative to disposable packaging, but it also turns into a reusable and charming keepsake for your loved ones to use long after the gift has been opened.
These petite holders are perfectly designed to fit a variety of small goodies, making them ideal for any occasion, from festive celebrations like Christmas to thoughtful gestures for birthdays, Teacher's Day, or even simple thank-you gifts. The minimal materials required make it an affordable option while allowing for endless customization. Add your personal touch with vibrant colors, decorative tags, or even small ribbons to match the vibe of the event.
Beyond their purpose for gifting, this pattern provides practical everyday uses, functioning as small organizers for jewelry, desk essentials, or other tiny items. Their sturdy build, achieved using T-shirt yarn or similar materials, ensures durability while maintaining a polished and appealing aesthetic.
This pattern combines ease and creativity, offering crocheters an approachable project that radiates handmade warmth. With its ability to adapt to diverse needs and events, this soap holder is more than just a gift-it's a thoughtful token of care, effort, and sustainability.
Creative Crochet Soap Holder Pattern Using T-Shirt Yarn for Modern Home

Step-by-Step Detailed Pattern: Crochet Soap Holder
(With Full Explanation & Beginner-Friendly Instructions)
Table of Contents
- Introduction
- Who Can Use This Pattern
- Special Features of This Pattern
- Materials and Tools Needed
- Abbreviations
- Special Techniques Used
- Step-by-Step Pattern (Detailed Instructions)
- Starting the Magic Circle and Round Base
- Building the Walls
- Finishing with the Decorative Edge
- Adding the Tag and Final Touches
- Tips for Success
- Tutor's Suggestions
- What You'll Learn by Using This Pattern
- Conclusion and Final Remarks
1. Introduction
This pattern serves as the perfect beginner-friendly tutorial to make a Crochet Soap Holder using T-shirt yarn. It's sturdy, attractive, and makes a beautiful handmade gift idea for special occasions such as Christmas, Teacher's Day, birthdays, or simply as a thoughtful token of appreciation.
This project combines functionality and aesthetics while teaching foundational crochet techniques, making it ideal for both novice and experienced crocheters.
2. Who Can Use This Pattern?
- Beginners: The simple stitches, clear explanations, and minimal tools make this an easy first crochet project.
- Advanced Beginners/Intermediate Crocheters: The techniques used-like an invisible join and slip-stitch edge-provide a chance to refine skills.
- Gift Crocheters: Ideal for creating meaningful, handmade items for family, friends, or teachers.
- Small Business Enthusiasts: A quick and cost-effective project that can be sold or turned into a gift set.
3. Special Features
- Perfect Circle Base: No gaps due to the magic circle.
- Sturdy Walls: Using T-shirt yarn creates a durable structure that holds its shape.
- Braided Decorative Edging: Slip stitches between the stitches add a professional-looking finish.
- Personalization Options: Tags, ribbons, and colors can be customized according to the occasion or recipient.
- Eco-Friendly: Made with upcycled T-shirt yarn, it's a sustainable crochet solution.
4. Materials and Tools Needed
- T-Shirt Yarn (Fio de Malha - Premium): One roll should make 4-5 small soap holders.
- Crochet Hooks:
- 7mm hook (for the main work)
- 2-3mm hook (for finishing and joining)
- Scissors: Both small (for clean cuts) and large scissors are helpful.
- Tag or Charm: Wooden, acrylic, or leather tag for decoration (optional).
- Satin Ribbon (Fita de Cetim): Medium width works best, but any size will do.
- Cellophane Wrap: For gift presentation.
- Round Soap or Item: Natura Todo Dia soap or any similar small round object.
5. Abbreviations
- MR: Magic Ring
- ch: Chain
- sc: Single Crochet
- st(s): Stitch(es)
- sl st: Slip Stitch
- FO: Fasten Off
6. Special Techniques Used
- Magic Ring (MR): Creates a tight, gap-free center for the circular base.
- Invisible Join: Provides a seamless transition between rounds for a polished look.
- Slip-Stitch Edge: Decorative edging technique that looks like a braided border.
- Working with T-Shirt Yarn: Ensures that the "open side" of the yarn faces upward to achieve uniform stitches.
7. Step-by-Step Pattern
Difficulty Level: Beginner-Friendly
Step 1: Starting the Magic Circle and Round Base
Round 1 (Magic Circle):
- Create a Magic Ring by wrapping the yarn around your fingers to form a loop. Make sure the crossing point is manageable with your little finger.
- Insert the 7mm hook into the ring and pull up a loop of yarn.
- Ch 1 (not counted as a stitch, just for height).
- Work 6 sc into the ring.
- Pull the tail to tighten the loop and close the Magic Circle.
- Check the Base: The circle should lie flat.

Round 2: All Increases
- Begin with an invisible join at the first sc of the last round.
- Ch 1 for height.
- Work 2 sc in each stitch around (12 stitches total).
Round 3: Alternating Increases
- Continue with the invisible join.
- Ch 1 to start.
- Work (2 sc in the first stitch, 1 sc in the next stitch). Repeat this pattern all the way around.
- You should have 18 stitches at the end of this round.
- Tip: Keep stitches slightly loose for a smooth circle.

Step 2: Building the Walls
Transfer from Base to Walls:
- After completing the base, pull the joining loop up to align with the wall round.
- Start working 1 sc in each st around.
Rounds 4, 5 & 6:
- Repeat 1 sc in each st for 3 full rounds.
- Ensure your sides are straight and even.
- Tip: Always pull the yarn through the extra bar stitch created by the invisible join for a smooth transition.

Step 3: Adding the Decorative Edge
- After completing the walls, start the final row.
- Use slip stitches to create a braided edge:
- Insert the hook between two stitches instead of the top loops.
- Pull up the loop and complete a sl st.
- Adjust to keep loop height equal for a consistent look.
- Continue around the top edge.
- At the end, cut the yarn, pull through the last loop, and weave in neatly.
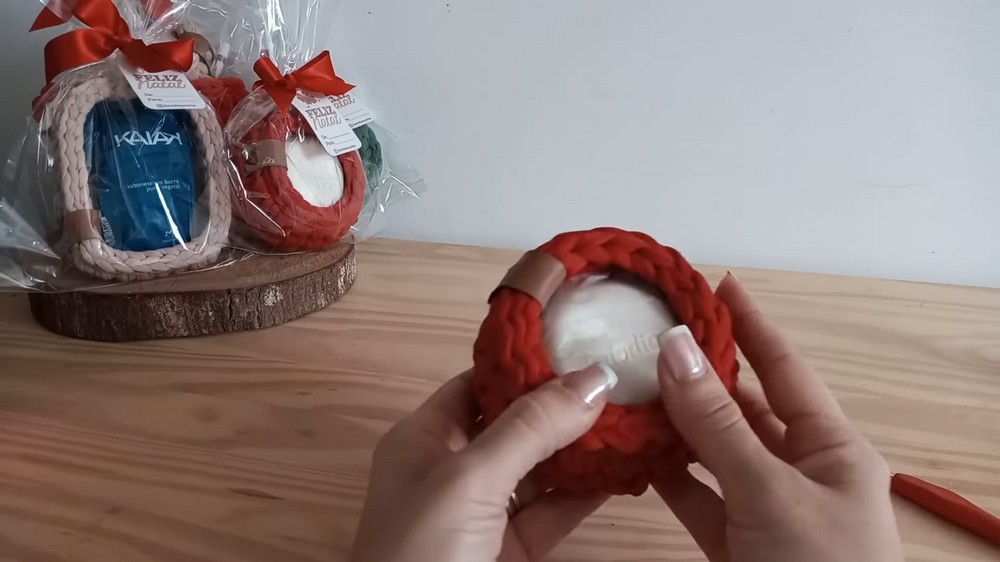
Step 4: Adding the Tag and Wrapping
- Use leftover yarn to attach a charm or decorative tag:
- Thread small T-shirt yarn strips through the tag's holes.
- Tie neatly on the inside of the basket.
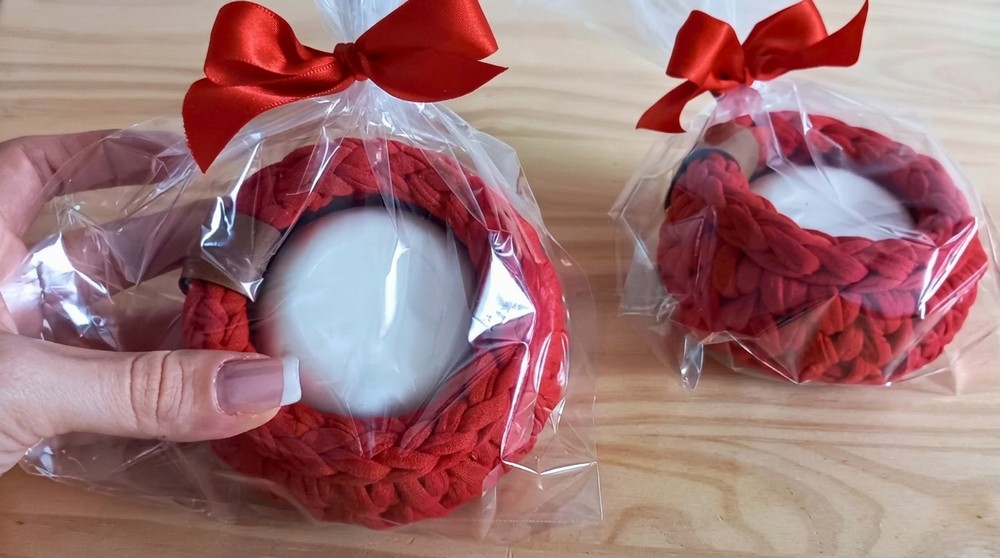
- Place the round soap inside the holder. Wrap the holder in cellophane, gathering the top with ribbon. Attach a handwritten or printed tag for gifting.
8. Tips for Success
- Ensure the "open" side of the yarn faces upward while working-this ensures smooth stitches.
- Keep tension loose when working with slip stitches on the edge to prevent warping.
- Use invisible joins for all rounds to create a professional, seamless finish.
- Practice the Magic Ring to ensure no gaps appear at the base center.
9. Tutor's Suggestions
- Opt for eco-friendly and affordable T-shirt yarn, especially when making multiple holders.
- These can be sold in sets or customized for various occasions (e.g., Christmas, birthdays, or thank-you gifts).
- Use brightly colored yarns or holiday-themed tags for a festive touch.
10. What You'll Learn by Using This Pattern
- Foundation Techniques: Learn to create circular bases with Magic Ring and increase patterns.
- Polished Finishes: Master the invisible join for seamless rounds and professional edging.
- Practical Crocheting: Understand how to work with T-shirt yarn for both form and function.
- Customization Skills: Experiment with decorations like tags, charms, and gift wrapping.
11. Conclusion and Final Remarks
This Crochet Soap Holder pattern is a delightful, quick-to-make project that's functional, gift-ready, and carries a handmade charm. By mastering simple techniques like the Magic Ring, invisible joins, and slip-stitch edging, you'll create a beautiful product that looks polished and professional.
Whether you're making one for yourself, crocheting gifts, or starting a small crochet business, this pattern is versatile, eco-friendly, and endlessly customizable.