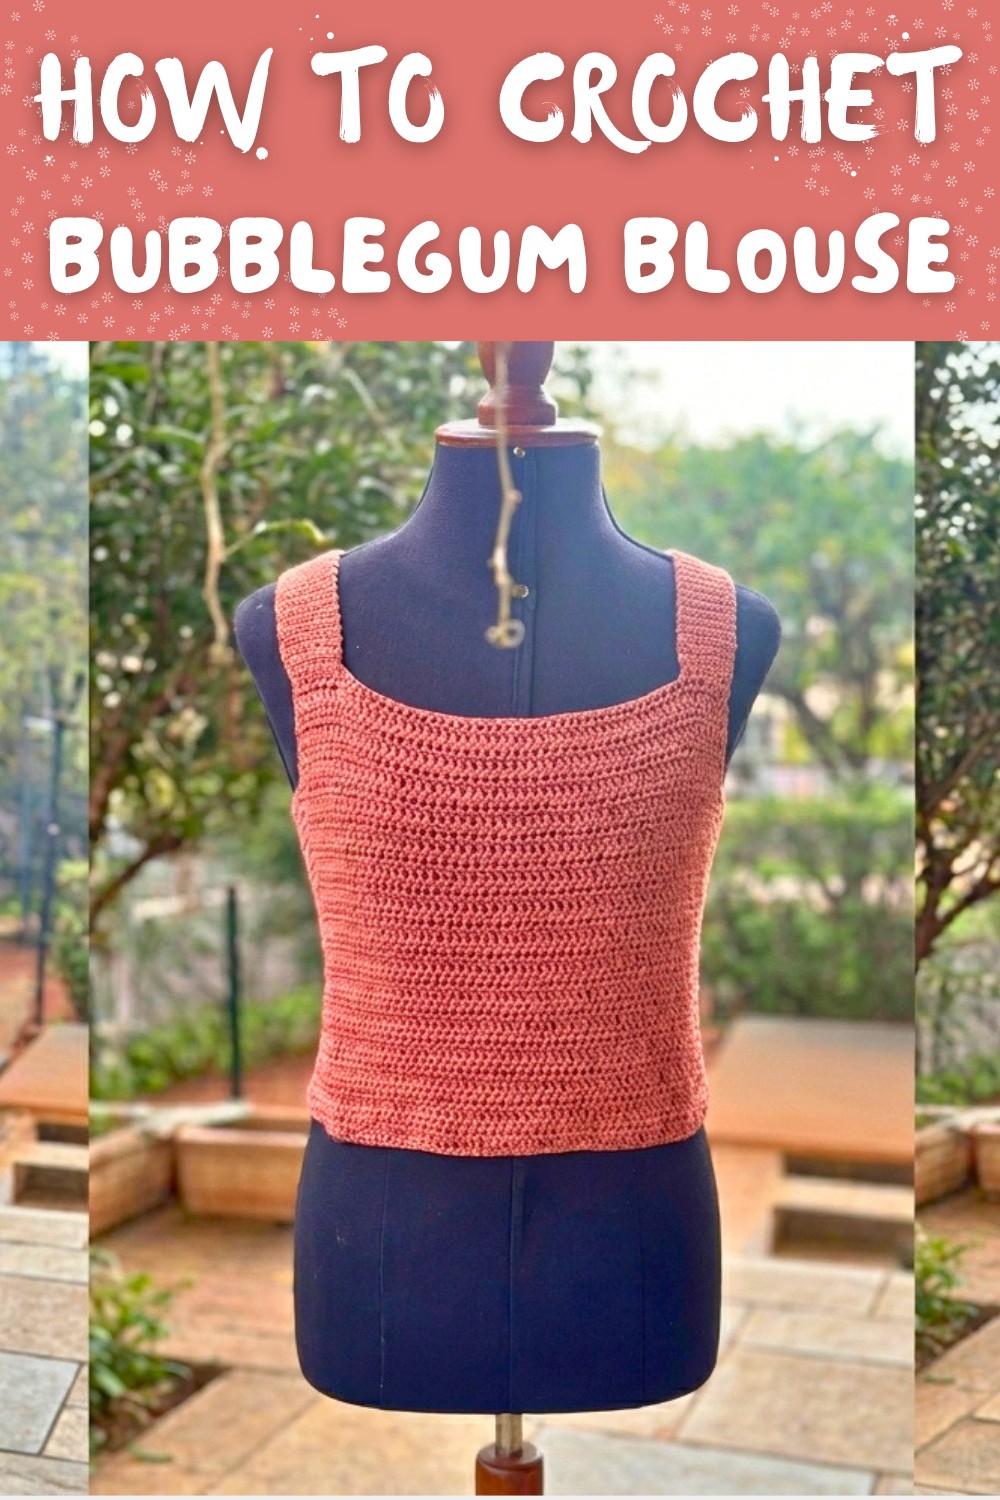
Free Crochet Bubblegum Blouse Pattern for Boho & Chic Looks
Learn how to stitch a free crochet Bubblegum Blouse pattern, blending modern style and lightweight design for your perfect handmade look.
Bringing fresh vibes to your wardrobe has never been easier than with an effortlessly trendy handmade blouse. The Bubblegum Blouse pattern is a perfect crochet project combining style and practicality, offering a lightweight feeling while adding a playful twist to your look. This pattern is surprisingly beginner-friendly, yet detailed enough to satisfy experienced crocheters who want to experiment with textures and customizations. Its flattering cut and seamless construction make it ideal for breezy summer days, casual outings, or pairing with cardigans when cooler weather hits.
With this pattern, you'll have the opportunity to work on important crochet techniques like shaping, assembling panels, and even manipulating hook sizes for personalized fits. The pattern structure encourages creativity-adjust the neckline, play with lengths, or opt for bold or pastel yarn colors to suit your personality. Versatility is truly at its core, allowing you to adapt it into a tank top, crop top, or even a chic layering piece for a statement outfit.
Beyond its aesthetic appeal, this blouse stands out for being comfortable to wear and breathable during warmer months. Stitching together your own Bubblegum Blouse also saves you from fast fashion while giving you a piece that feels completely personal. For gifting, it's a heartfelt, thoughtful choice sure to impress anyone who loves unique, handmade style. A blend of casual charm and crochet mastery, this blouse is as functional as it is fashionable-a delightful addition to any wardrobe.
Learn the Easy Crochet Bubblegum Blouse Pattern Perfect for Stylish Summer Outfits
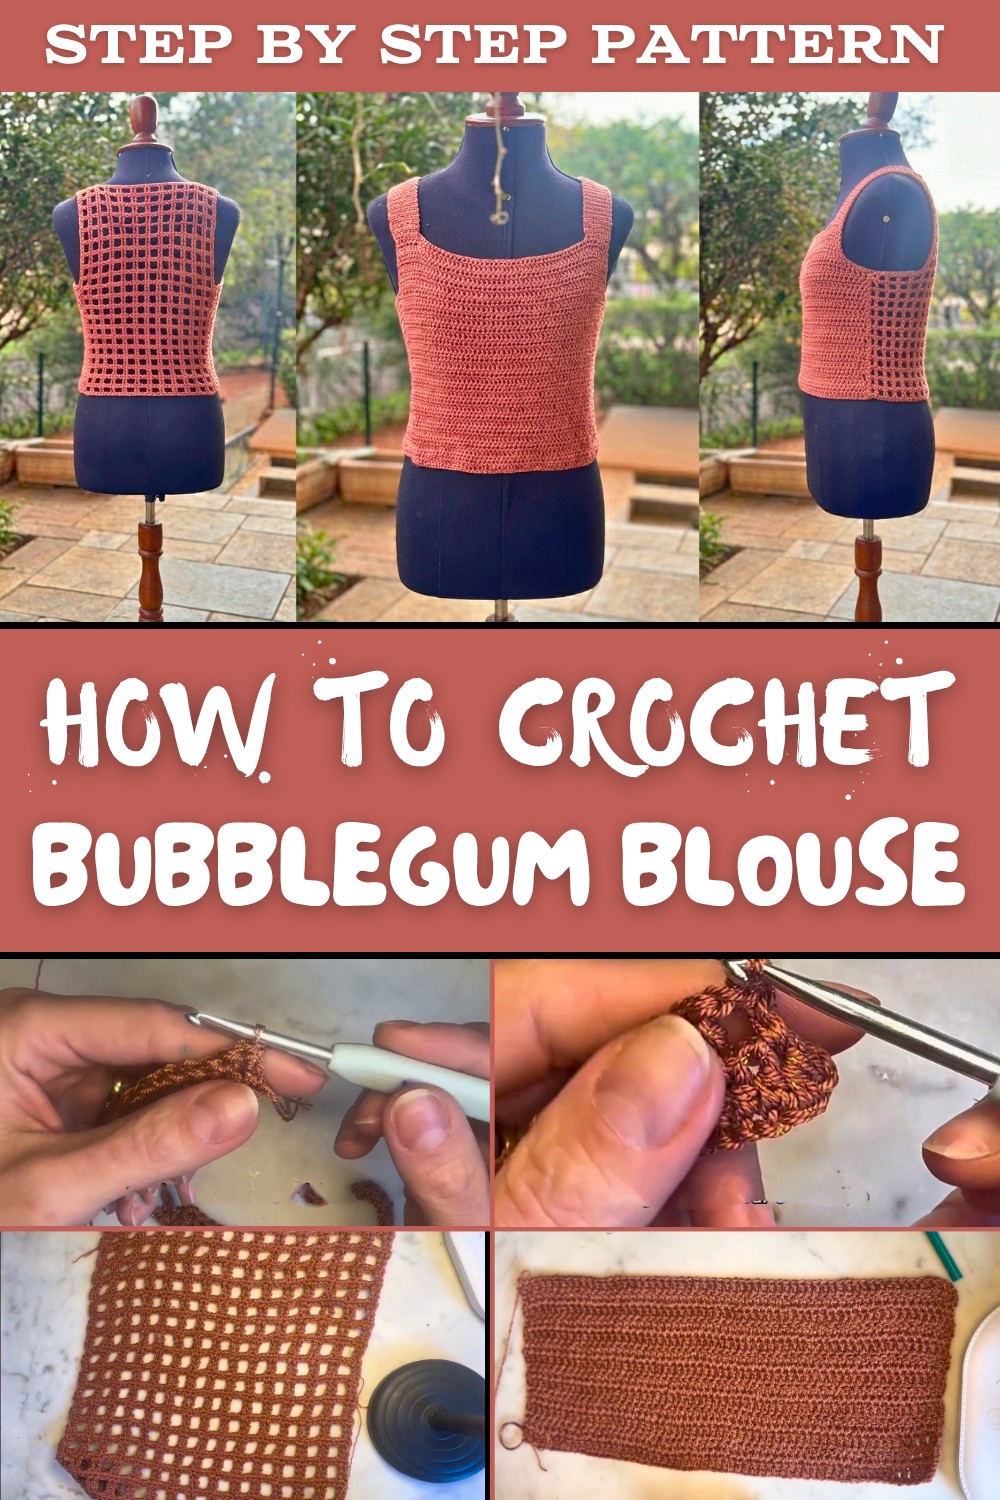
Step-by-Step Crochet Pattern
Introduction
This crochet blouse pattern is your gateway to mastering garment crochet with rectangular sections. Its adaptable pattern allows for experimenting with different motifs, necklines, and strap lengths, transforming simple rectangles into a stylish and well-fitted blouse. Whether you prefer a form-fitted look or a flowy design, this blouse pattern works beautifully for casual wear, layering, or even as a breezy summer top. Follow this pattern detailed from start to finish and learn advanced finishes to achieve a professional creation.

Materials Needed
- Yarn: Brisa Star yarn by Pinguin (double yarn recommended for better structure).
- Hooks:
- Primary: 4 mm.
- Alternate: 3.5 mm for cinching specific sections.
- For straps: 2.5 mm for firmness.
- Other Tools:
- Scissors.
- Measuring tape/ruler.
- Stitch markers/pins.
- Tapestry needle.
Special Features
- Modular Design: Built entirely using simple rectangles for versatile customization.
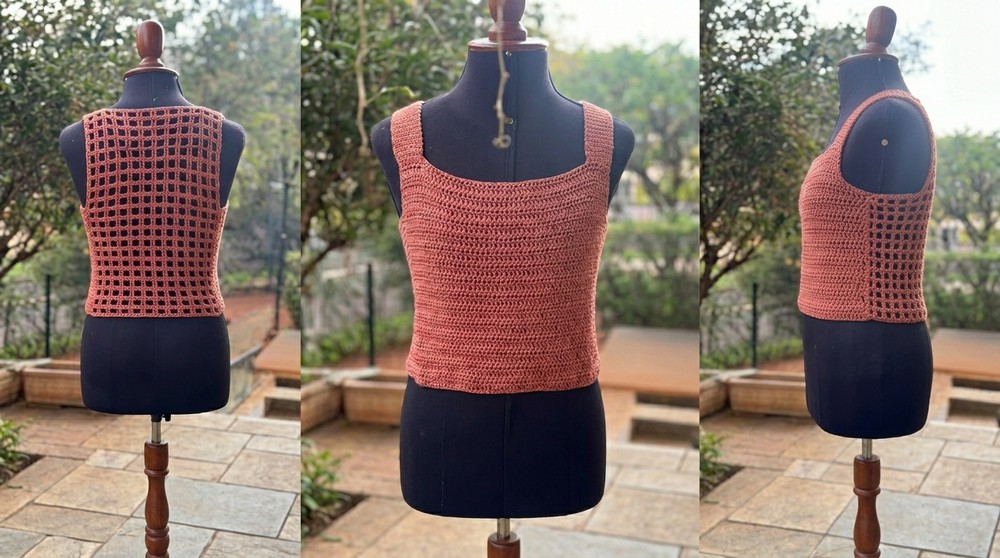
- Multiple Motifs: Includes solid stitches, casulinho (open design), and decorative patterns for sections like straps and back.
- Advanced Fit: Clever use of hooks and section division for waist shaping and comfort.
Pattern Level
Intermediate: Ideal for those who are familiar with basic stitches (single crochet, double crochet, chains) and comfortable sewing.
Pattern Instructions
Step 1: Measurements
Before you begin, take these measurements to ensure accuracy:
- Blouse Length: Measure from shoulder to the desired length (example: 45 cm).
- Bust Circumference: Measure around the fullest part of the bust (example: 94 cm).
- Shoulder Width: Measure from shoulder edge to shoulder edge across the back (example: 30 cm).
- Additional Dimensions:
- Divide leftover width after subtracting shoulder width for side panels. (Bust circumference minus shoulder front/back width). Example: 17 cm for each side panel.
- Armhole height: Measure for preferred armhole length (example: 20-22 cm).
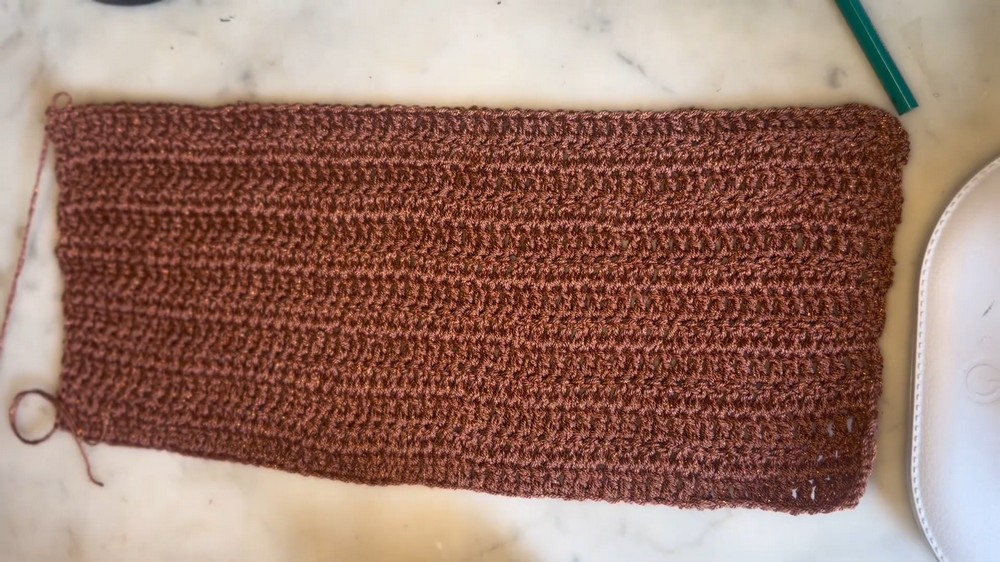
Step 2: Front Panel
- Dimensions of Panel:
- Width: 30 cm.
- Length: Adjusted length based on garment style: Decolletage = less height (example: 35 cm instead of 45 cm).
- Foundation:
- Create a slip knot.
- Chain stitches until reaching 30 cm width. (Example: 60 chains with a 4 mm hook for precise tension).
- Rows:
- Row 1: Work double crochet in each chain across.
- Turn and work double crochet on double crochet rows repeatedly.
- Adjust hook to 3.5 mm mid-panels to create a subtle waist cinch effect.
- Number of Rows:
- Aim for 35 cm height by completing approximately 27-28 rows. Each row will build roughly 1.25 cm.
Step 3: Back Panel
- Motif Pattern:
- Use an open/weave pattern: Double crochet, chains, and spaces to achieve a breezy design.
- Adjust to preference (can be either less revealing or decorative by skipping fewer stitches).
- Steps:
- Work foundational chains based on width (30 cm) but adjust total chains to accommodate the motif multiples. For weave patterns like "4 dc + 2" stitch grouping. (Example: 58 chains for proper fit).
- Height:
- Match length to front panel (e.g., 42 cm).
- Decrease 3 cm for neck drop adjustment to avoid choking.

Step 4: Side Panels
- Reduced Width:
- For a snug fit, reduce panel width slightly (e.g., 15 cm instead of calculated 17 cm).
- Steps:
- Chain foundation for width (example: 29 chains for slight reduction).
- Solid design for durability (use half double crochet stitches) or open grid.
- Height:
- Complete until reaching specified height, such as 25 cm for armhole adjustment.

Step 5: Straps
- Dimensions:
- Work straps with 2.5 mm hook for additional firmness.
- Width: Narrow straps (example: 5 cm).
- Length: Combine front/back drop calculations (example: 13 cm).
- Steps:
- Create foundation chains based on desired width (example: 12 chains for 5 cm width).
- Work rows using tight single crochet stitches.
- Complete for calculated length.
Step 6: Assembly
- Preparation:
- Tidy edges by weaving loose ends using a tapestry needle.
- Align pieces and mark connection points with stitch markers.
- Joining:
- Sew front, back, and side panels together using single crochet or whip stitch.
- Attach straps to designated positions securely while maintaining tension alignment.
- Finishing Touch:
- Ensure that seams are aligned evenly.
- Steam block or lightly press for polished results.
Tutor's Suggestions
- Switch Hook Sizes for Fit: Use smaller hooks in areas requiring shaping, such as waist or straps.
- Stitch Precision Matters: Always measure panel progress, avoiding unintended stretching or puckering.
- Customize Freely: Adjust motifs for personal style preferences, such as longer straps or deeper necklines.
Uses
- This blouse is perfect for summer outfits or layered looks, pairing beautifully with skirts, jeans, or shorts.
- Its customizable style allows different variations, such as sleeveless tops or longer tunics.
Conclusion
This crochet blouse pattern showcases the art of transforming basic shapes into wearable fashion. From detailed seams to versatile motifs, the pattern empowers creators to tailor-fit garments while learning multi-section assembly techniques.
Final Tip
When working with open motifs, gently stretch and measure your work frequently to ensure the desired final dimensions, especially for fitted pieces. It's the key to making a blouse that feels both stylish and comfortable.