
Free Crochet Chicken Keychain Pattern Perfect for Gifting or Style
Personalize your keys or bags with a cute crochet chicken keychain using this easy pattern, perfect for beginners and fun to make in your favorite colors.
Say hello to your charming new crocheting project - a cheerful little bird that's bursting with personality and guaranteed to bring a smile to anyone's face. This crochet chicken keychain pattern transforms simple stitches and a splash of colorful yarn into an adorable miniature companion with a cute little beak, playful tail accents, and an irresistible plump body that fits perfectly in your hand. It's a delightful blend of cozy texture and whimsical charm.
Crochet the Cutest Chicken Keychain Free Pattern for Fun
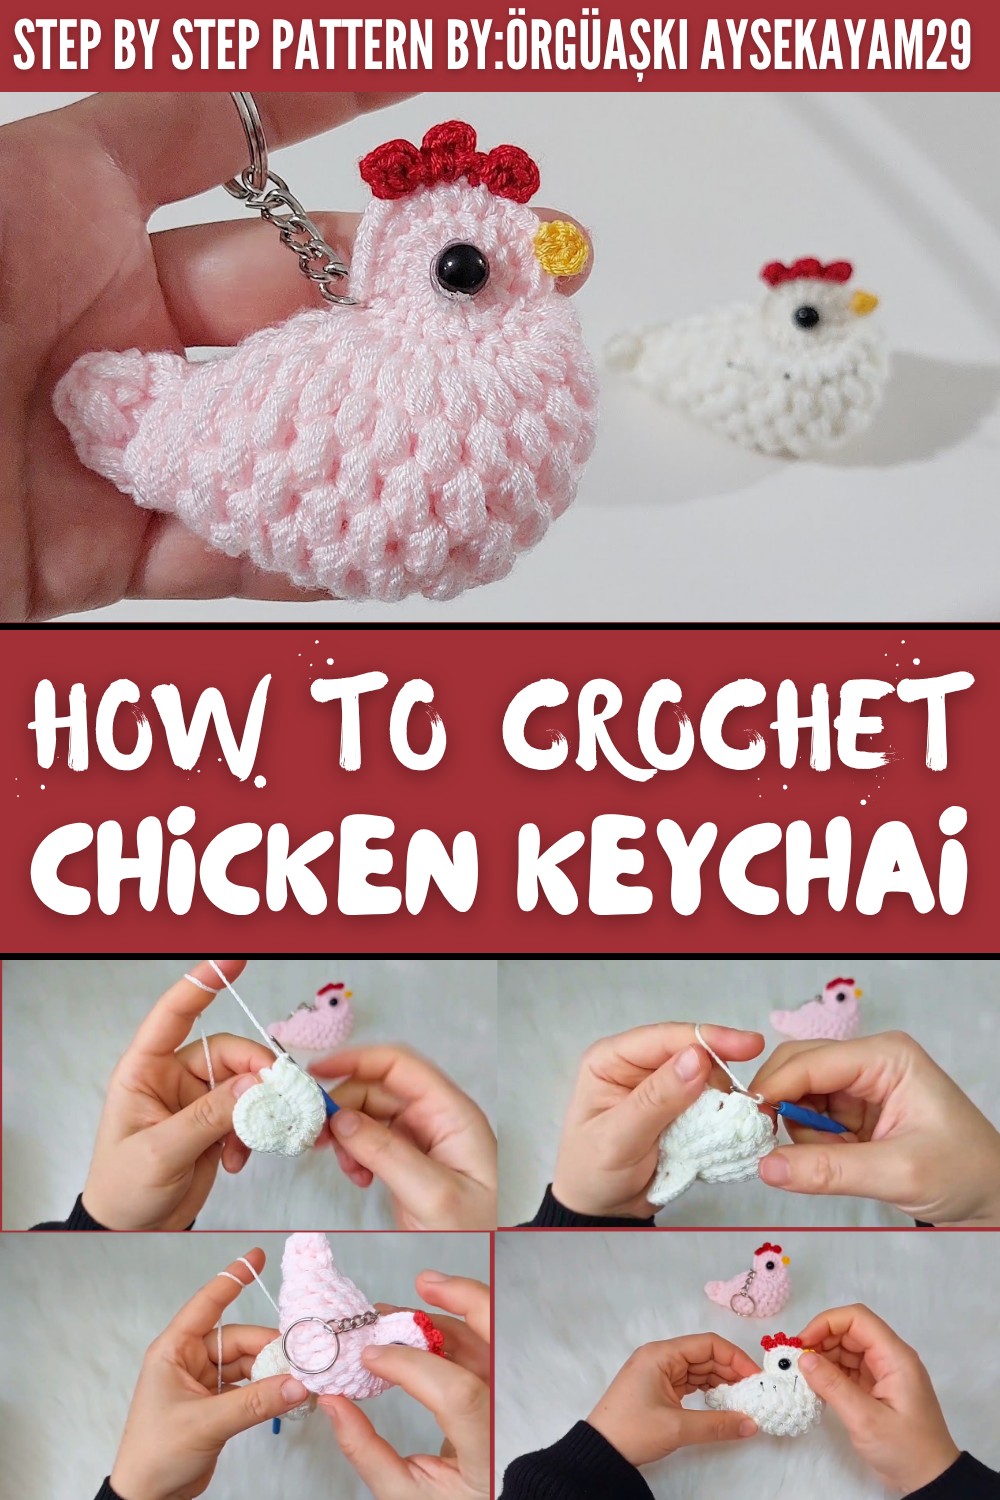
This small creation is the perfect mix of practical and decorative. It's just the right size to hang on your keys, clip onto a backpack, or even attach to a gift bag for an extra handmade touch. The versatility doesn't stop there because you can customize the colors to match your personality or give each chicken its own unique flair. Try soft neutrals for a farmhouse vibe or bold, bright shades for a fun and playful look.
The body is worked in two parts that are stitched together after being lightly stuffed, creating a soft yet sturdy shape. The tiny features like the comb, beak, and tail are added separately, making this the ideal project for practicing your finishing skills. Smooth yarn in vibrant hues works beautifully with the clean lines of the stitches, while a lightweight, non fuzzy material ensures the details stay crisp and defined.
Inspired by the joy of handmade gifts and playful accessories, this keychain is thoughtful for birthdays, holidays, or everyday surprises. It's not just a keychain because with a few slight modifications, it can become a pincushion, ornament, or even a cheerful decorative addition to your workspace. Let each one reflect your creativity, adding a unique personality to every piece you make.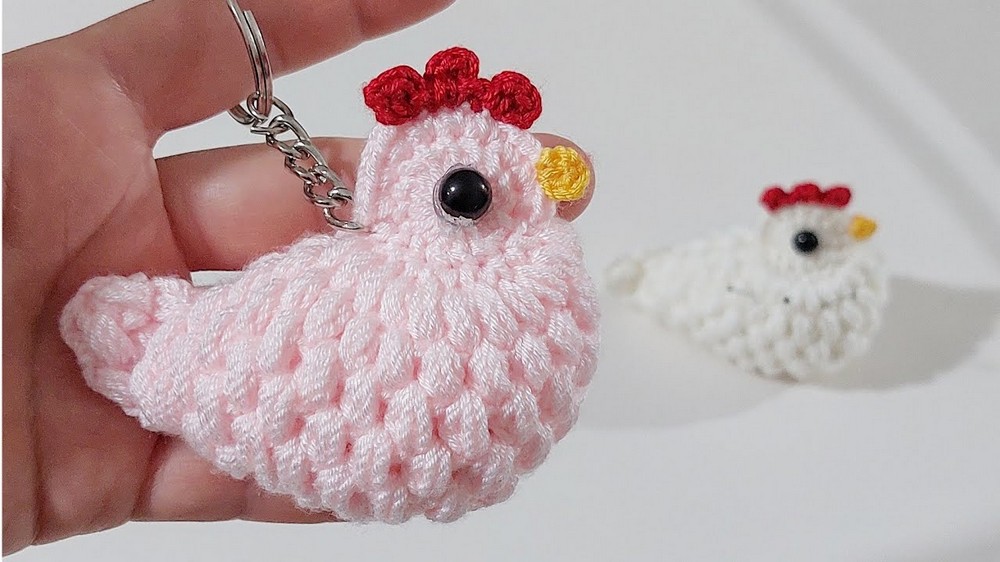
Crochet Chicken Keychain Pattern
Materials Needed
- Yarn:
- Main color (body): Light cream or white
- Accent colors: Red, yellow (beak), and pink for details
- Hook: 2.5 mm or a size that works well with your yarn to ensure tight stitches
- Filling: Fiberfill or boncuk elyaf (bead grade polyester stuffing)
- Decorative elements:
- Small half beads or safety doll eyes (optional pre made plastic eyes can also be used)
- Needle: For sewing the edges and attaching parts
- Scissors
- Fabric glue (optional): For securing eyes
Gauge
Gauge is not critical for this project but ensure tighter stitches so that the stuffing doesn't show through. Use a smaller hook if necessary.
Finished Size
Approximately 7 cm x 9 cm, depending on yarn and hook size used.
Skill Level
Beginner friendly with basic crochet stitches like slip stitch, chain stitch, single crochet, and double crochet. Special techniques (like creating a "magic ring") are explained.
Abbreviations
(US crochet terminology)
- MR: Magic Ring
- ch: Chain
- sl st: Slip Stitch
- sc: Single Crochet
- dc: Double Crochet
- tc: Treble Crochet
- fsc: Foundation Single Crochet (or use a regular chain followed by sc)
- inc: Increase
- st: Stitch
Pattern Instructions
1. Creating the Round Body (Make 2)
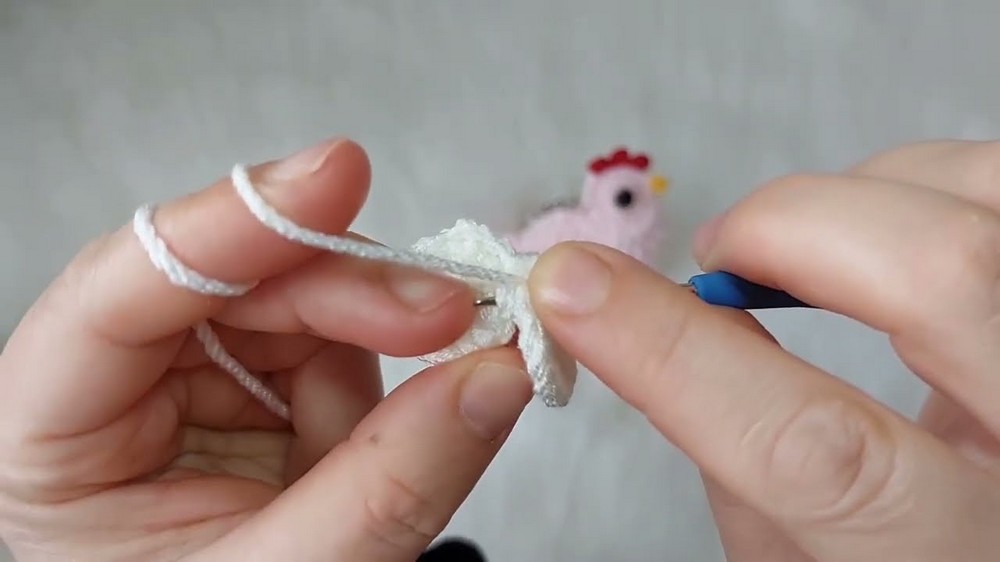
- Start with a Magic Ring (MR): Wrap yarn around your fingers to form a magic ring.
- Foundation Row:
- Ch 3 to start your double crochets (counts as the first stitch).
- Work 15 dc into the magic ring. You should now have 16 dc total, including the first ch 3 (considered as 1 dc).
- Close the Round: Tighten the magic ring and join the round with a sl st into the top of the first ch 3.
- Repeat Steps 1-3 to create a second round disk. Leave the second piece's yarn tail uncut for assembly.
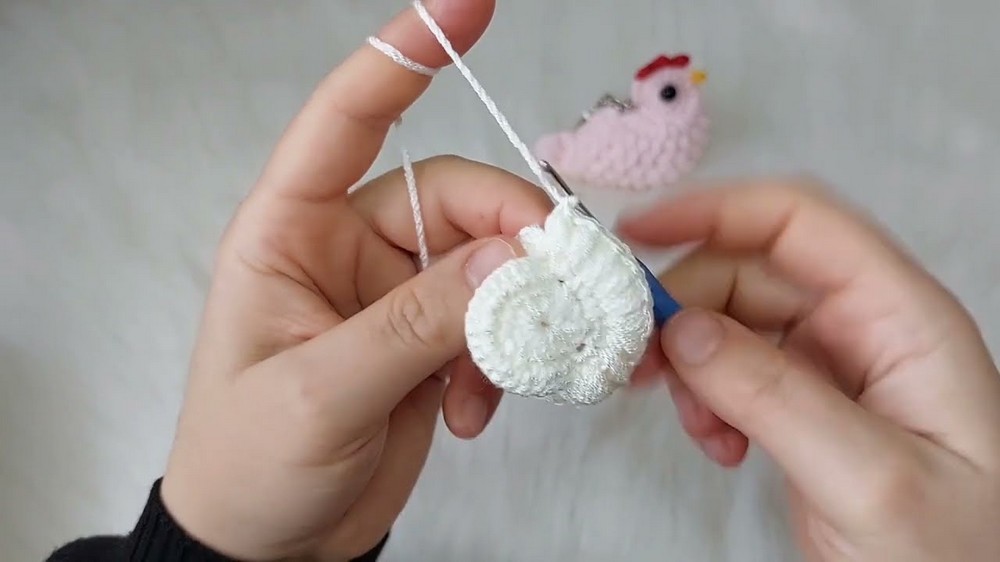
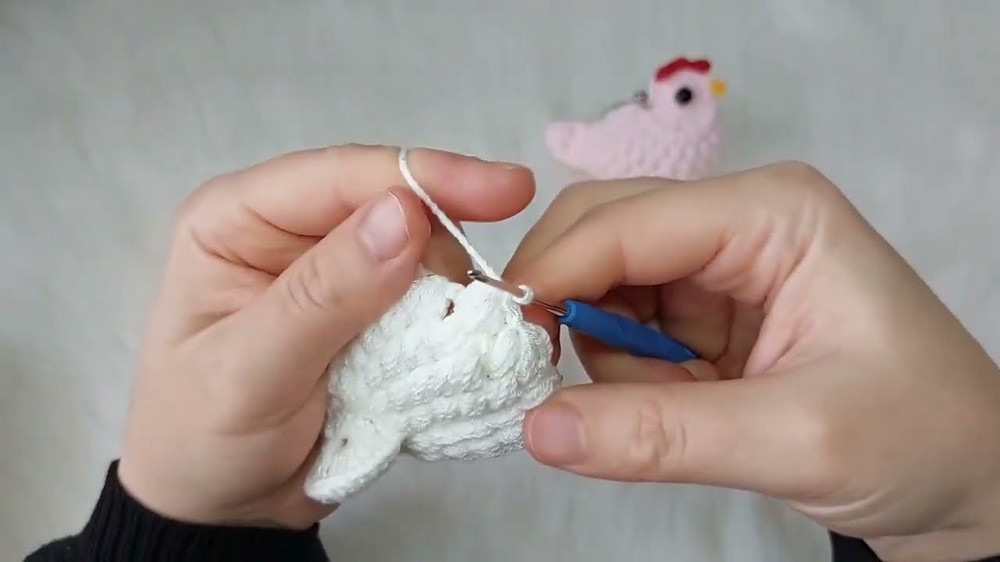
2. Stitch the Round Body Together
- Assembly: Place the two round pieces together, wrong sides facing inside. Use the uncut yarn tail to crochet the pieces together.
- Work 1 sc into each stitch of the disk, ensuring both pieces are joined. (Tip: You can also sew them together using an invisible stitch if you prefer.)
- Leave a small gap to insert stuffing.
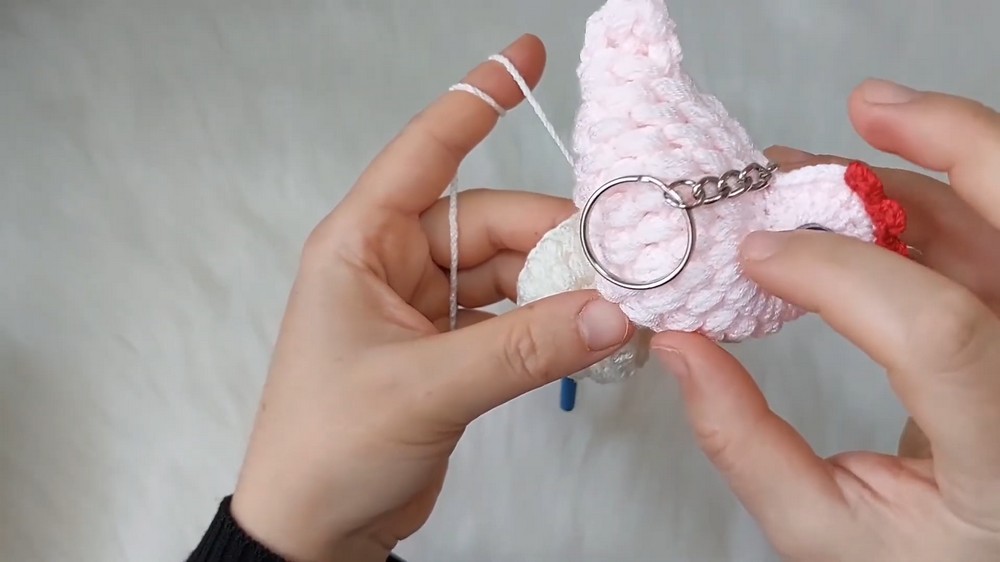
3. Filling & Final Closing
- Insert a small amount of fiberfill stuffing into the hole you left. Adjust the amount based on your desired puffiness.
- Tip: Ensure the stuffing is evenly spread to create a firm but smooth texture.
- Continue crocheting/sc along the edge to seal the gap tightly.
- Fasten off and weave in any loose ends securely.
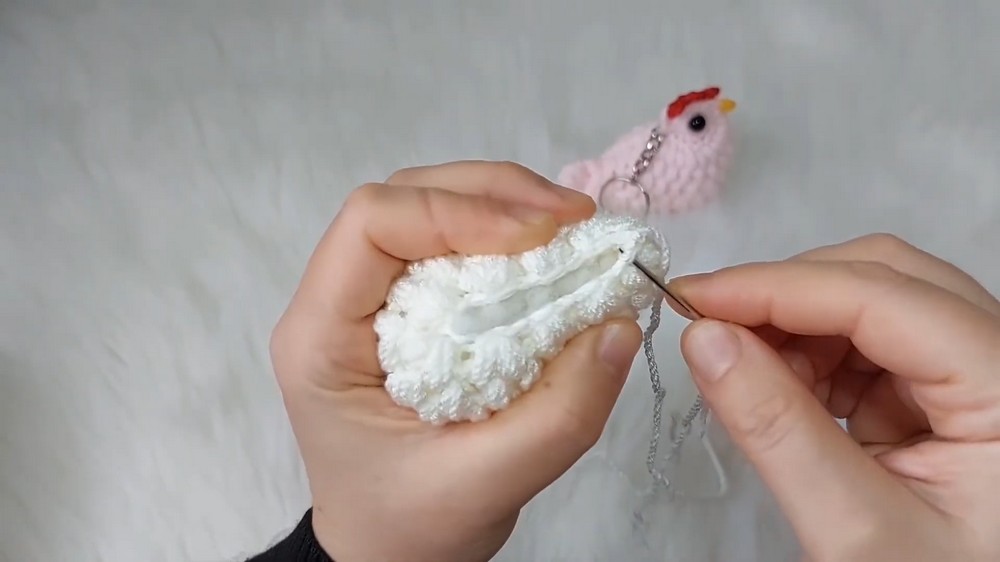
4. Adding the Rooster's Features
4.1 Tail Feathers
- Attach a new color (pink or any other contrasting color you prefer) to the top back part of the rooster's body (approximately 3-4 stitches from the center).
- Row Setup:
- Ch 3 (counts as first dc).
- Work 3 dc in the same space; ch 1, then slip stitch to the next stitch.
- Repeat this step to create more tail feathers, alternating colors if desired. For a fuller tail, add more feathers.
- Fasten off and weave in ends.
4.2 Comb (Crest on Top of the Head)
- Attach red yarn at the top edge of the body (ideally 2-3 stitches before the center of the body).
- Ch 2, make 1 sc in the same stitch. (This creates the first "bump" of the comb).
- Ch 2 again, and make another sc into the subsequent stitch.
- Repeat this process 4 times until the comb has 3-4 red "bumps." Adjust the number for a larger or smaller comb.
- Fasten off and weave in ends.
4.3 Beak
- Thread yellow yarn through the body near the center of the rooster's head.
- Ch 2 and make 1 tc into the same stitch.
- Pull the yarn loop back into the first chain (as you would to form a sl st). This forms a pointy beak.
- Fasten off and weave the tail back through the nearest stitches for extra security.
4.4 Eyes
- Use hot glue or fabric glue to attach half-beads as eyes. Place them symmetrically on either side of the beak.
- Optional: Sew or glue pre-made doll eyes for a more detailed look.
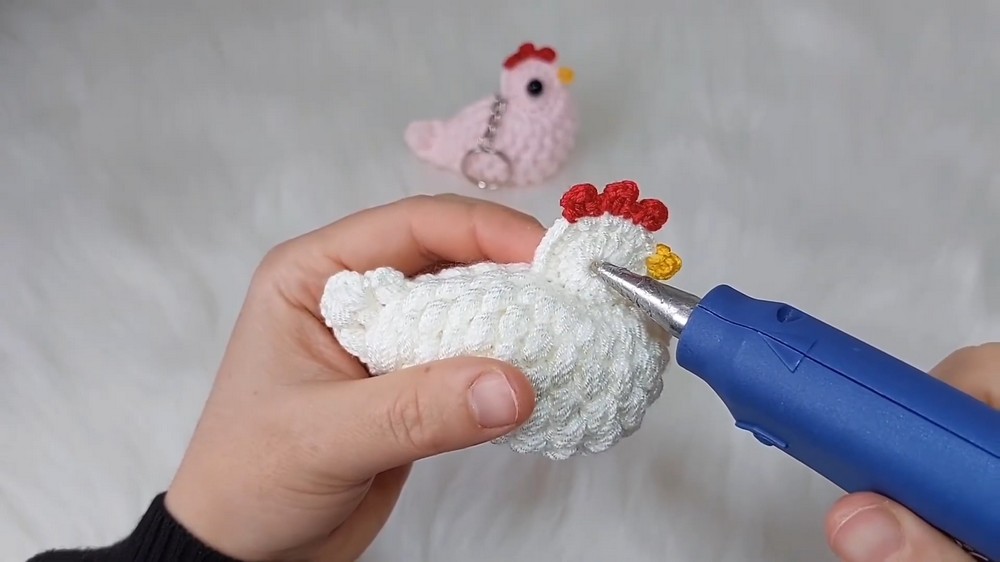
5. Finishing Details
Optional but recommended:
- Add an eyelet chain at the top of the rooster's back to transform it into a keychain.
- For decorative use, attach a magnet to the back to display it on a refrigerator or board.
- You can also use this design as a pincushion.
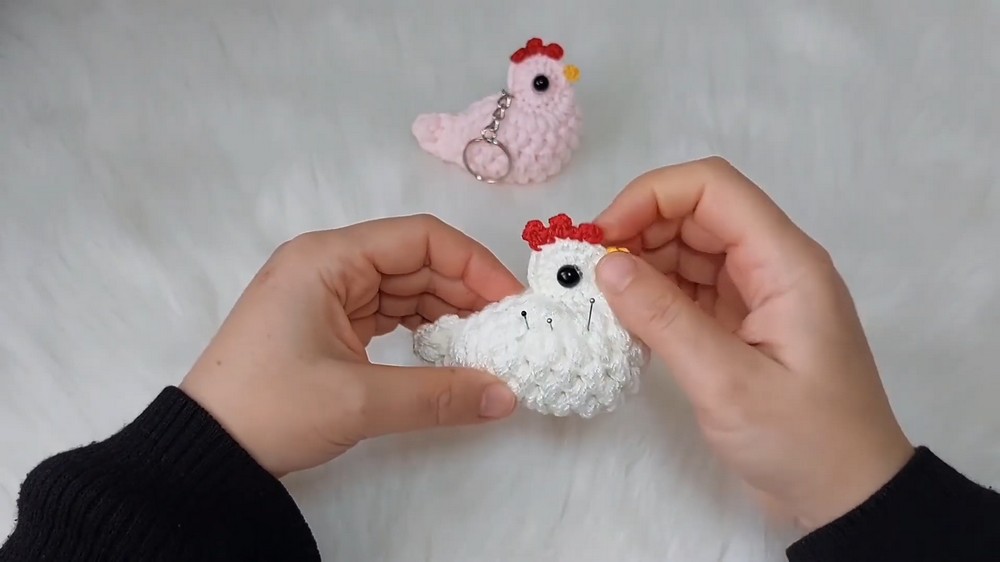
Customization Ideas
- Varying Colors: Use bold, vibrant, or pastel shades to suit your preferences.
- Size Variations: Experiment with different hook sizes and yarn weights to create smaller or larger roosters.
- Textured Yarn: For a unique look, use textured or variegated yarns.
- Personalized Keychains: Add initials or tiny embroidered designs for gifting purposes.
Special Techniques
- Magic Ring (MR): Start every circle with a magic ring to ensure a tight, clean center without gaps.
- Uniform Edge Joining: While joining the rounds, crochet through both loops of both pieces for secure and neat assembly.
- Basic Shaping with Filler: Adjust the shape as you fill by squeezing or tapping the stuffing in place.
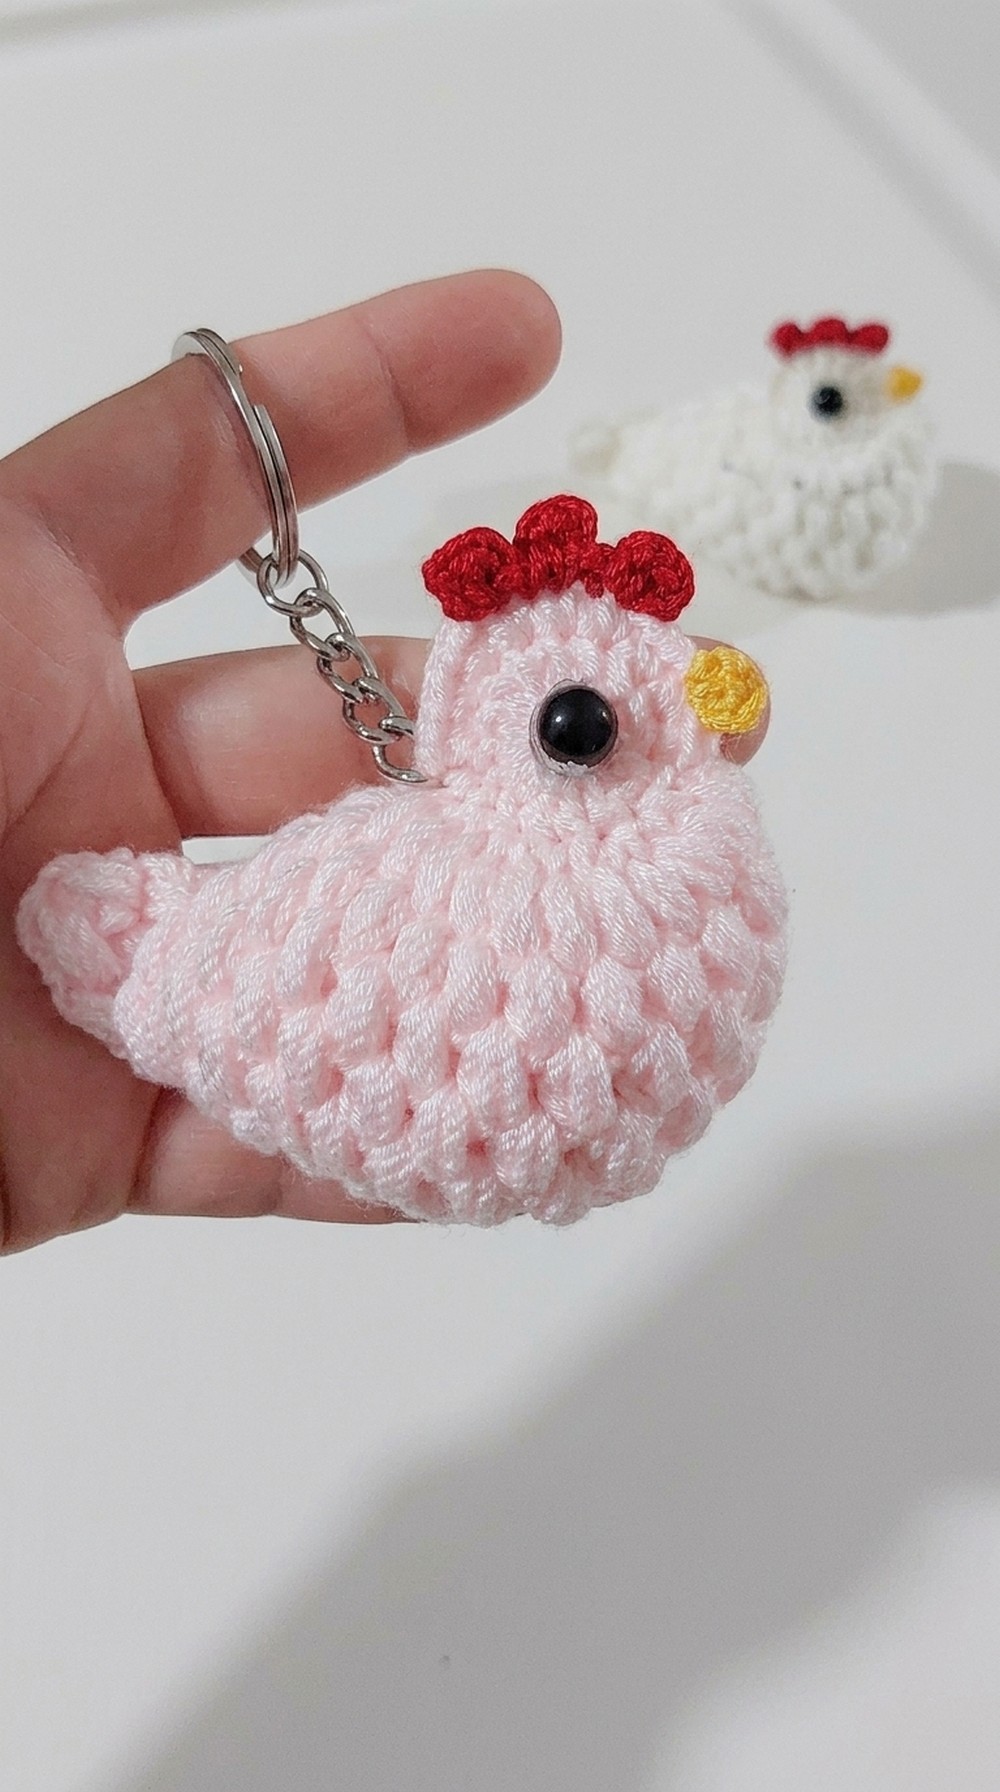
Final Look
Congratulations, Your beautifully crocheted crochet rooster is complete. You should have a compact, cheerful bird with a round body, vibrant tail feathers, a cute comb, and an adorable beak. Customize further with embroidery, add beads or glitter glue for extra sparkle, or keep it simple for a classic crochet keepsake.
Important Remarks
- Take your time with the finishing touches-it's the small details like securing eyes and sewing embellishments that bring your project to life.
- Always work in a clean, well-lit space, especially when stuffing and sealing.
- If gifting, add a personalized touch, such as a small name tag or handwritten note for extra sentimentality.
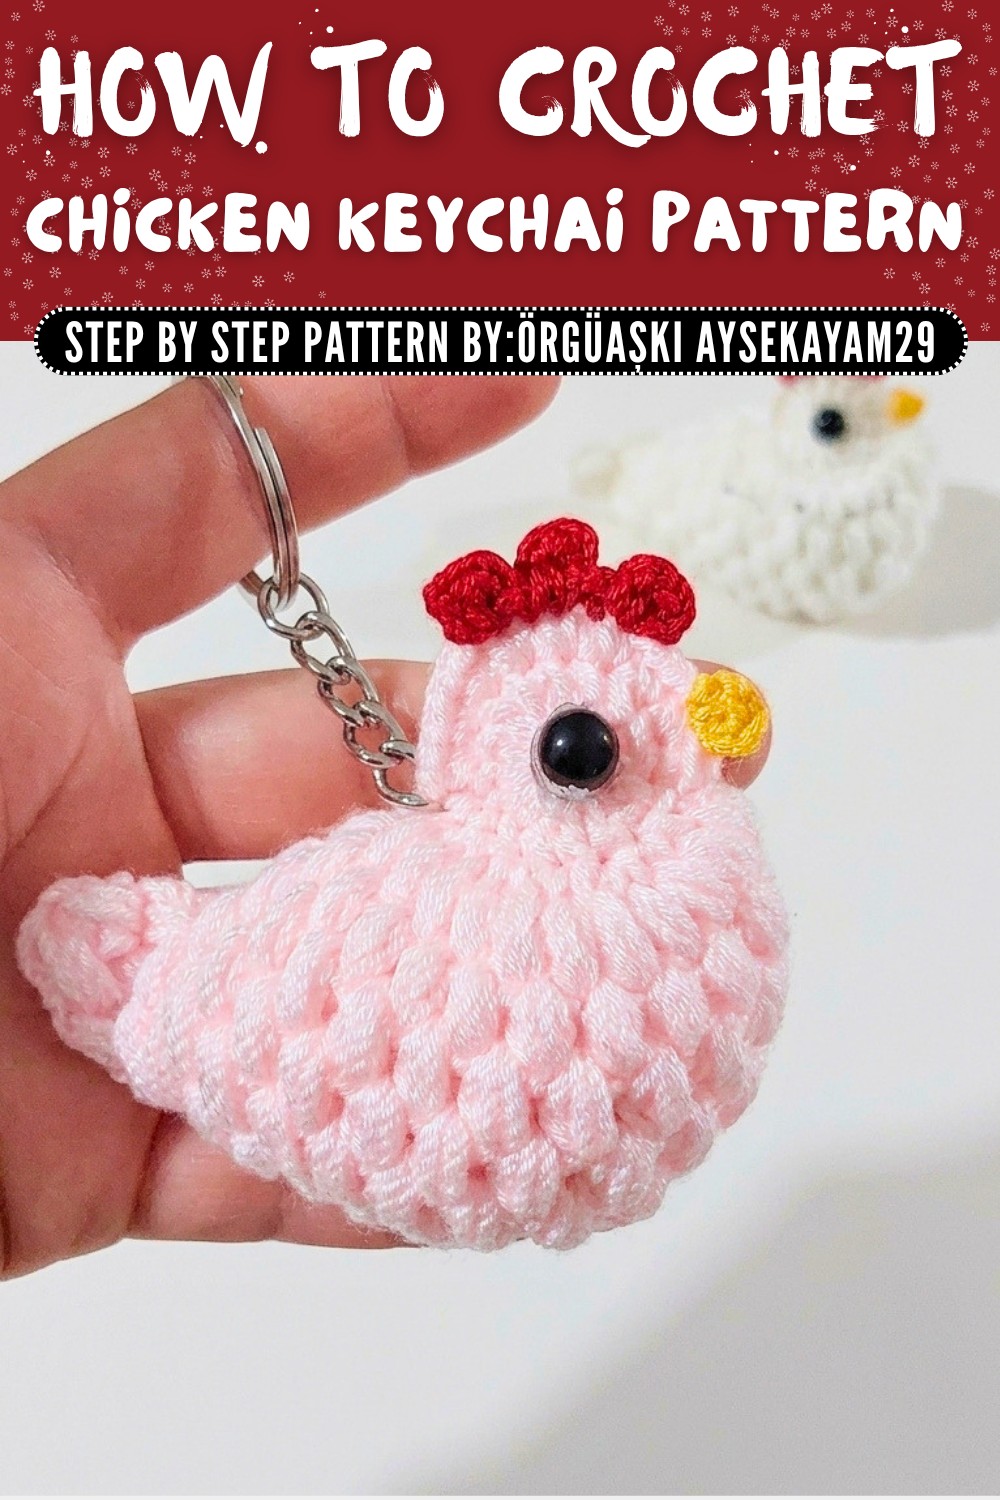
By following this guide, you'll create a keepsake that can brighten keys, bags, or shelves. Its versatility and timeless appeal make it a charming paroject for both beginners and seasoned crocheters. Let us know how your rooster turned out.