
Free Crochet Mini Bag Pattern for Stylish Storage Needs
Turn yarn into a trendy mini bag with this free crochet pattern enjoy crocheting a fun and simple project you'll love showing off.
Think about making your own cute little bag with just yarn and a crochet hook. The Mini Bag Crochet teaches you step by step, so you don't need any experience to follow along. It's a free guide, so you can start right away without spending money. This mini bag is not just a bag-it's a little piece of art. It has a neat round shape, smooth stitches, and a modern look. In the pattern, the yarn is soft and looks beautiful, and you can pick your favorite color to make it your own. The bag even comes with a nice handle, so you can carry it easily or use it as a stylish accessory.
Learn how to Crochet a Mini Bag with This Free Pattern
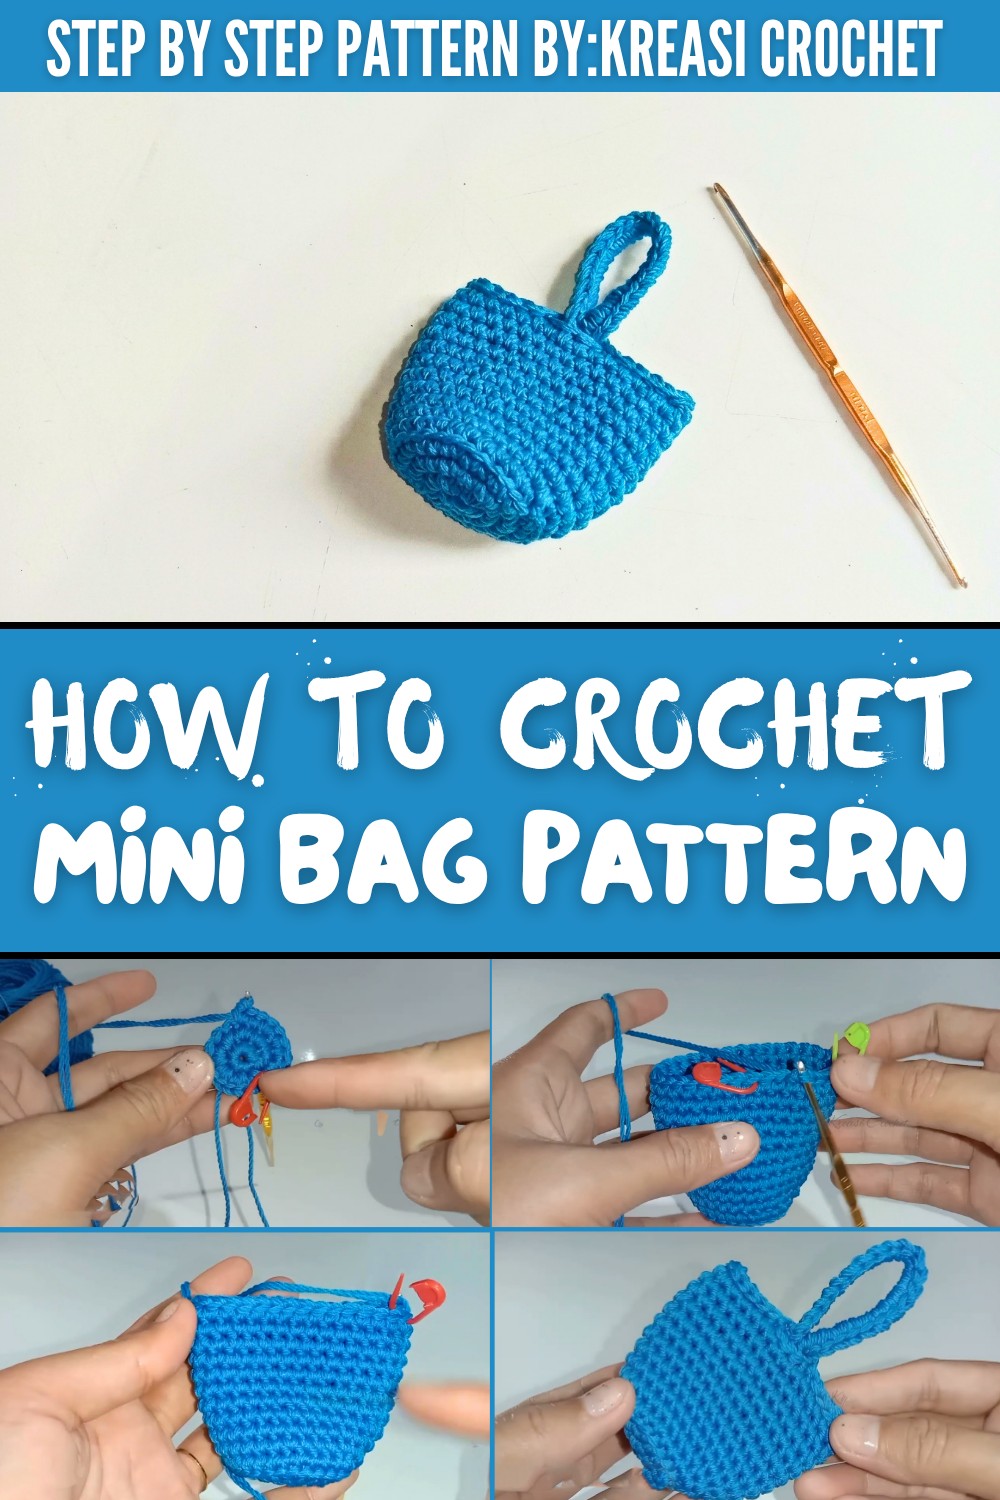
It's the perfect size to hold small items like your keys, money, lip balm, or earphones. You can take it to school, college, shopping, or anywhere you like. And if you're looking for a thoughtful gift, a handmade mini bag is always a lovely idea-it shows care and effort. The pattern makes learning super easy.
First, it shows you how to create the base of the bag. Then, you'll see how to build the sides with simple crochet stitches, step by step. The crochet pattern carefully demonstrates each move, so you can follow along without confusion. Even if you're new to crochet, you'll enjoy how simple and fun this is.
Start making your own mini crochet bag today. It's creative, relaxing, and exciting to see your hard work turn into something special. With a little effort and practice, you'll have a stylish handmade bag that you'll feel proud to show off.
Crochet Mini Bag Pattern
Materials Required
- Yarn:
- Poly Cherry Yarn or any lightweight yarn (similar weight to Poly Cherry).
- Double the yarn if it's thin to achieve the correct structure.
- Crochet Hook:
- 4/0 crochet hook (2.5 mm), brand: Tulip (or a similar hook size).
- You may adjust the hook size to fit your preferred yarn thickness.
- Other Tools:
- Stitch Markers: To keep track of rounds.
- Tapestry Needle: For hiding ends and finishing.
- Scissors: To trim excess yarn.
Gauge
Gauge is not critical for this project. However, if using the suggested yarn and hook, the base of the bag (after increasing rounds) will have approximately 32 stitches.
Finished Size
- Base Diameter: Approximately 7-8 cm (adjustable with additional rounds).
- Height: Approximately 10-12 cm (adjustable based on desired size).
- Handle Length: Adjustable (example uses 20 chains for a short handle).
Customization Ideas
- Size Adjustment:
- Want a larger bag? Add more rounds to the base and increase the number of body rounds proportionally.
- Prefer a smaller bag? Use thinner yarn, or stop increasing after fewer rounds for a smaller base.
- Colors:
- Use multiple colors for stripes or patterns.
- Handles:
- Adjust the number of chains for longer handles to make it a shoulder bag or crossbody.
Pattern Instructions
Part 1: Base of the Bag
- Foundation: Magic Ring
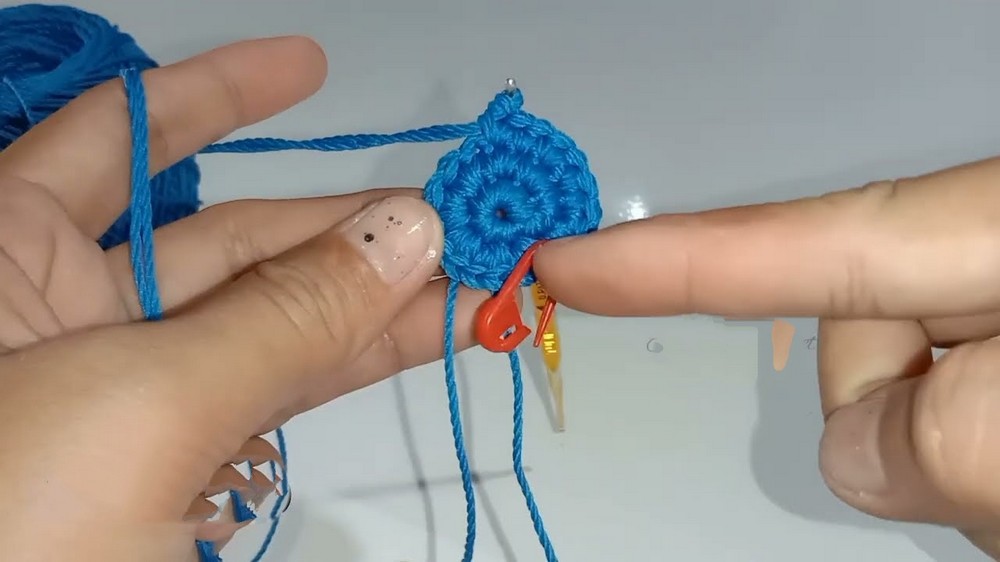
- Start with a magic ring. Wrap the yarn around your fingers to create a ring, leaving the shorter tail on top.
- Insert your hook into the ring, yarn over, and pull through to form a loop.
- Chain 1 to secure.
- Round 1: Single Crochet Into the Magic Ring
- Work 8 single crochets (sc) inside the magic ring.
- Secure the first stitch with a stitch marker to track the beginning of the round.
- Close the Magic Ring
- Pull the shorter tail to tighten the ring and close the center.
- At the end of the round, ensure you have 8 stitches.
- Round 2: Increase Round
- For this round, work 2 single crochets in each stitch (an increase in every stitch).
- You should end with 16 stitches.
- Round 3: Alternating Increase
- Work the pattern: 1 sc in the first stitch, 2 sc in the next stitch.
- Repeat this sequence around the round. At the end, you should have 24 stitches.
- Round 4: Standard Increase Round
- Work the pattern: 1 sc in each of the next 2 stitches, 2 sc in the third stitch.
- Repeat this sequence until the end, finishing with 32 stitches.

Part 2: Body of the Bag
- Transition From Base to Body
- Insert your hook into the first stitch of the round and work a slip stitch (sl st). This creates a clean transition from the base.
- Chain 1, then work 1 single crochet (sc) into every stitch around the row, working into the back loops only for this round.
- This establishes the "walls" of the bag.
- Single Crochet Body
- Continue working 10 rounds of single crochets, inserting the hook under both loops of each stitch.
- Use your stitch marker to track the beginning of each round.


Part 3: Bag Rim
- Slip Stitch Row
- To finish the top of the bag, work a round of slip stitches (sl st). This defines the edge and provides stability.
- Ensure the slip stitches are even.
- Placement of Handles
- Use a stitch marker to locate the middle points of the front and back edges of the bag.
- This ensures your handles will sit evenly.
- Skipping Stitches for the Handle Gaps
- At the middle points on each side, skip 3 stitches and create a gap for the handle:
- Chain 3, then skip the next 3 stitches, and rejoin into the fourth stitch with a single crochet.
- At the middle points on each side, skip 3 stitches and create a gap for the handle:

Part 4: Handles
- Handle Foundation
- Depending on your desired handle length, chain 20 (or your preferred length).
- Rejoin the chain to the gap on the opposite side.
- Adding Coverage to the Handles
- Work 1 row of slip stitches or single crochets along the entire length of the handle to provide reinforcement.

Special Techniques
- Magic Ring:
- This technique avoids a hole at the center of the base and gives the bag a polished look. Make the ring secure with a good pull of the starting tail.
- Back Loop Only (BLO):
- Working in the back loop only for the first round of the body creates a separation between the base and walls, adding definition to the structure.
- Even Stitch Count:
- Double check the stitch count in each round, ensuring symmetry and a smooth shape.
Finishing
- Securing Loose Ends:
- Use a tapestry needle to neatly weave all loose tails into the inside of the bag. Pull through tight spaces to make the ends invisible.
- Blocking (Optional):
- To achieve structured walls, lightly block the bag. Wet the bag slightly, shape it into its final form, and let it air dry.
- Adding Accessories:
- Attach beads, charms, or buttons for additional decoration.
Tips for Success
- Tension Consistency:
- Keep an even tension throughout the work to avoid wavy or uneven rows.
- Strong Edges:
- Pull your slip stitches snugly to reinforce the rim and handle gaps.
- Durable Handles:
- Reinforce the handles with extra rows of stitches for strength.
- Color Variation:
- Consider using stripes or color blocking to make the bag unique.
Conclusion
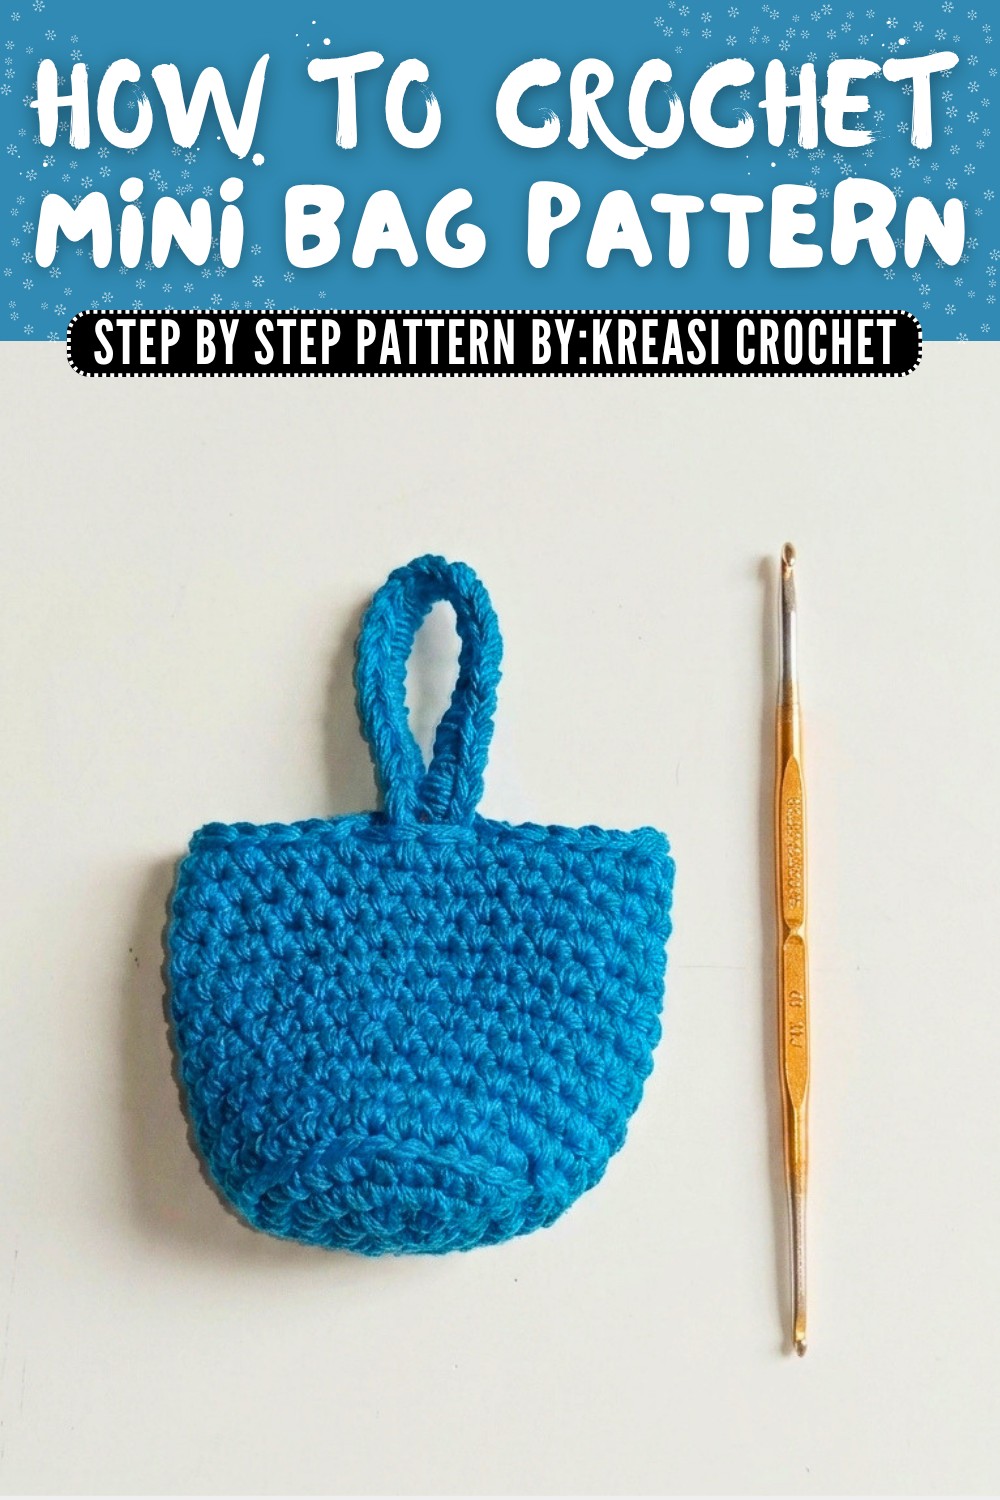
This mini crochet bag is a simple yet functional project, perfect for storing small items or giving as a handmade gift. Its compact size and customizable nature make it easy to adapt to various preferences. By following the structured instructions, you can achieve a polished and professional finish.
Experiment with colors, handle designs, and decorations to make each bag a one-of-a-kind creation. This versatile design suits every occasion, from casual outings to gifts for loved ones.