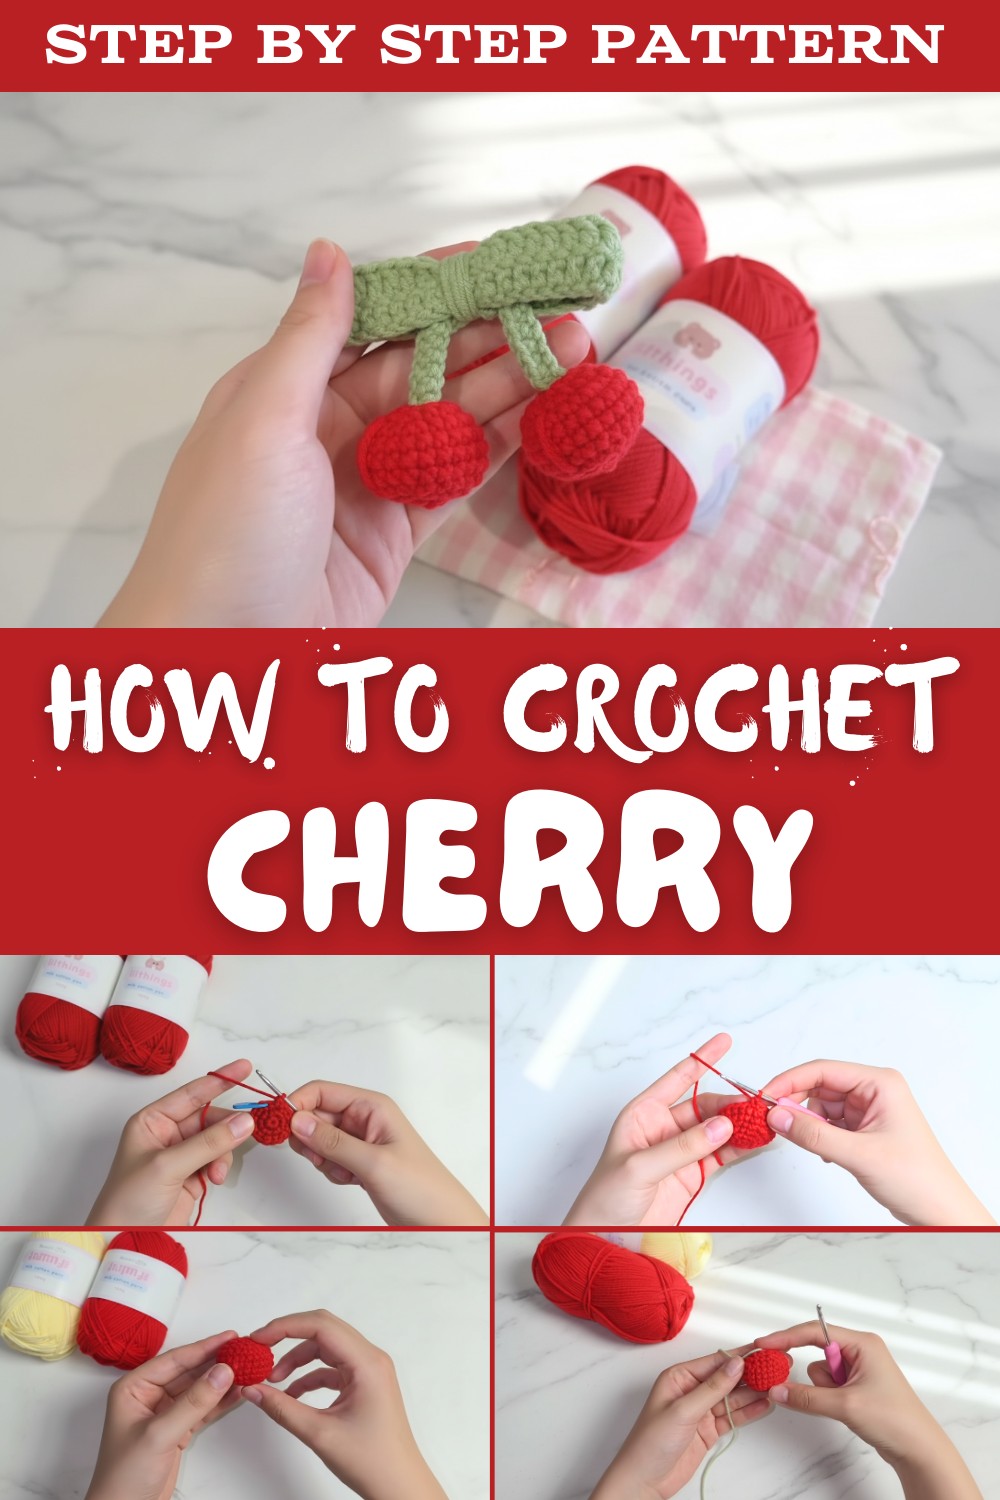
Pretty Free Crochet Cherry Pattern to Brighten Your Day
Enjoy a fun yarn project with this Free Crochet Cherry Pattern that helps you make small cherries perfect for keychain bag charms, gifts and cute decor.
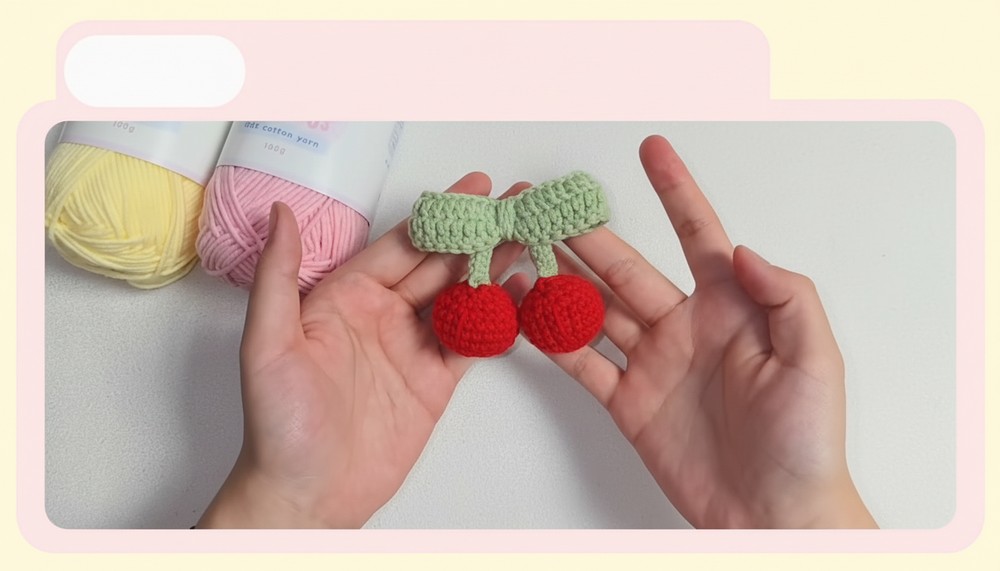
Did you know you can crochet your very own tiny, shiny cherries that look good enough to eat-without much effort? This Free Crochet Cherry Pattern is perfect for beginners and lets you create adorable, round cherries with bright red yarn, a green stem, and even a cute leafy ribbon.
These cherries are so soft and colorful that they'll bring life to anything you decorate keychains, bags, or gifts. The pattern is super easy to follow, and the finished cherries look so cheerful that they'll make everyone smile.
Free crochet cherry pattern ideal for a quick gift idea
In just a short time, you can create something that's not just beautiful but also handmade with love. It's a fun project for all ages that will keep your hands busy and your heart happy.

Crochet Cherry Pattern
Finished Size
- Cherry: Approximately 1.5 inches in diameter (depending on gauge).
- Leaf and stem size may vary based on personal tension and hook size.
Materials
- Yarn:
- Milk Cotton Yarn in three colors:
- Cherry Red (#49)
- Green (#09) for leaves/stem.
- Milk Cotton Yarn in three colors:
- Crochet Hook: Size corresponding to yarn; recommended hook size 2.5mm-3mm.
- Scissors.
- Hot Glue Gun (to secure parts together).
- Stitch Marker, Bobby Pin, or Safety Pin (for marking rounds).
- Darning Needle (for sewing and hiding yarn tails).
- Stuffing/Fiberfill (for stuffing the cherry).
Gauge
- Any tension works for this project; ensure your stitches are tight enough so the stuffing won't show through your cherry.
Pattern Instructions
Part 1: Cherry
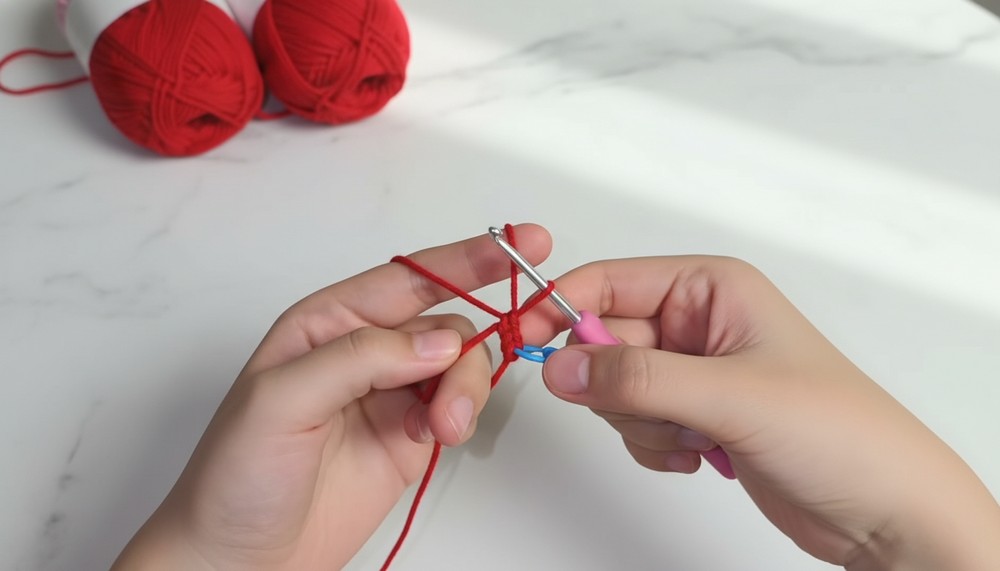
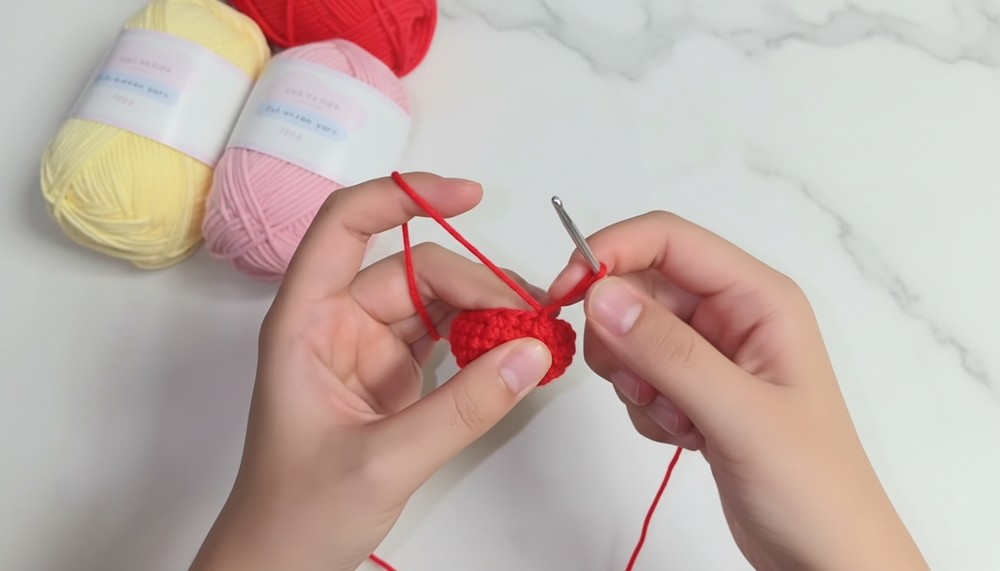
- Start with the magic ring:
- Wrap the pink yarn around your fingers to form a magic ring. Secure the loop with your hook.
- Round 1:
- Inside the magic ring, crochet 6 single crochet (SC).
- Pull the yarn tail tightly to close the ring.
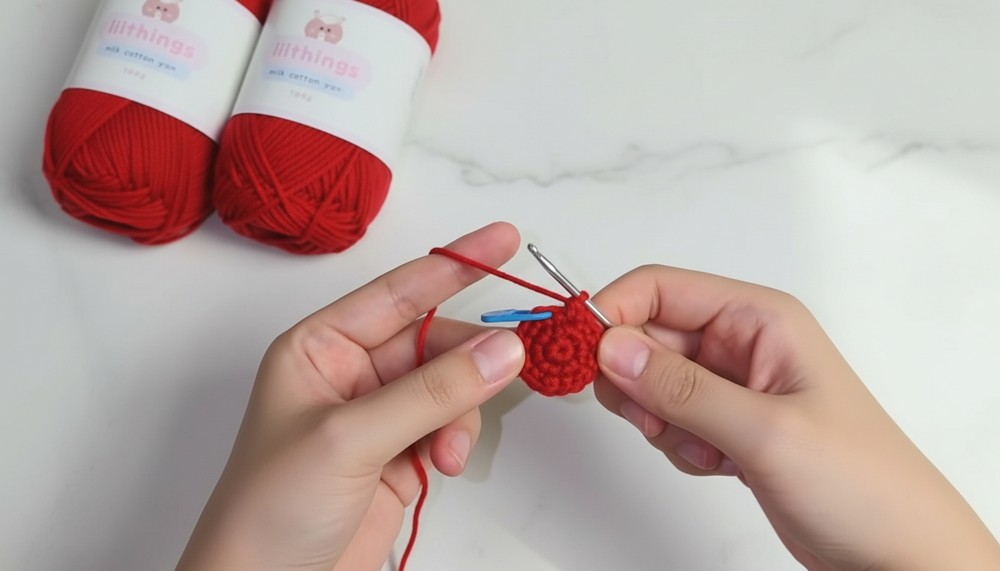
- Mark the first stitch with your stitch marker.
- Round 2 (Increase round):
- Work 2 SC into each stitch until the end of the round (12 stitches in total).
- Use the stitch marker to keep track of the first stitch.
- Round 3 (Increase round):
- Work 1 SC in the first stitch, then 2 SC in the next stitch.
- Repeat until the end of the round (18 stitches in total).
- Round 4 (Increase round):
- Work 1 SC in the first stitch, 1 SC in the second stitch, 2 SC in the third stitch.
- Repeat this pattern for the entire round (24 stitches in total).
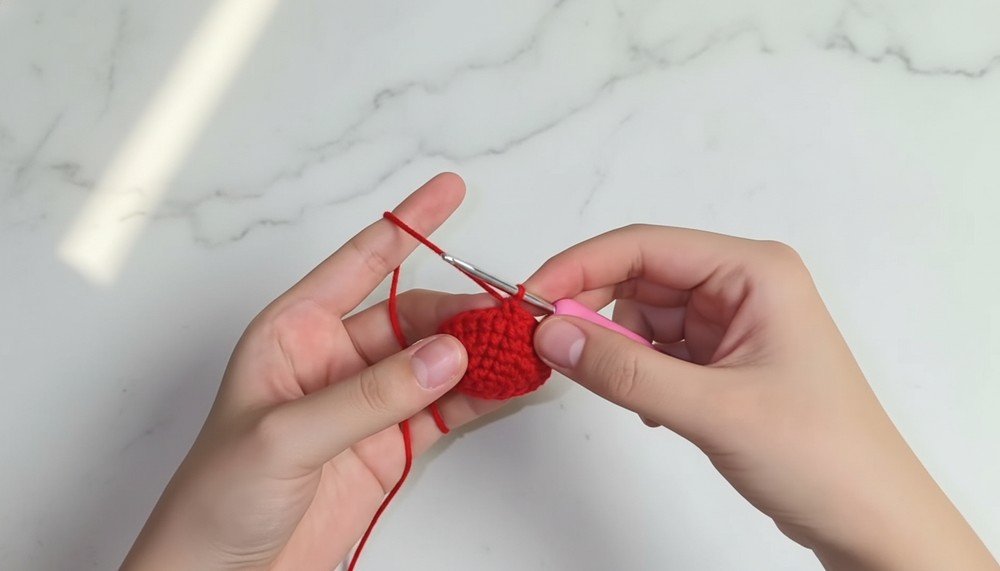
- Rounds 5-7 (Maintain size):
- Work 1 SC in each stitch for three rounds (24 stitches per round).
- This creates the height of the cherry.
- Round 8 (Decrease round):
- Work 1 SC, 1 decrease around the row (decrease by crocheting two stitches together).
- Continue to the end, decreasing the total number of stitches.
- Round 9 (Decrease round):
- Work decreases in every stitch until the cherry is nearly closed. Leave a small gap at the top for stuffing.
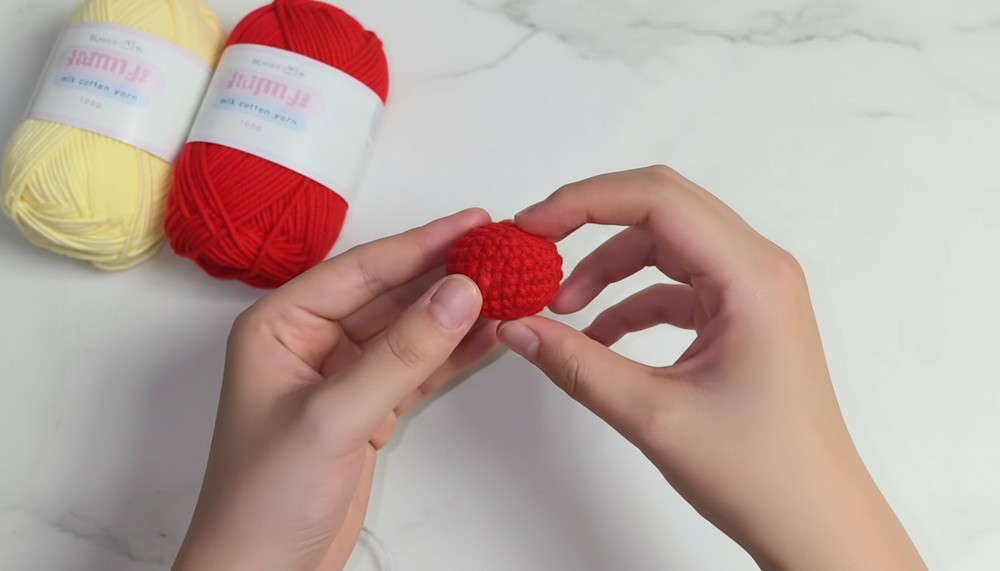
- Stuff the cherry:
- Insert stuffing/fiberfill into the cherry until it's plump and firm.
- Round 10 (Final closing):
- Continue decreasing stitches, working decreases in all remaining stitches.
- Close off the top by sewing through the last few stitches using a darning needle. Hide the yarn tail inside the cherry.
Part 2: Cherry Reflection
- Using the white yarn, thread it through the darning needle.
- Starting at Round 5, create a clean white line across the cherry to simulate a reflective light. Insert the needle and pull the yarn across a few stitches (about 3-4 stitches wide).
- Pull the needle through and secure the yarn tail inside the cherry. Hide loose yarn tails inside the cherry.
Part 3: Leaves
- Create a magic ring with green yarn:
- Slide yarn around two fingers to form a loop.
- Secure with your hook, and tighten the loop to create a base.
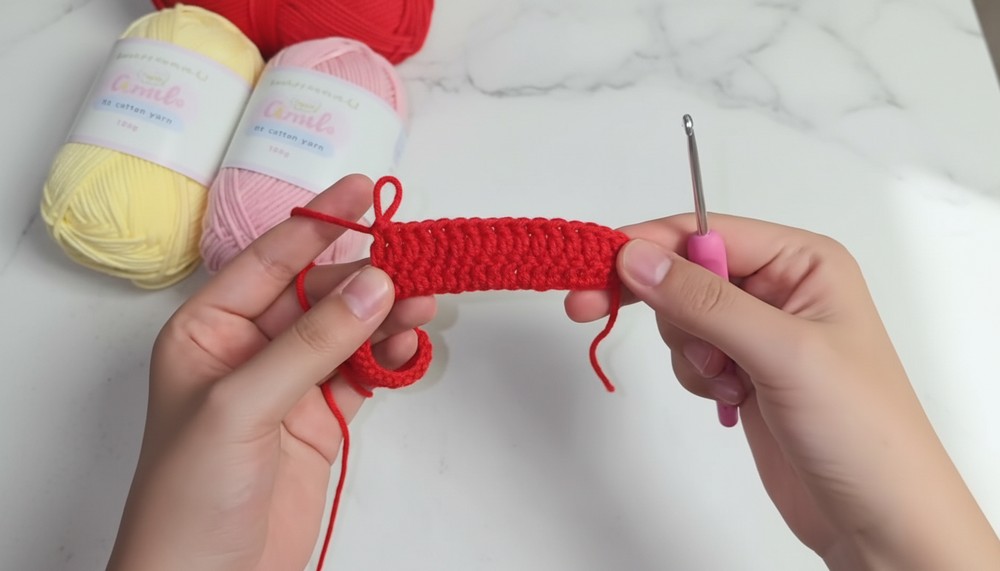
- Foundation chain:
- Chain 36.
- Row 1 (Double Crochet):
- Skip the first two chains (for height).
- In the 3rd chain from the hook, work 1 Double Crochet (DC).
- Repeat 1 DC in each stitch until you reach the other end of the chain.
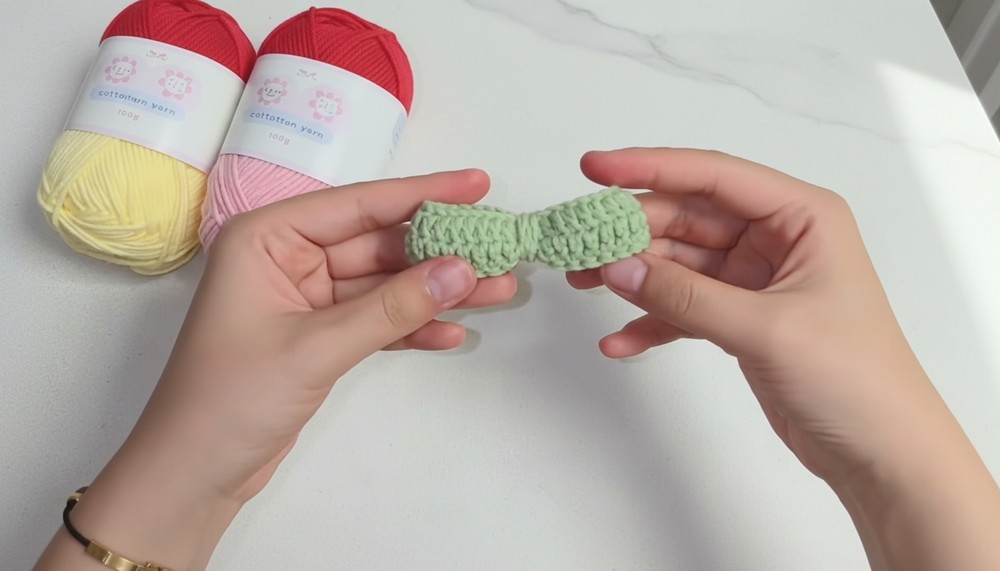
- Row 2 (Shaping the leaf):
- Chain 1 to begin. Turn your work to begin the second row.
- Work as follows:
- 1 SC in the first stitch.
- 15 DC evenly along the length of the chain.
- 2 Slip Stitches in the center stitches to create the curve of the leaf.
- 15 more DC, then finish with 1 SC in the last stitch.
- Fold and shape:
- Fold the leaf in half lengthwise.
- Secure the two sides by stitching them together with the yarn tail using a darning needle.
- Finishing:
- Wrap the longer yarn tail around the base of the leaf. Hide remaining yarn tails securely inside.
Part 4: Stem
- Use green yarn. Attach it to the top of the cherry (the last round). Insert the hook into a random stitch near the gap.
- Seamlessly attach the yarn by pulling it through and securing it with a slip knot.
- Chain 10 to create the stem.
- Skip the first chain and work single crochets (SC) across (total 9 SC).
- Finish by securing the last SC with a knot. Trim and hide yarn tails inside the cherry.
Repeat for both cherries if you want a pair.

Finishing Touches
- Use a hot glue gun to attach the two cherries by their stems.
- If desired, glue the leaves to the top of the cherry pair to complete the design.
- Add a keyring or clip to the top of the stem to make this an adorable, portable keychain.
Customization Ideas
- You can experiment with other colors for your cherries, such as light pink or even purple, to create unique combinations.
- Use glittery or metallic yarn for the cherries to make them sparkle.
- Add small beads or embellishments inside the leaves for an extra decorative touch.

Tips
- Magic Ring Alternative: If you find the magic ring too advanced, start by chaining 2, then working all the stitches in the second chain.
- Tension Control: Keep your stitches consistent and tight so the stuffing doesn't show.
- Use a plastic needle for sewing parts together: This helps avoid splitting strands.
Conclusion
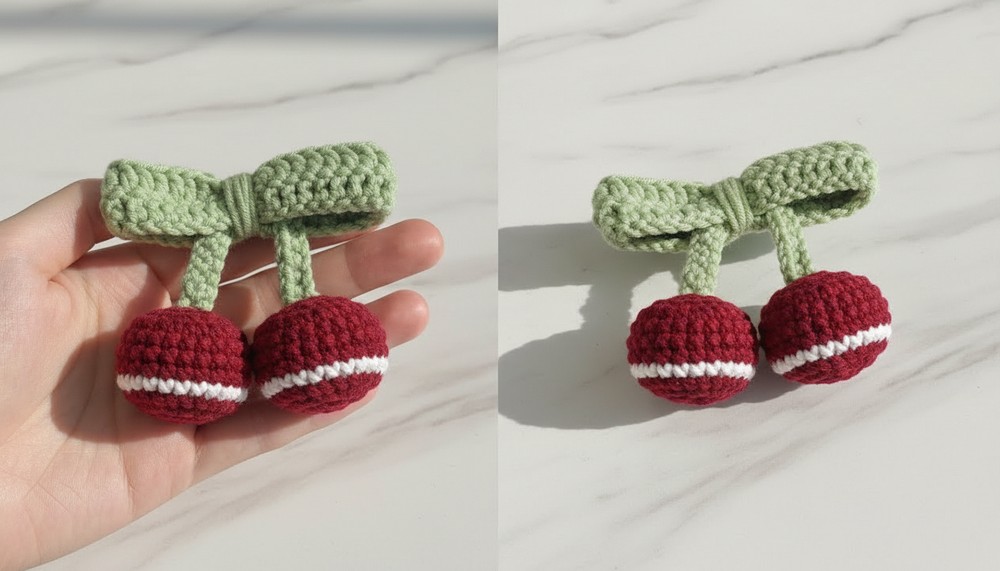
Congratulations! You've completed your adorable cherry keychain. The final look is a pair of round, plump cherries with vibrant leaves and stems. It's a perfect project for beginners and makes a thoughtful handmade gift for your friends or loved ones. Whether you customize it with different colors or use it as a bag charm, your crochet cherry keychain is sure to bring a smile to everyone's face.
