
Lovely Free Crochet Pencil Case Pattern for Stylish Storage
Use this Crochet Pencil Case Pattern to make a lovely pouch that keeps your pens pencils and small tools safe in your school bag or desk.
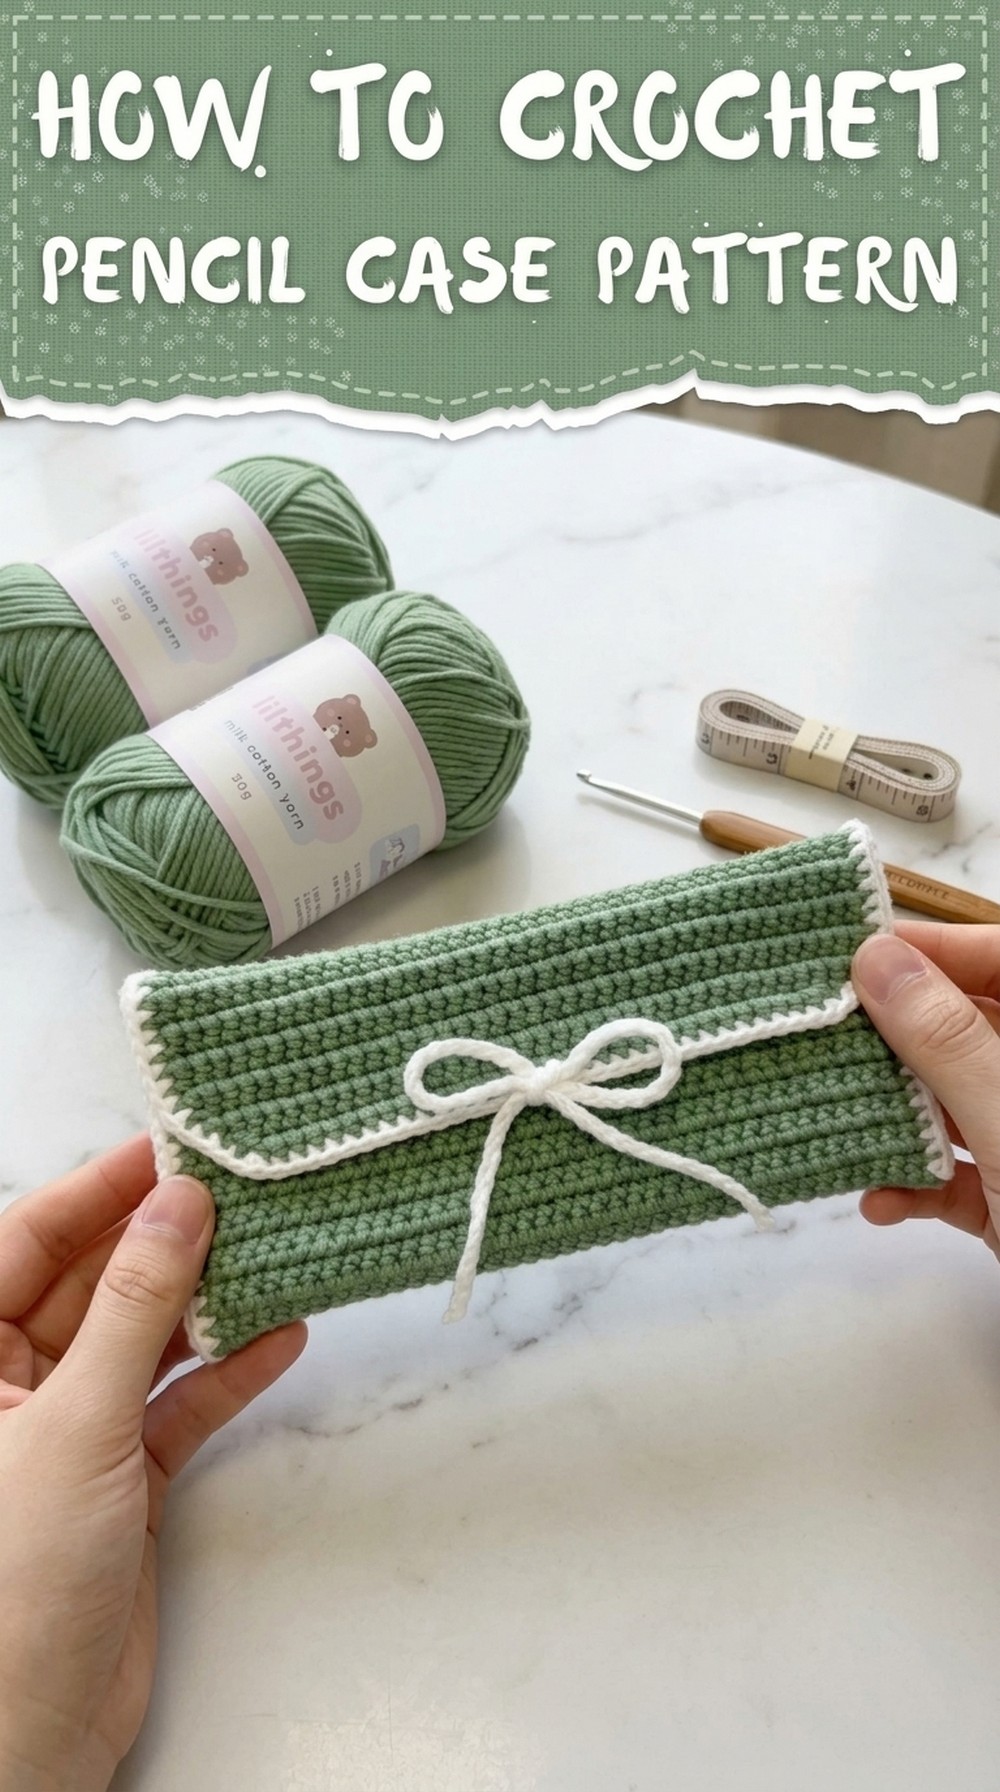
Looking for a simple and fun project? This Crochet Pencil Case Pattern is perfect for beginners. It's a beautiful handmade pouch that's soft, colorful, and so easy to make. You can customize it with your favorite colors, whether bright or pastel, to make it special for you or as a gift for your friends. Its neat design helps keep pencils, markers, or small items organized, making it ideal for school or work.
Crochet Pencil Case That's Perfect for You

The elegant cover with rounded corners and a cute bow strap adds a unique charm. This pencil case is durable, reusable, and made with love. It's small enough to carry and big enough to hold your daily essentials. Try it today and create a handmade treasure with your own style.
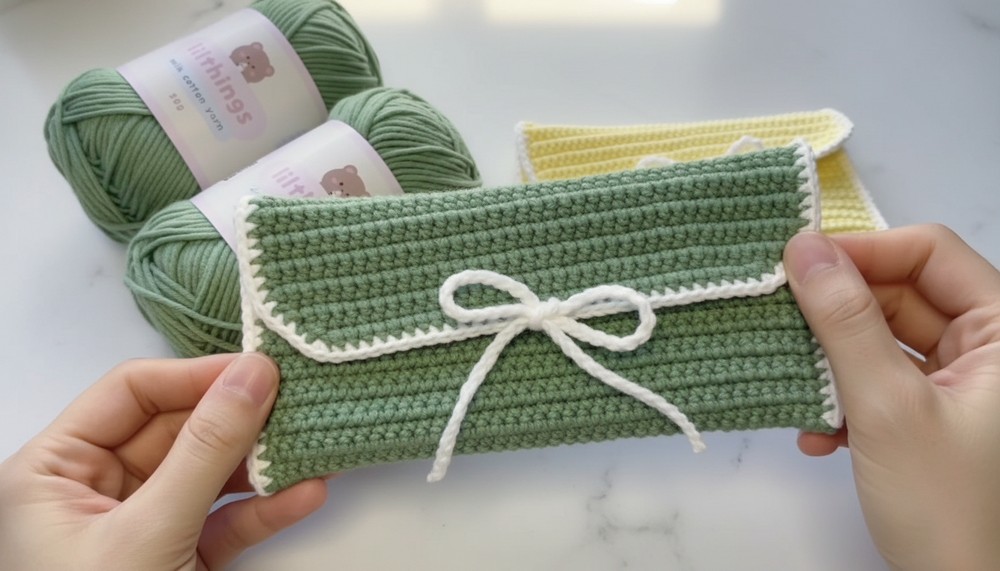
Crochet Pencil Case Pattern
Materials Needed
- Yarn: Little Things yarn in your preferred color (e.g., Color Green)
- For the borders, choose a contrasting or complementary color (white yarn was used in the pattern).
- Crochet Hook: 3mm
- Scissors
- Yarn Needle/Darning Needle
- Stitch Markers (optional but recommended)
Special Techniques
- Slip Knot: Create a loop, pass the yarn through, insert the hook into the loop, and pull tight.
- Foundation Chain: Use repeated chains to create the base of the project.
- Single Crochet (sc): Insert hook in the stitch/loop, yarn under, pull through (2 loops on the hook), yarn over, pull through both loops.
- Decrease Stitch (sc2tog): Combine two stitches into one by inserting the hook into the first stitch, yarn under, pull up a loop, insert into the next stitch, yarn under, pull up a loop (3 loops on the hook), yarn over, and pull through all 3 loops.
- Changing Colors: When starting a new color, loop the new yarn over the hook and pull it through the loop on your hook.
Pattern Instructions
Main Body
- Slip Knot & Foundation Chain
- Create a slip knot and place it on your 3mm crochet hook.
- Chain 41. This will be your foundation chain. Feel free to adjust the chain count for a smaller or larger case.
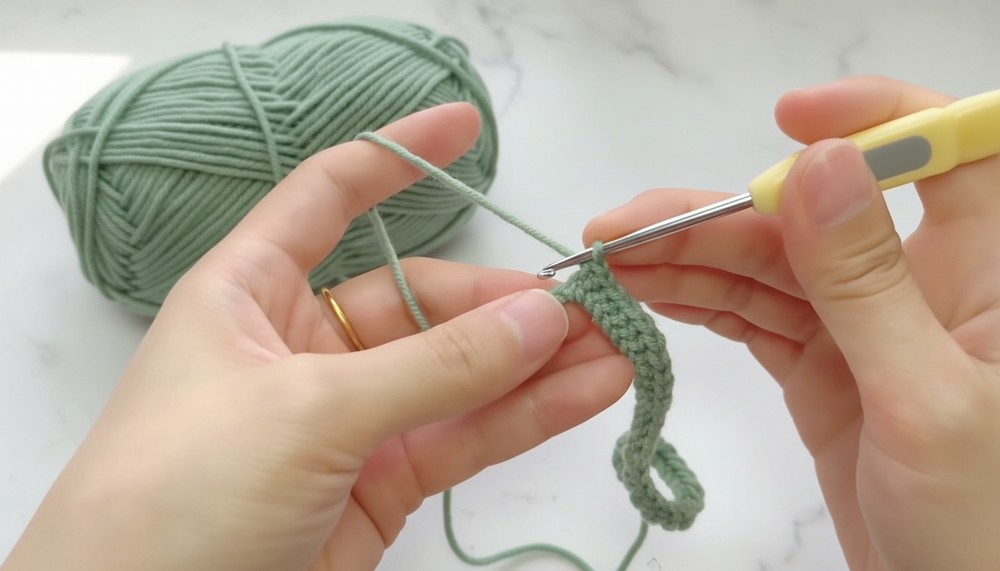
- Row 1: Single Crochet
- Starting from the second chain from the hook, insert your hook into the middle of the "V" on the chain.
- Yarn under, pull through the loop. You now have 2 loops on your hook. Yarn over, pull through both loops.
- Repeat for every chain down to the other end of the foundation chain.

- Row 2: Turning and Chaining
- At the end of Row 1, chain 1 to give height. Turn your work from right to left.
- For Row 2, insert your hook under the first "V" closest to the chain 1 and single crochet as in Row 1. Continue across the row.
- Place a stitch marker in the first stitch to help track row beginnings.
- Rows 3-40: Repeat Row 2
- Always chain 1 at the start of a new row. Turn your work and repeat the single crochet pattern.
- Maintain 40 single crochets per row to keep the uniformity of the rectangle.
- After 40 rows, you should have a rectangular piece. (Note: You can increase or decrease rows depending on your desired size for the pencil case).
- Finishing the Main Body
- Fasten off: At the end of the final row, cut the yarn and pull the tail through the last loop to secure.
- Fold the rectangle in half lengthwise to form the pencil case shape. Ensure all rows/stitches are aligned.
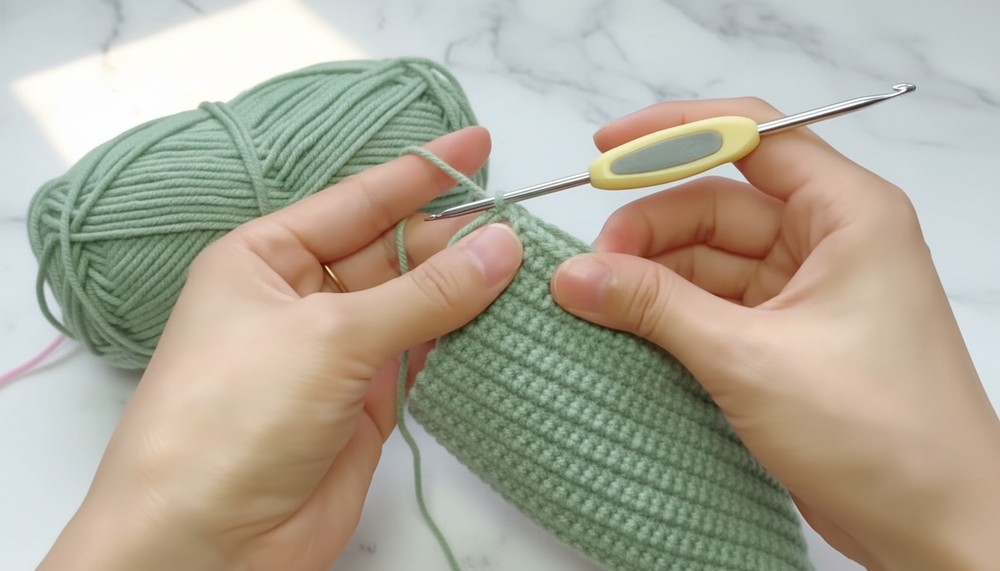
Border (Outer Edges)
- Join Yarn for the Border
- Using your contrasting yarn (white in the example), start at one of the corner stitches.
- Insert the hook into the corner, place the yarn tail over the hook, and pull through. Chain 1 to secure and give height.

- Single Crochet Along the Edges
- Work 1 single crochet in each row along the side edges, ensuring both layers are joined together if you're seaming the edges. Catch both pink and white yarn tails within the stitches to hide them.
- When reaching the end, cut the yarn and pull the tail through the last loop.
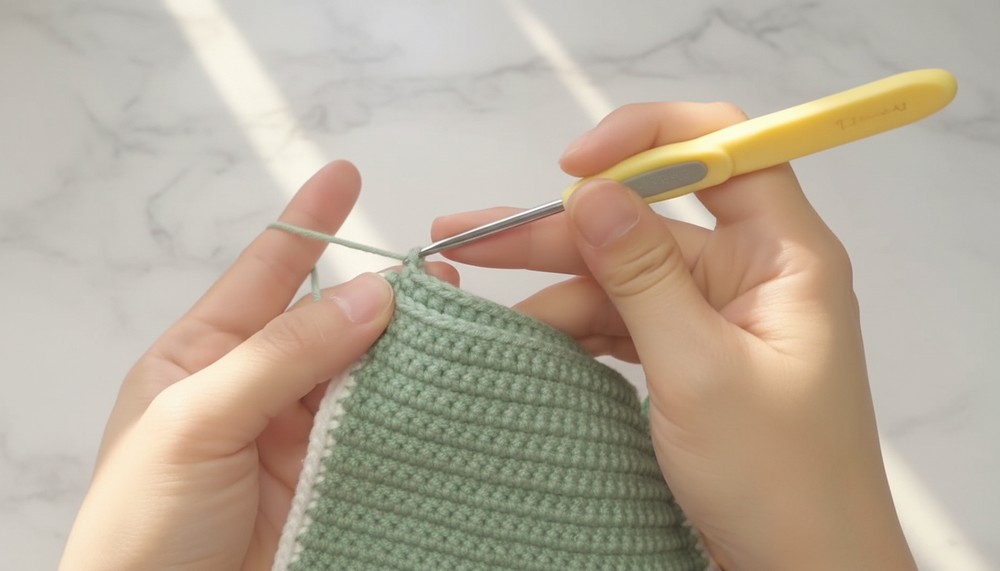
- Repeat for the Other Side
- Repeat the same process on the opposite side to complete both edges of the pencil case. Tie off securely by weaving in ends with the darning needle.
Flap Cover
- Attach the Flap
- Locate an edge for the flap and join the main yarn (pink in this tutorial). Insert the hook through a backside stitch, pull the yarn through, and chain 1.
- Crochet Rows for the Cover
- Single crochet across, placing 40 single crochets evenly in the row. Chain 1, turn, and repeat for 9 rows (or desired cover length).
- Tip: Count rows by the visible "bump" (2 bumps = 1 row). For 9 rows, count 8 bumps, and the last row (unfinished bump) counts as the 9th row.
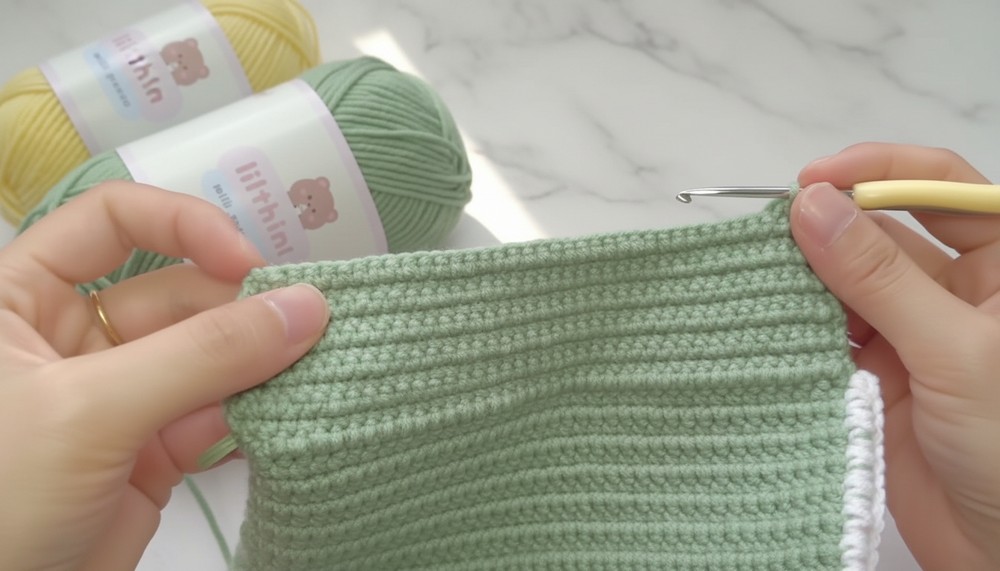
- Create Rounded Corners
- To achieve rounded corners on the flap, decrease (sc2tog) at the first 2 stitches and last 2 stitches of the row:
- Insert the hook into the first stitch, yarn under, pull through the loop; insert the hook into the second stitch, yarn under, pull through the loop (3 loops on hook). Yarn over and pull through all 3 loops.
- Continue single crocheting the remaining stitches until the last two. Repeat the decrease process there as well.
- Continue for about 4 rows (or more if you want the corners to be extra rounded).
- Fasten off by cutting the yarn, pulling it through the last stitch, and weaving in the tail.
- To achieve rounded corners on the flap, decrease (sc2tog) at the first 2 stitches and last 2 stitches of the row:
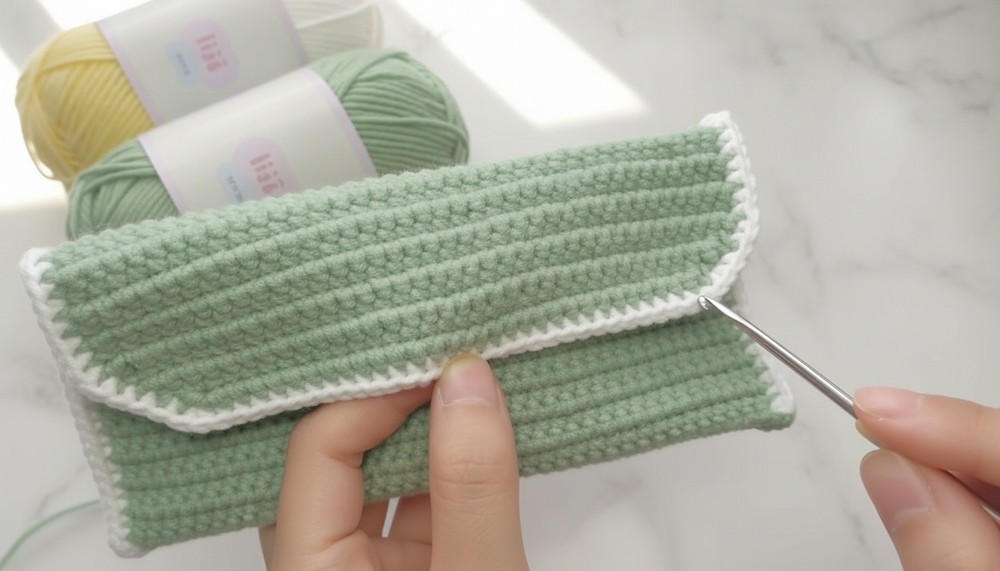
Adding a Border to the Flap
- Attach Border Yarn
- To add the white border to the flap, attach the contrasting yarn to the bottom corner of the flap (where the flap meets the body). Chain 1 to secure.
- Single Crochet Around
- Crochet into every row along the edges of the flap. At corners, make 2 single crochets into one stitch to round the curve neatly.
- Along the top of the flap (where "Vs" are visible), crochet 1 single crochet into each stitch.
- Finish at the starting point and fasten off. Weave in the ends securely.

Bow/Straps
- Attach Straps
- Attach your white yarn to the middle point of the cover flap using the same method as the border.
- Chain 46 stitches (or longer or shorter, depending on your preferred bow strap length).
- Fasten off and secure the tail by knotting and weaving it into the stitches.
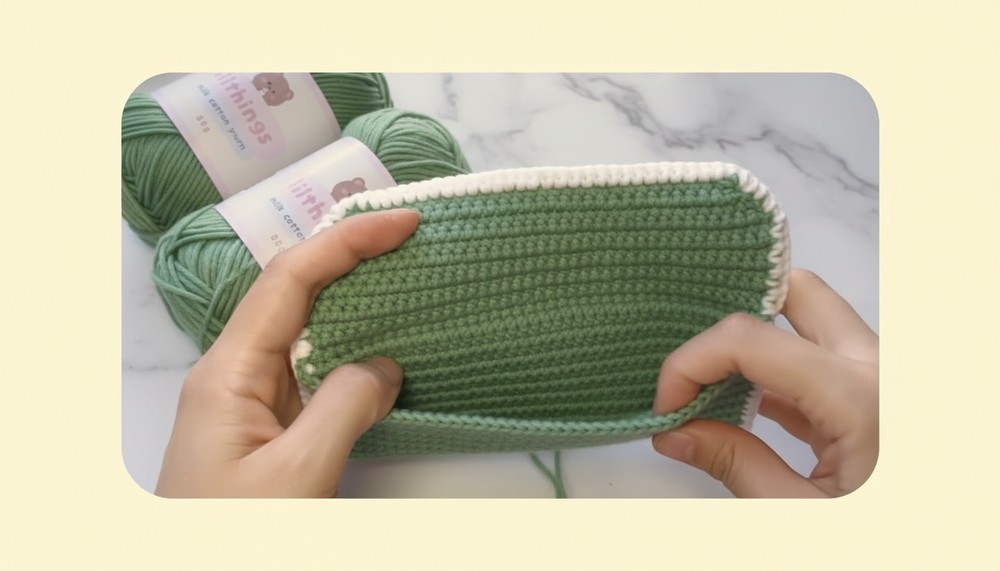
- Second Strap
- Attach the second strap at the corresponding point of the folded part of the pencil case (directly under the flap strap).
- Repeat the steps to chain 46 and fasten off securely. Weave in the ends.
- Tie the Bow
- Close the pencil case by folding the flap over and tying the two straps into a neat bow.
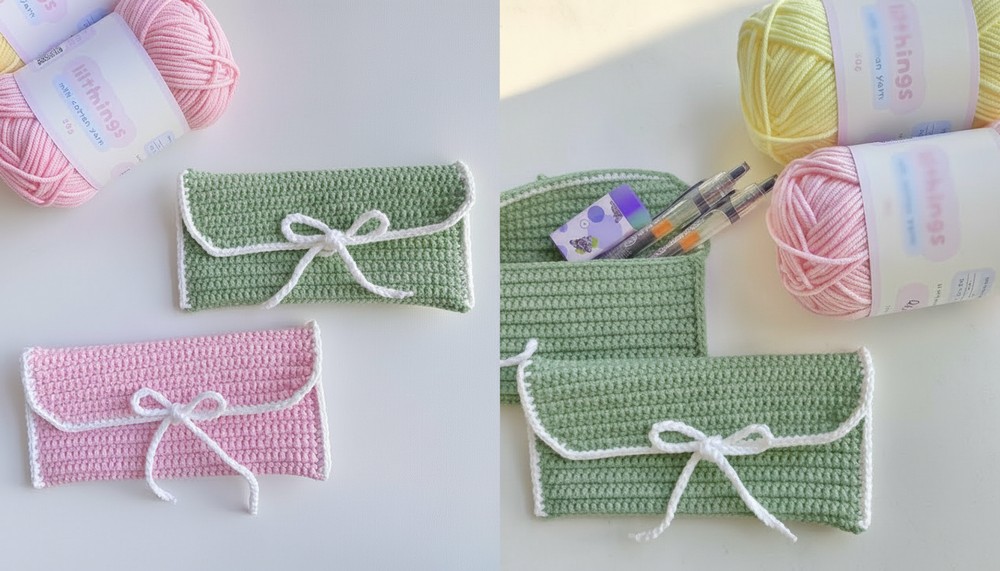
Finishing the Pencil Case
- Secure all loose yarn tails by weaving them into the stitches using the darning needle on the inside of the pencil case. This will ensure your piece looks clean and professional.
- Trim excess yarn tails close to the fabric.
Final Notes & Tips
- Counting and Consistency:
- Count your stitches/rows regularly to avoid uneven edges.
- Always ensure you maintain 40 stitches per row for uniformity.
- Color Choices:
- Choose contrasting yarn colors for the border and strap to make your pencil case stand out.
- Durability:
- Double check your weave ins to ensure no ends come loose after use.
- Customization:
- Add buttons, pom poms, or appliqués to personalize your pencil case.
- You can adjust the size of the pencil case by increasing or decreasing the foundation chain length and row count.