
Toilet Mat: Free Crochet Pattern for Bathroom Decor
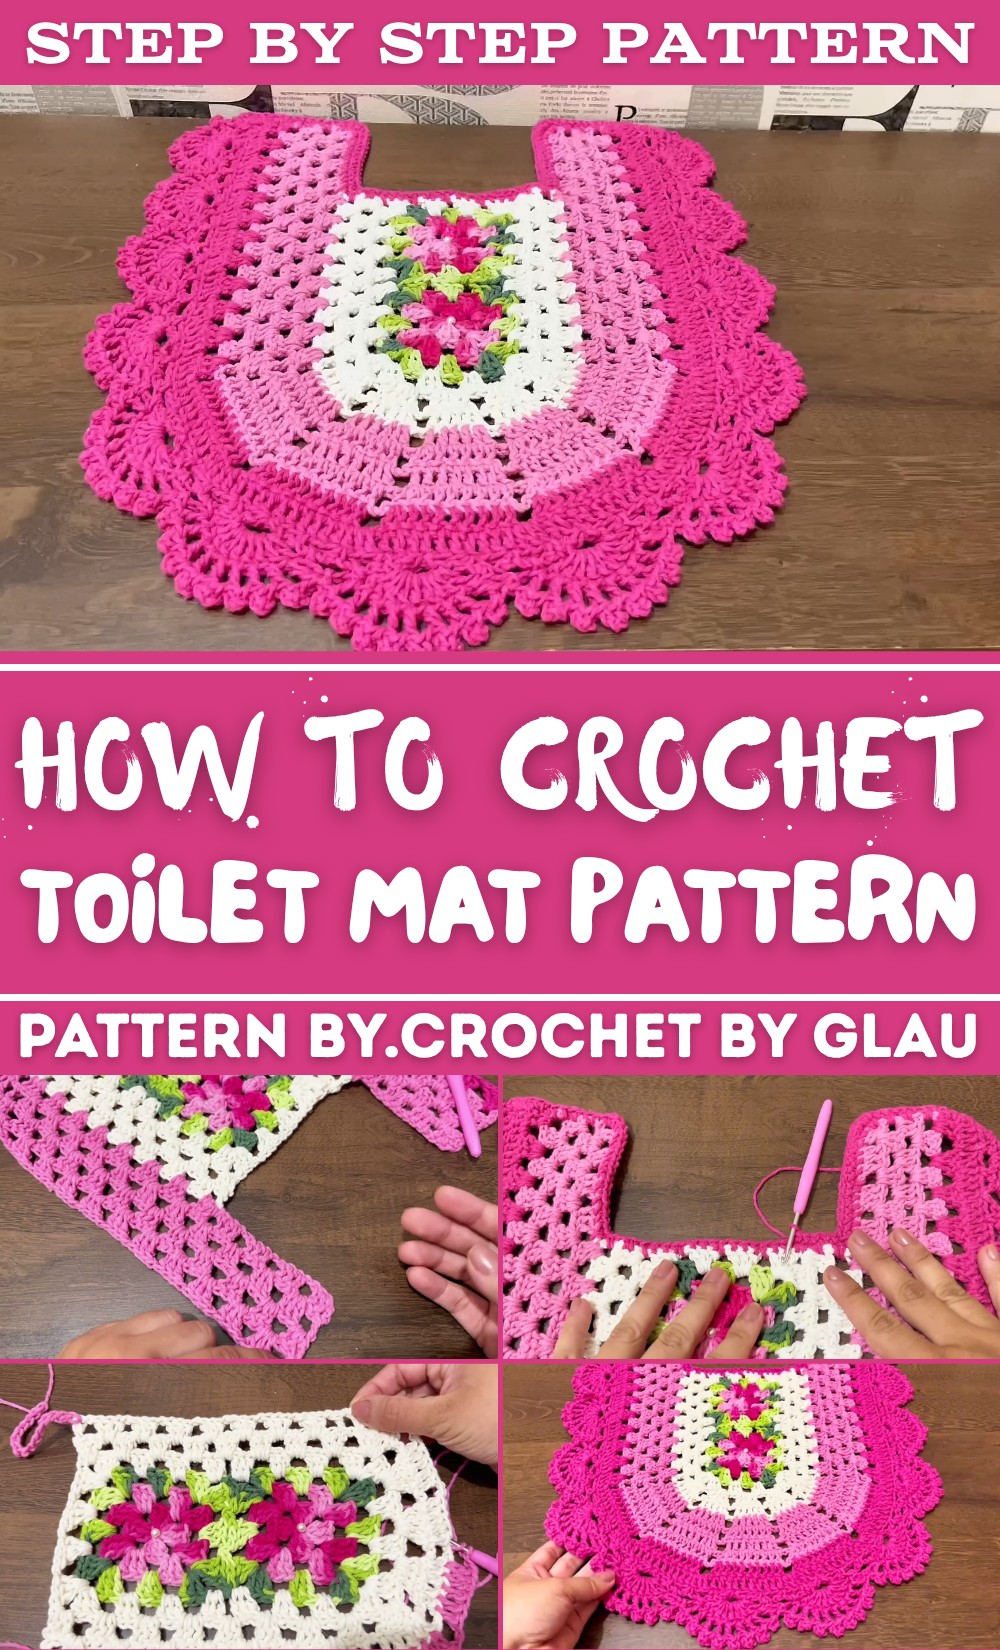
The creative mind behind this lovely design shares the Free Crochet Toilet Mat Pattern on the YouTube channel Doacrochet. The easy tutorial walks you through every step with friendly advice. Many enjoy making this mat because it is quick and fun, even for beginners. The end result is a charming piece you will want to use every day.
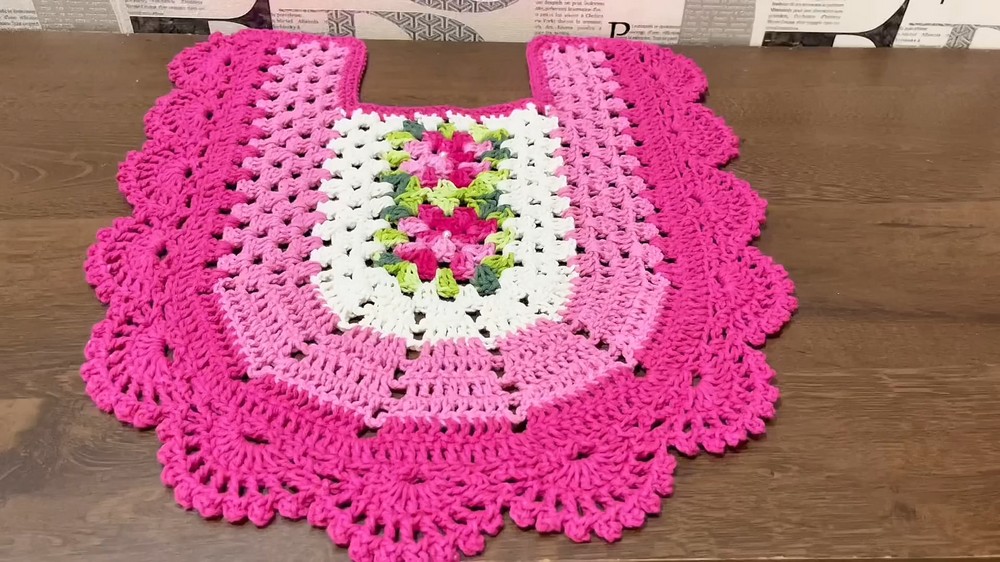
Whether for your own bathroom or as a thoughtful gift, this crochet mat brings warmth and style. People love how a small handmade item can turn a bathroom into a cozy space. With the Free Crochet Toilet Mat Pattern, you get more than just a mat-you get a little bit of happiness under your feet.
Easy Crochet Toilet Mat Pattern
Welcome to part two of the crochet toilet mat tutorial. In this part, we'll finish the mat by working the final baby pink section around the middle ecru part, and then add a beautiful hot pink edging to complete it. This tutorial breaks down the steps so you can easily follow and create a pretty, practical crochet mat.
Pattern Highlights
- Finish outer section in baby pink yarn.
- Work rows with double crochet (dc) groups and chain (ch) spaces for texture.
- Add hot pink picot stitch edging for a decorative border.
- Maintain consistent stitch placement for a neat and flat finish.
- Begin rows with foundation chains worked along the sides of the previous piece.
Notes
- Work assumes the center ecru section is completed in advance.
- Start new rows on sides of existing piece by chaining (16 chains on one side, 18 on the other).
- Keep tension even to avoid curling or uneven edges.
- Picot stitch edging adds a lovely scalloped finish-take your time.
- Repeat patterns for consistent design; adjust chains/stitches slightly at edges as needed.
Skill Level
This pattern is suitable for beginner to intermediate crocheters confident with:
- Basic double crochet (dc) and single crochet (sc) stitches.
- Working chain (ch) stitches to create spaces.
- Changing yarn colors cleanly.
- Working picot stitches for edging.
- Counting stitches to keep edges even.
Materials
- Baby pink yarn (to work final outer rows).
- Hot pink yarn (for edging).
- Ecru yarn (used in previous completed center section).
- Crochet hook suitable for your yarn weight (usually 3.5 to 4 mm).
- Scissors and tapestry needle for finishing ends.
Measurements / Sizing
- Size depends on your base ecru piece and tension.
- Foundation chains for new rows: 16 chains on one side, 18 chains on the other.
- Finished mat will roughly be proportional to these foundation chains and the number of rows worked.
Gauge and Stitch Pattern
- Gauge is flexible, but keep your tension consistent.
- Pattern repeats use:
- Clusters of 3 double crochetes (3 dc) in chain spaces.
- Chain stitches (ch) as separators.
- Rows alternate between clustered stitches and stitches worked on top of previous stitches to create texture.
Stitch Abbreviations
- ch = chain
- dc = double crochet
- sc = single crochet
- sl st = slip stitch
- picot = double crochet, ch 3, sl st into first ch of chain 3
Step-By-Step Pattern Instructions
Step 1: Finish Ecru Section
- Complete last double crochet (dc) of ecru part.
- Fasten off ecru yarn by pulling hook through loop and tying securely.
- Tie yarn ends nearby with three small knots for strength.
Step 2: Begin Baby Pink Base Chains
- Join baby pink yarn at one side of your mat, near where you finished ecru section.
- Work 16 chains (ch) along this side to form foundation for new rows.
- Fasten off and join yarn again on opposite side.
- Work 18 chains (ch) here.
Step 3: Work First Baby Pink Row
- Turn your work so chains lie flat and straight.
- Starting in 4th chain from hook:
- Work 3 double crochets (dc).
- Chain 1 (ch), skip 1 chain, work 3 dc - repeat across row.
- At marked corners or chain spaces:
- Work 2 double crochets in the same stitch to keep edges aligned.
- Finish row by repeating 3 dc / ch 1 pattern across all foundation chains.

Step 4: Continue Baby Pink Rows
- Chain 3 (counts as first dc), turn.
- Repeat the pattern:
- Groups of 3 dc in spaces from previous row, separated by chain 1 spaces.
- Always work double crochets on top of double crochets to keep texture aligned.
- Manage edges by working 2 double crochets together at first and last 2 dc stitches per row as needed.
- Repeat baby pink rows until you have 4 rows completed.

Step 5: Switch to Hot Pink Edging
- Change to hot pink yarn after 4 baby pink rows.
- Turn your work so the textured side faces down to maintain pattern direction.
- Chain 4 (counts as dc + ch 1), turn.
- Work groups of 3 dc separated by 1 ch as before across the row.
- Work 1 row of this stitch pattern in hot pink for the edging.
Step 6: Work Satin Stitch Row for Solid Edge
- Chain 1, turn.
- Work double crochet (dc) stitches on top of every stitch and chain in the previous row, filling in chain spaces for a solid fabric look.
- Work 2 dc in place of 2 chain stitches at corners to maintain flat edges.
- Continue for the entire row for a neat, solid edging base.

Step 7: Add Single Crochet and V-Stitch Detail
- Chain 3, turn.
- Repeat this sequence across the row:
- Skip 2 stitches, work single crochet (sc).
- Chain 3.
- Skip 2 stitches, work single crochet (sc).
- Then work a V-stitch (dc, ch 3, dc) in the next stitch or space.
- Repeat this pattern to the row end.
- Adjust stitch counts near ends if needed (sometimes skipping fewer or extra stitches to fit).

Step 8: Work 9 Double Crochet Clusters in V-Stitches
- For next row, in each V-stitch space:
- Work 9 double crochets (dc) for a thick cluster.
- Between clusters, work single crochet (sc) into chain spaces.
- Repeat to row end, creating dense, decorative texture.

Step 9: Finish with Single Crochet Edging
- Work rows of single crochet (sc) along edges and in between other rows to neat up the piece.
- Make 2 sc increases on turning corners for smooth edge drape.
- Work evenly across stitches and chains to keep edges flat and tidy.

Step 10: Add Picot Stitch Edging
- Work a decorative row of double crochet with picot stitch as edging:
- Dc, ch 3, sl st into first ch to form picot.
- Repeat picot at regular intervals (about every other stitch) all around.
- For the last stitch, work a regular dc without picot, then slip stitch to finish.
- This creates a pretty scalloped border around your mat.
Assembly & Finished Size
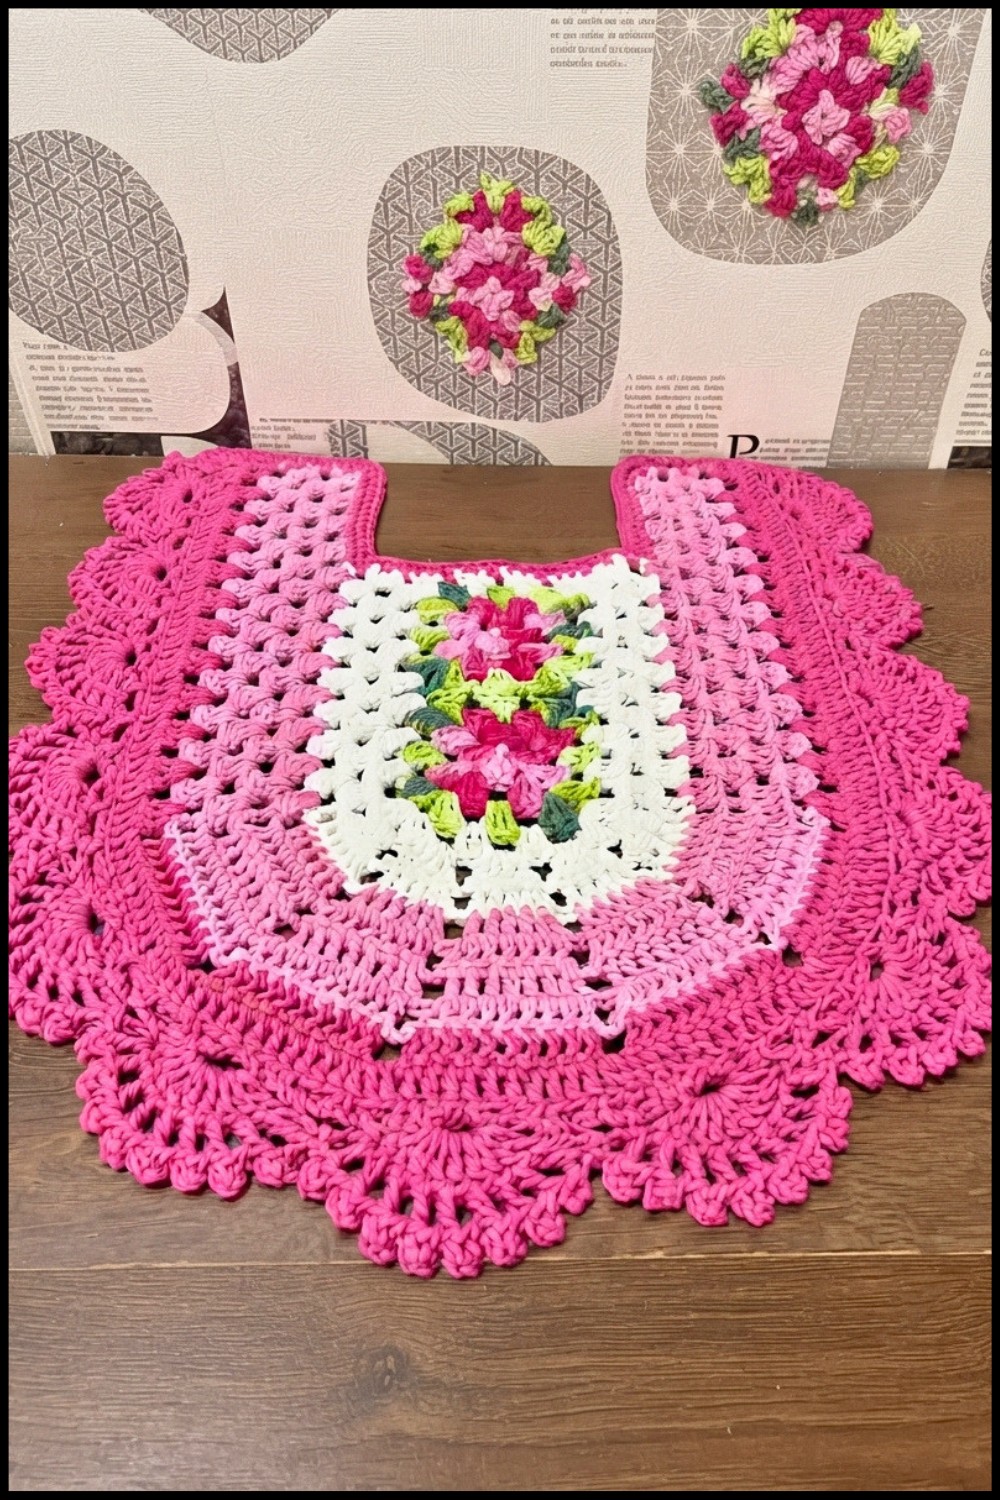
- The mat consists of the center ecru section (completed earlier) with this baby pink final section and hot pink edging finished here.
- Final size depends on your initial piece and tension but should lie flat and cover standard toilet mat areas.
- Light blocking after finishing can help even out edges and open texture.

Conclusion
You have now completed your crochet toilet mat! The combination of double crochet clusters, chain spaces, and picot edging brings elegance and texture to a practical accessory. With consistent stitch repeats and color changes, your mat has a professional look while being fun to make.
