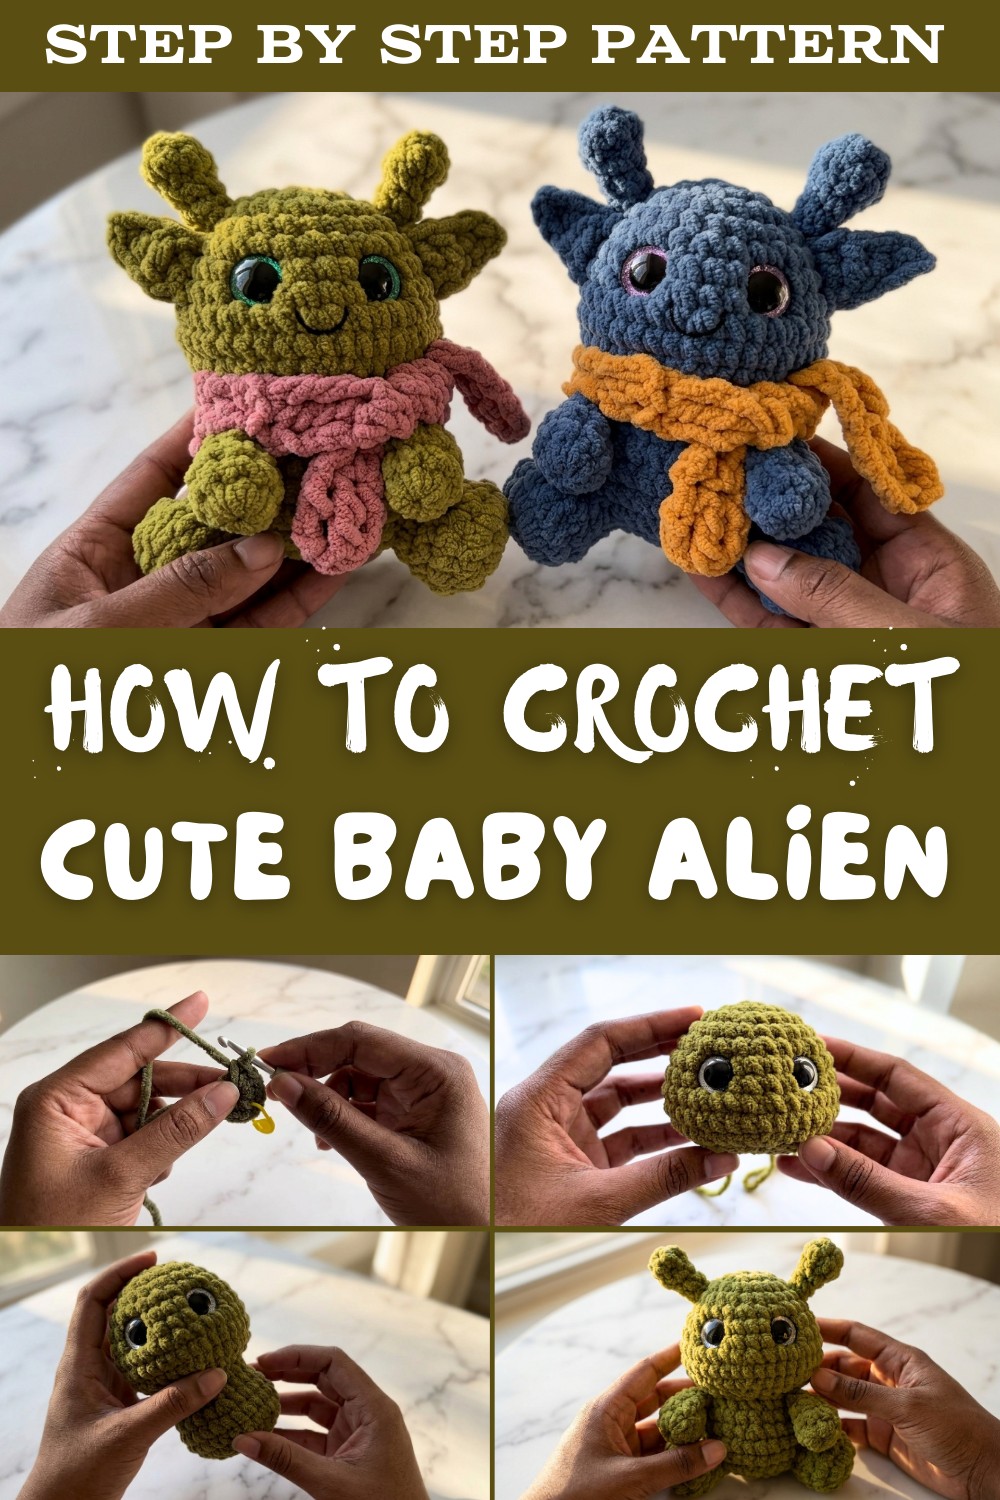
Baby Alien Toy Free Crochet Pattern (with Optional Scarf)
Create a cute baby alien using this free and easy crochet pattern that is simple to follow and perfect for making toys, gifts, or fun decorations.
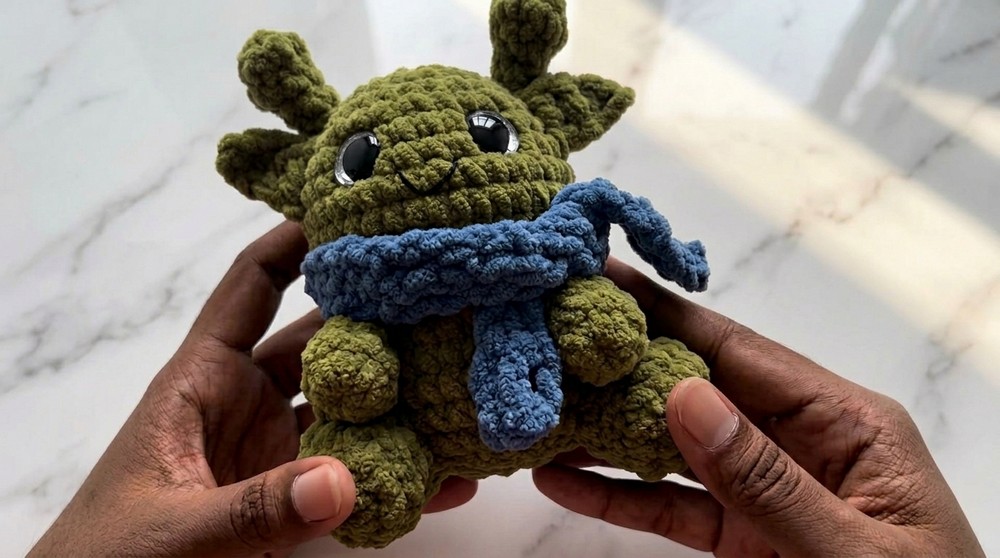
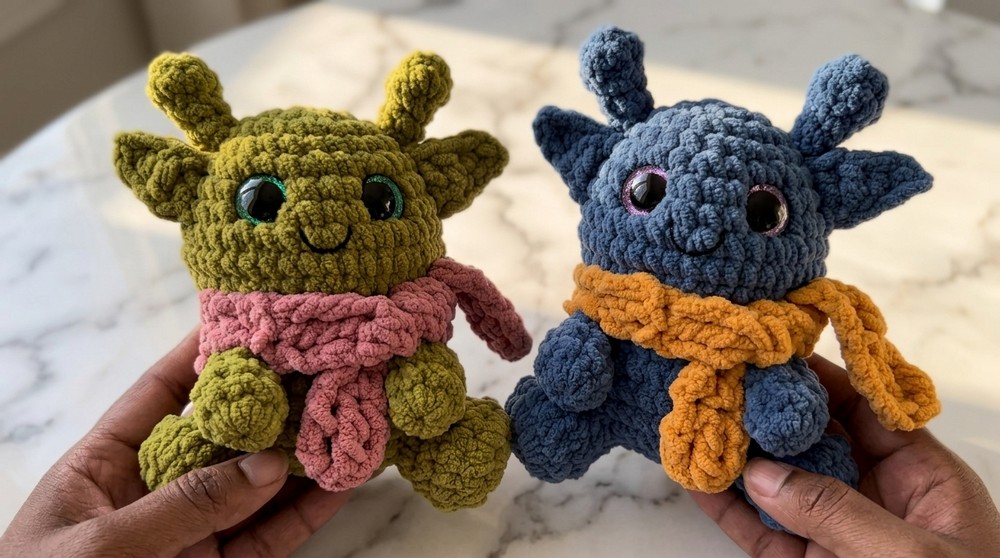
Making your very own tiny alien friend out of soft yarn, a creation that’s not only adorable but also full of charm. This pattern gives you a cute little alien with big eyes, tiny hands, and a sweet smile that makes everyone say “wow.” Its rounded body, tiny ears, and optional scarf make it special, and you can crochet it in your favorite colors to make it truly unique.
Free Crochet Baby Alien Pattern : Using 12mm Safety Eyes
Perfect as a gift, toy, or even a fun desk decoration, this little alien brings joy wherever it goes. The instructions are simple and easy to follow, so anyone can try it, even if you are just starting with crocheting. With just a few steps, you can create something truly magical and add some extra fun to your projects.
Crochet Baby Alien Toy Free Pattern
Materials
- Yarn:
- Main yarn: Chanel yarn (or any plush yarn in your desired alien color, e.g., Olive Green).
- Optional: Contrasting yarn for scarf (any color).
- Small amounts of black yarn for facial detailing.
- Hook:
- 5 mm crochet hook.
- Notions:
- Stitch markers (to mark the first stitch in rounds).
- Scissors.
- Darning or tapestry needle for assembly and weaving in ends.
- Safety eyes: 12 mm (or size of your choice).
- Fiberfill or soft stuffing material.
Skill Level
- Beginner to Intermediate
- Suitable for crocheters familiar with basic stitches like the magic ring (MR), single crochet (SC), decrease, and increase.
Key Abbreviations (US Terminology)
- MR: Magic Ring.
- SC: Single Crochet.
- HDC: Half Double Crochet.
- DC: Double Crochet.
- Tr: Treble Crochet (Triple Crochet).
- Inc: Increase (2 SC in one stitch).
- Dec: Decrease (combine two stitches into one).
- St/Sts: Stitch/Stitches.
Special Techniques
- Magic Ring (MR): Creates a tight, adjustable circle that is essential for working in the round.
- Working in Front Loop Only (FLO): Used for shaping specific parts like the body and head.
- Color Changing (Optional): If using different colors for accessories or custom detailing.
- Invisible Decrease: Crocheting through the front loops of two stitches to create a seamless decrease.
Pattern Instructions
Head
- Round 1: Start with a magic ring. Work 8 SC into the magic ring. Place a stitch marker on the first stitch. (8 SC)
- Round 2: Work 8 increases (2 SC in each stitch). (16 SC)
- Round 3: Alternate 1 SC, 1 Inc across the round. Repeat 8 times. (24 SC)
- Round 4: Work 1 SC in each stitch around. (24 SC)
- Round 5: Alternate 2 SC, 1 Inc across the round. Repeat 8 times. (32 SC)
- Rounds 6–7: Work 1 SC in each stitch around. (32 SC per round)
- Round 8: Alternate 3 SC, 1 Inc across the round. Repeat 8 times. (40 SC)
- Round 9: Work 1 SC in each stitch around. (40 SC)
- Round 10: Alternate 3 SC, 1 Dec across the round. Repeat 8 times. (32 SC)
- Round 11: Alternate 2 SC, 1 Dec across the round. Repeat 8 times. (24 SC)
- Round 12: Alternate 1 SC, 1 Dec across the round. Repeat 8 times. (16 SC)


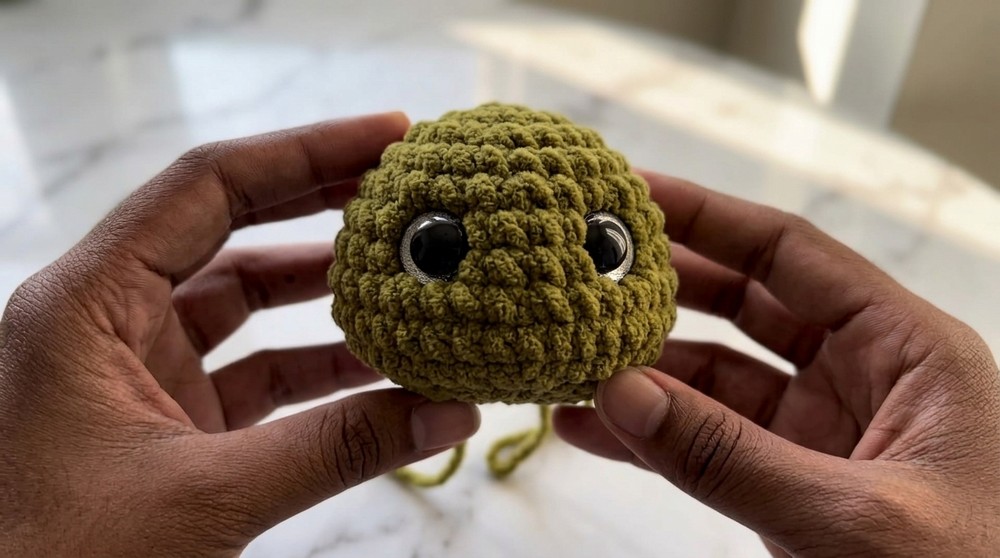
Insert Safety Eyes and Stuff the Head
- Attach 12 mm safety eyes between rounds 6 and 7, spaced 4 stitches apart.
- Stuff the head firmly but carefully. Ensure it’s evenly shaped.
Body
- Round 13 (FLO): Alternate 1 SC, 1 Inc across the round. Repeat 8 times. (24 SC)
- Work in the Front Loop Only for this round to create a defined transition.
- Round 14: Work 1 SC in each stitch around. (24 SC)
- Round 15: Alternate 5 SC, 1 Inc across the round. Repeat 4 times. (28 SC)
- Rounds 16–17: Work 1 SC in each stitch around. (28 SC per round)
- Round 18: Alternate 5 SC, 1 Dec across the round. Repeat 4 times. (24 SC)
- Round 19: Alternate 1 SC, 1 Dec across the round. Repeat 8 times. (16 SC)
Stuff the Body
- Firmly stuff the body as you go, ensuring to maintain an even shape.

Last Round (Round 20)
- Work 8 decreases (1 Dec in every pair of stitches). (8 SC)
- Cut the yarn, leaving a long tail.
- Use the yarn tail and needle to sew through the front loops of the remaining 8 stitches and pull tightly to close the hole.
- Weave in the end.
Legs (Make 2)
- Round 1: Start with an MR. Work 8 SC into the ring. (8 SC)
- Round 2: Work 8 increases (2 SC in each stitch). (16 SC)
- Round 3: Work 1 SC in each stitch around. (16 SC)
- Round 4: Work 8 decreases (1 Dec in each pair of stitches). (8 SC)
- Round 5: Work 1 SC in each stitch around. (8 SC)
- Slip stitch into the first stitch. Leave a long tail for sewing and cut the yarn.
- Lightly stuff each leg and sew them onto the body at rounds 17 and 18, spacing them 8 stitches apart.


Hands (Make 2)
- Round 1: Start with an MR. Work 8 SC into the ring. (8 SC)
- Rounds 2–4: Work 1 SC in each stitch around. (8 SC per round)
- Lightly stuff the hands, then fold the top edge closed and crochet through to seal.
- Leave a long tail for sewing. Attach the hands at rounds 13–15, slightly diagonally, spacing them 8 stitches apart.
Antennas (Make 2)
- Round 1: Start with an MR. Work 8 SC into the ring. (8 SC)
- Round 2: Work 1 SC in each stitch around. (8 SC)
- Round 3: Work 4 decreases (1 Dec every pair of stitches). (4 SC)
- Round 4: Work 1 SC in each stitch around. (4 SC)
- Leave a long tail for sewing. Attach the antennas on round 4 of the head, spacing them 11 stitches apart.
Ears (Make 2)
- Attach yarn to round 7 of the head.
- Ch 5.
- Starting from the second chain, crochet:
- 1 SC in the next chain.
- 1 HDC in the following chain.
- 2 DC in the last two chains.
- Slip stitch to round 5 to secure the ear.
- Repeat for the second ear.
Facial Detailing
- Use black yarn to embroider a simple smile between the eyes, spanning 2 stitches. Hide the yarn tails securely inside the head.
Optional Scarf
- Foundation: Make a slip knot and Ch 5.
- Row 1: Starting in the 4th chain from the hook, make 2 Tr, one in each stitch. (3 stitches total)
- Row 2–13: Ch 3, turn, and make 2 Tr on top of each stitch from the previous row.
- Finish: Fasten off and weave in ends. Wrap the scarf around the alien’s neck and style as desired.
Finishing and Assembly
- Firmly attach all body parts (legs, arms, antennas, and ears) with a darning needle, using the specified placements.
- Weave in all loose ends for a neat finish.
- Adjust stuffing as needed before final assembly.

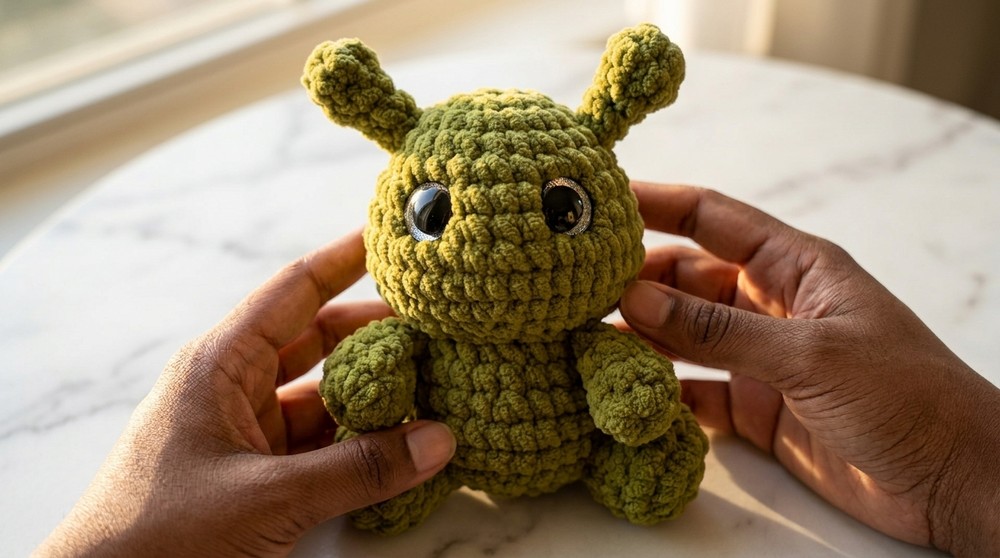
Final Words
Congratulations on completing your adorable baby alien! Whether it’s part of a collection or a gift for a loved one, this little alien is sure to bring smiles with its charm. Thanks for following along!
Tips for Success
- Use stitch markers to keep track of rounds.
- Always stuff each component evenly to maintain shape.
- Test placements of the arms, legs, and antennas with pins before sewing.