Coraline & Wednesday Pouch Free Crochet Pattern That’s Simple & Fun
Create a fun and easy crochet pouch inspired by unique designs, perfect for carrying small items while adding a touch of style and creativity to your day.
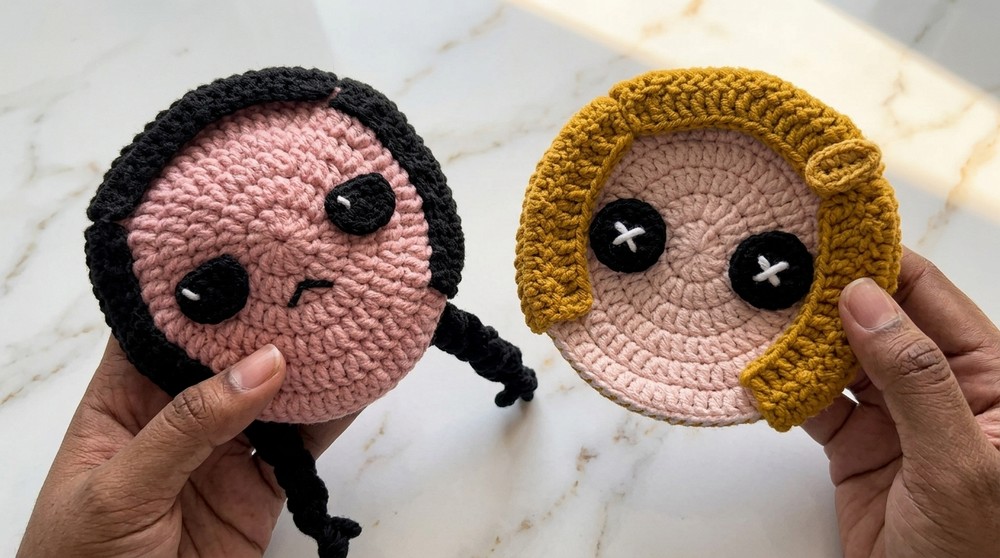
Carrying a pouch that’s not only practical but also fun and full of personality. This adorable pattern lets you crochet a unique bag inspired by charming and mysterious characters. The pouch is designed with bold stitches and creative details, making it a perfect project for those who love playful and stylish accessories.
Crochet Coraline & Wednesday Pouch Pattern for Cute Accessories

Its compact design makes it great for carrying small treasures, like coins, makeup, or keys, while showcasing beautiful texture and vibrant colors. What makes this pouch special is the cool mix of quirky designs and the option to personalize it with buttons, embroidery, or even your own choice of colors. Easy to make and fun to use, it’s a fantastic way to turn simple materials into something magical. Whether you use it daily or gift it to someone, this pouch stands out as a creative and handy accessory.
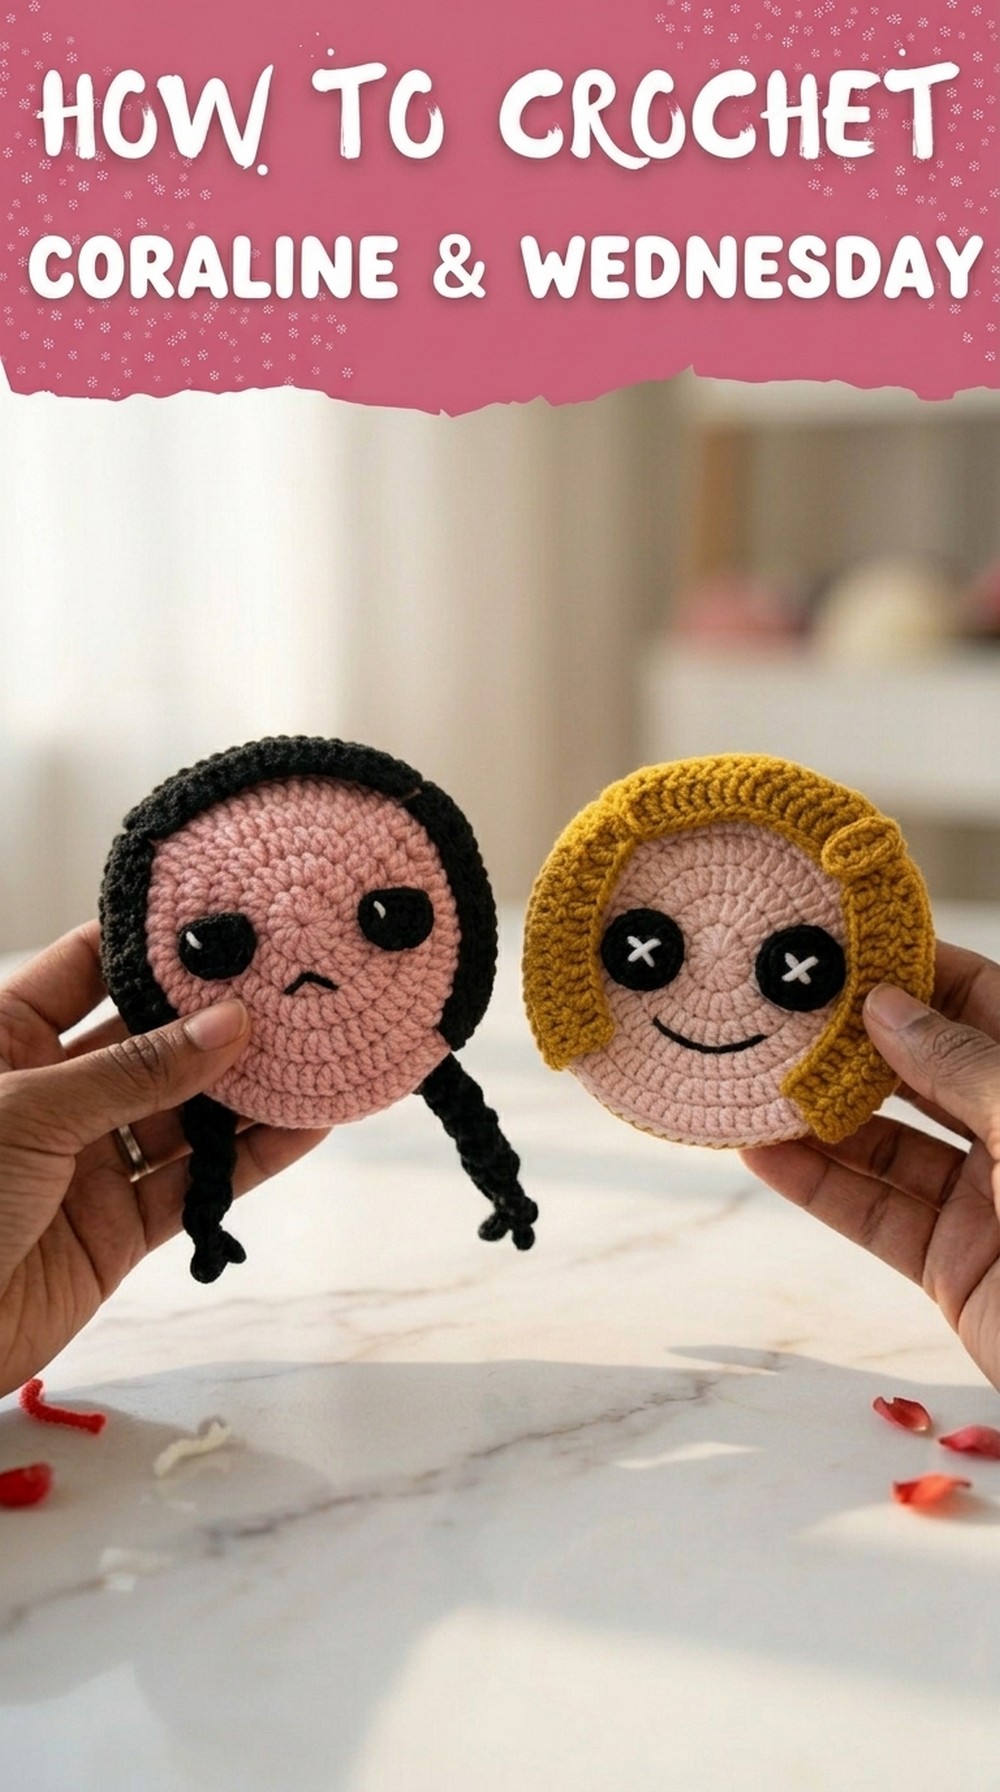
Crochet Coraline and Wednesday Pouches Pattern
Materials List
Yarn
- Milk Cotton Yarn in the following colors:
- Black (Wednesday hair and mouth)
- Mustered (Coraline hair)
- Yellow (Coraline hair clip)
- Beige or pinkish Tone (Coraline and Wednesday face and panels)
- White (for eyes detail)
Crochet Hook
- 3 mm crochet hook (adjust based on yarn thickness).
Additional Tools
- Stitch Markers.
- Darning Needle (for sewing).
- Scissors.
- Hot Glue Gun (to attach eyes and Coraline clip).
- Safety Snaps for the pouch flap closure.
Skill Level
Intermediate – Suitable for crocheters with a solid understanding of double crochet stitches, slip stitches, single crochet stitches, invisible decrease, and working in magic rings.
Key Abbreviations (US Terminology)
- ch: Chain
- sc: Single Crochet
- dc: Double Crochet
- sl st: Slip Stitch
- increase: Two stitches in the same stitch space
- decrease: Combine two stitches into one
- yo: Yarn Over
Special Notes
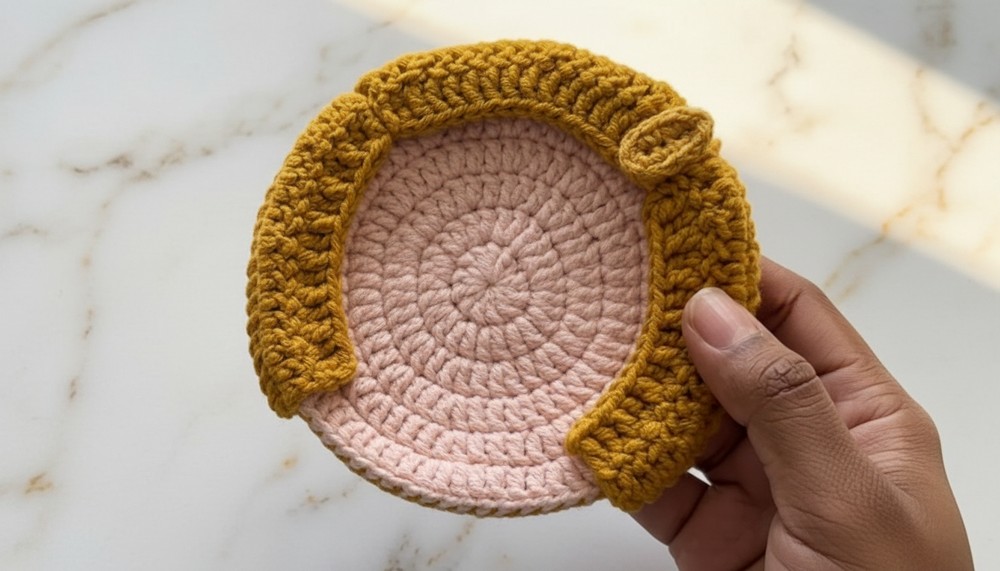
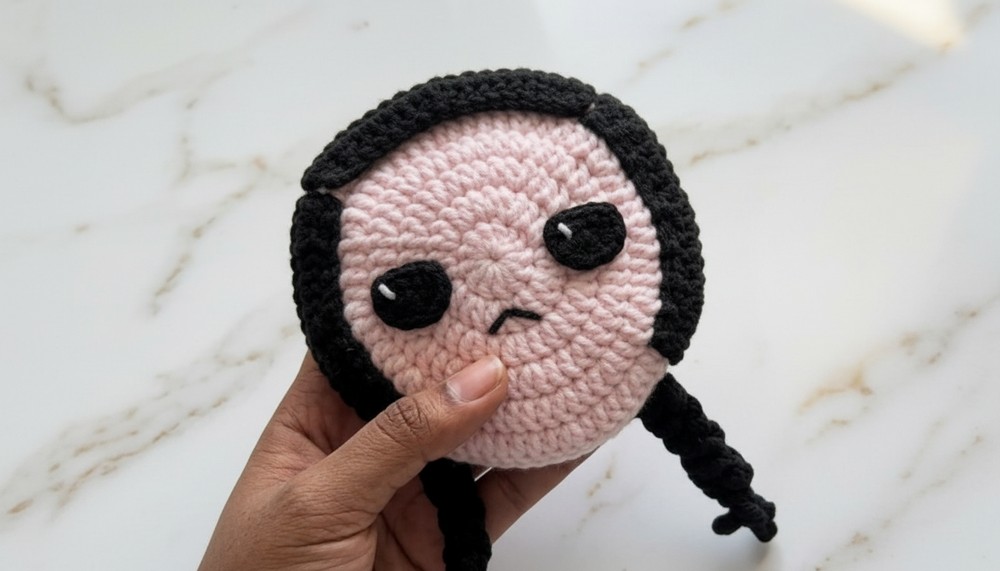
- Panels: Both Coraline and Wednesday pouches include front and back panels. They are crocheted identically in shape but vary by color and added details (Coraline includes a hair clip; Wednesday includes braids and a stitched mouth).
- Hair Construction: Coraline’s hair is fuller, requiring three rounds for each section. Wednesday’s hair is simpler, worked in fewer rounds with braids for added detail.
- Eyes and Extra Details: Safety snaps secure the pouch flap for small items. Attach eyes and features securely using a hot glue gun or darning needle.
- Assembly: Use careful sewing techniques to join panels seamlessly and align decorative elements properly.
Step-by-Step Pattern
Front and Back Panels
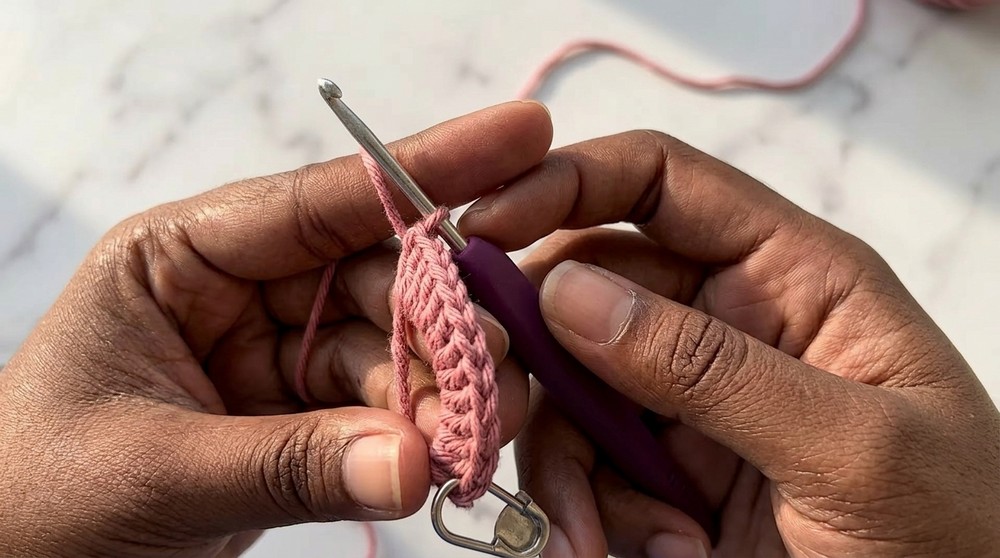
- Start with a Magic Ring:
- Create a magic ring with beige or skin-tone yarn.
- Round 1: Ch 2 (does not count as a stitch), crochet 12 dc into the magic ring.
- Mark the first stitch with a stitch marker. Pull the yarn tail to close.
- Slip Stitch into the first dc to close the round.
- Round 2:
- Ch 2. Work 2 dc (increase) into each stitch around (12 increases total, 24 sts).
- Slip Stitch into the first stitch to close the round.
- Round 3:
- Ch 2. Work a pattern of 1 dc in the next stitch, 2 dc (increase) in the next stitch, repeat 12 times (36 sts total).
- Slip Stitch into the first stitch to close the round.
- Round 4:
- Ch 2. Work a pattern of 2 dc, 1 dc increase, repeat 12 times (48 sts).
- Slip Stitch into the first stitch to close.
- Round 5:
- Ch 2. Work a pattern of 3 dc, 1 dc increase, repeat 12 times (60 sts).
- Slip Stitch into the first stitch to close.
- Round 6:
- Ch 2. Work a pattern of 4 dc, 1 dc increase, repeat 12 times (72 sts).
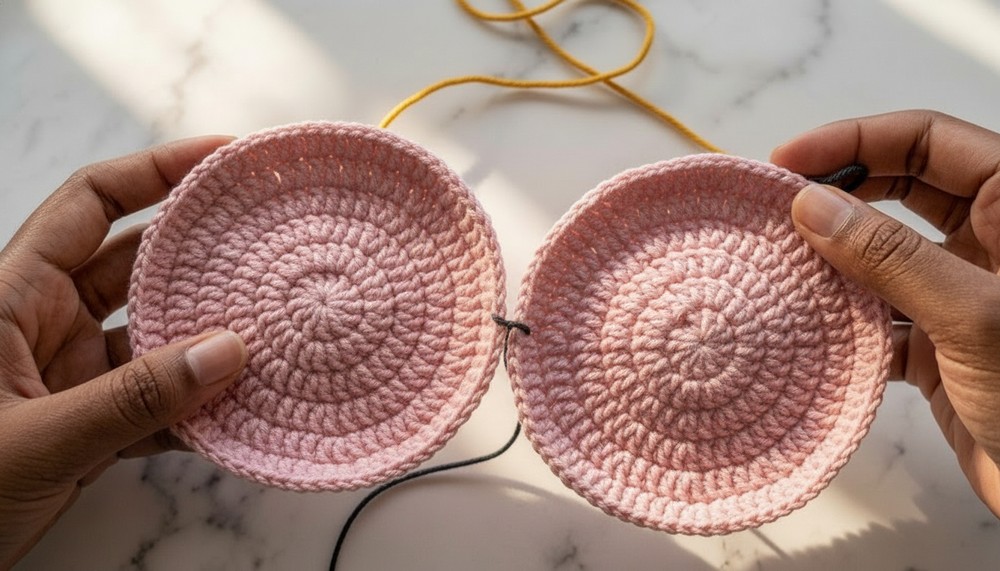
- For the Front Panel:
- Fasten off and sew into a clean finish. Hide all yarn tails.
- For the Back Panel:
- Do not fasten off after Round 6. Leave a long tail for sewing.
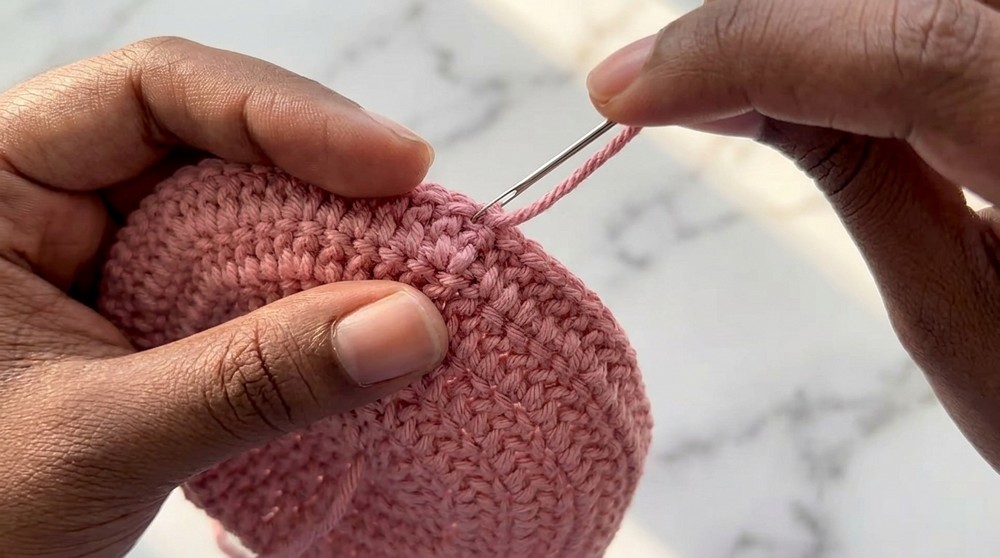
Sewing the Panels Together
- Place the front and back panels together, wrong sides facing outward.
- Begin sewing from the center top stitch, working around the edges. Use the back loops of the back panel and the front loops of the front panel for seamless joints. Sew until 19 stitches remain (the compartment opening).
- Secure the yarn tail and weave it inside the pouch for a clean finish.
Coraline’s Hair
Side Panels:
- Identify 18 front loops of the back panel (mark the start and end with stitch markers).
- Round 1:
- Attach blue yarn to the first marked loop.
- Ch 2. Work 1 dc into each loop (18 stitches total).
- Ch 2 and turn.
- Round 2:
- Work 2 dc, followed by 1 dc decrease, and then alternate 4 dc and 1 dc decrease for 2 repeats.
- Finish with 2 dc. Ch 2 and turn.
- Round 3:
- Work 1 dc into each stitch (15 dc total).
- Fasten off, leaving a long tail for sewing.
- Repeat for the other side using the remaining 18 loops.
Middle Panel:
- Mark 19 remaining loops in the middle of the back panel.
- Round 1:
- Attach blue yarn to the first loop.
- Ch 2. Work 1 dc into each loop (19 stitches total).
- Ch 2 and turn.
- Round 2:
- Work 2 dc, followed by 1 dc decrease, and alternate 4 dc and 1 dc decrease for 3 repeats.
- Finish with 5 dc.
- Round 3:
- Work 1 dc into each stitch (16 dc total).
- Fasten off securely and hide the yarn tail.
Sewing the Hair to the Panel:
- Position side hair between Round 5 and Round 6 of the panel. Sew carefully for 15 stitches (side hair panels). Use blue yarn and darning needle for clean seams.
- Sew the middle panel between the opening loops of the pouch.
Wednesday’s Hair
Side Panels:
- Follow Coraline’s Round 1 and Round 2 only for side panels (skip Round 3).
- Sew side panels using black yarn between Round 5 and Round 6 for 15 stitches.
Braids:
- Create three strands per braid:
- Attach black yarn to the first stitch beside the side hair.
- Ch 15, and starting from the second ch, work 1 sl st, followed by 13 sc.
- Sl st into the next loop. Repeat this process twice more for three strands.
- Fasten off and hide the yarn tail.
- Braid the strands and secure the end with black yarn.
Eyes
Coraline’s Eyes
- Round 1: Make a magic ring with black yarn, ch 1, and crochet 8 sc. Close with a slip stitch.
- Round 2: Ch 1. Work 8 increases (16 sts).
- Add the white yarn cross to the center of the eyes using a darning needle.
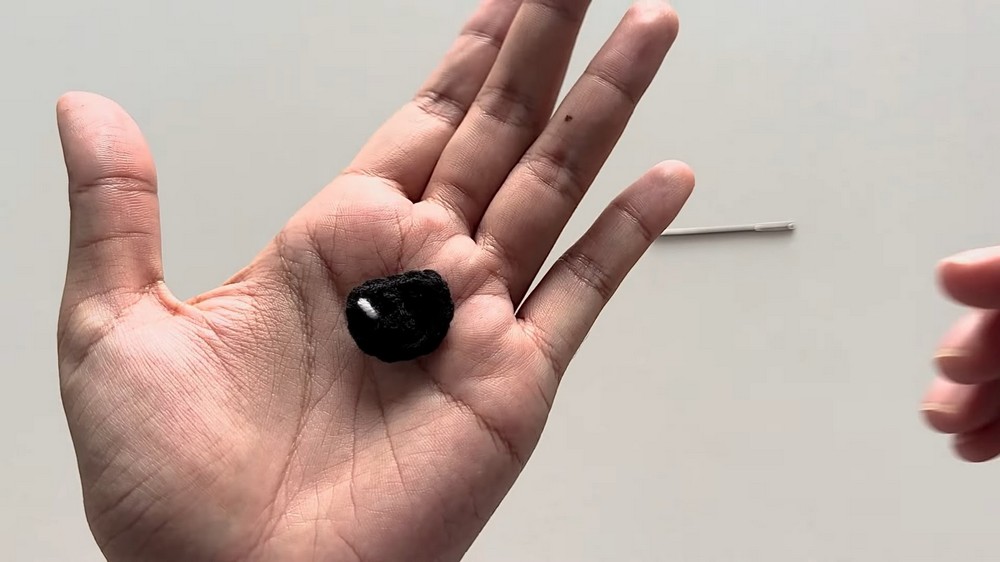
Wednesday’s Eyes
- Work 1 magic ring, 4 sc, and close.
- Ch 1, turn, and work 4 increases into the stitches.
- Add white dots with a needle for extra detail.
Additional Details
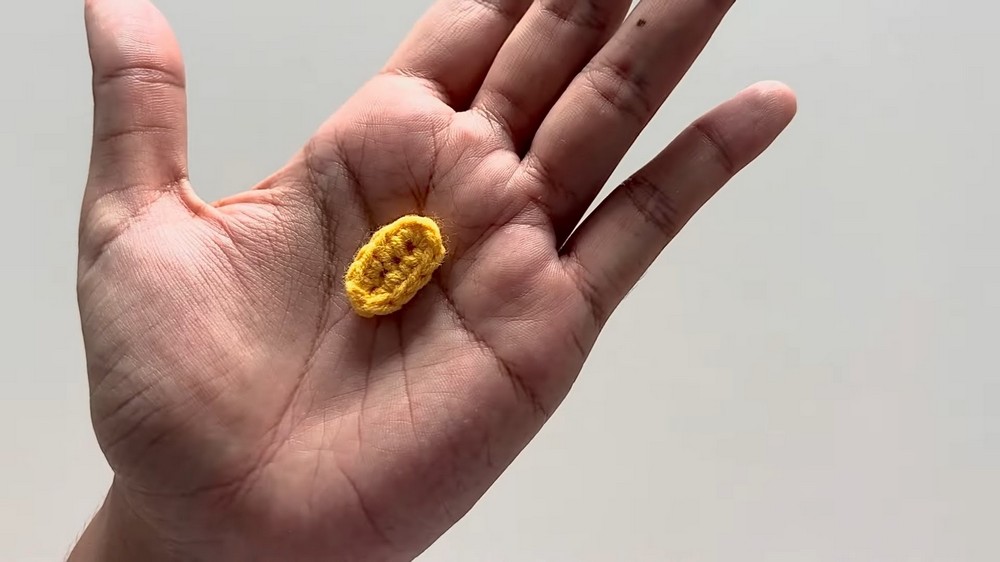
- Coraline Hair Clip:
- With yellow yarn, ch 5, and starting from the second chain, work 3 sc, followed by 3 sc in the last ch.
- Work down the opposite side with 2 sc, finishing with an increase. Close with a sl st and hide yarn tails.
- Snap Closure:
- Sew two snaps in the center of the hairline for each pouch flap.
Conclusion
Congratulations on completing your Coraline and Wednesday crochet pouches! These spooky yet charming designs are perfect for Halloween or everyday fun. Use your creativity to customize colors and details for unique outcomes. Share your work with friends and inspire others to try this pattern.
Pattern Correction
- No critical errors found. The transcription converts cleanly into a detailed pattern.
Tip
- Experiment with finer yarns and hooks for smaller versions of the pouches, or use thicker yarns for large decorative designs.