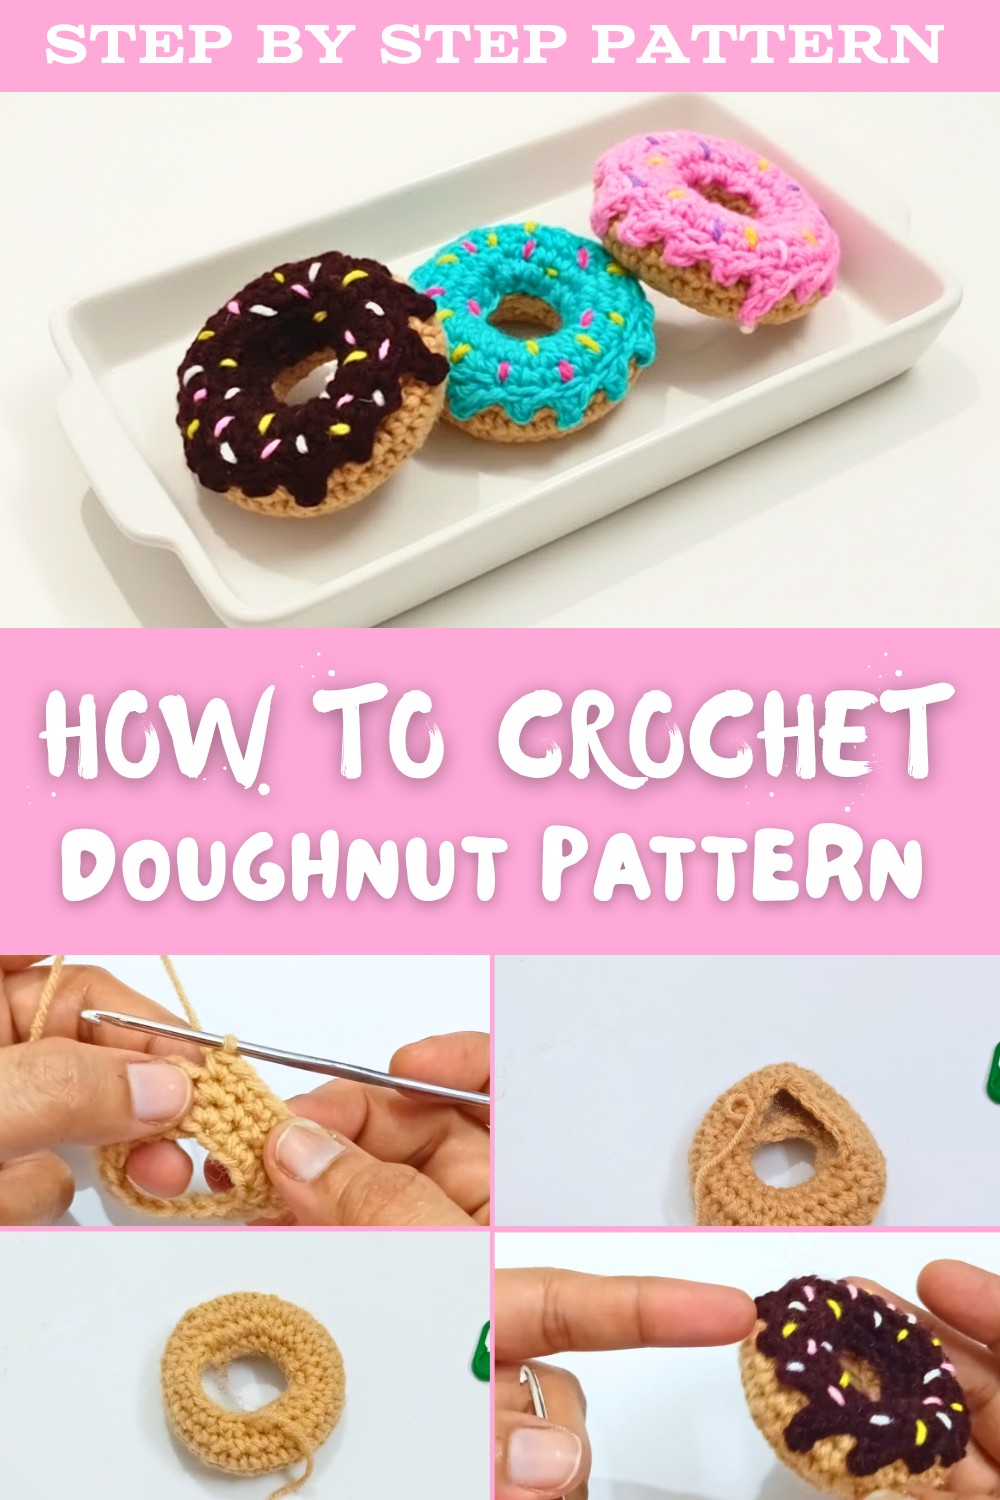
Handmade Crochet Doughnut Pattern for Gifts and Home Decor
Enjoy making a soft and colorful crochet doughnut that is fun, easy to follow, and perfect as a toy, home decor, or a cheerful and unique gift.
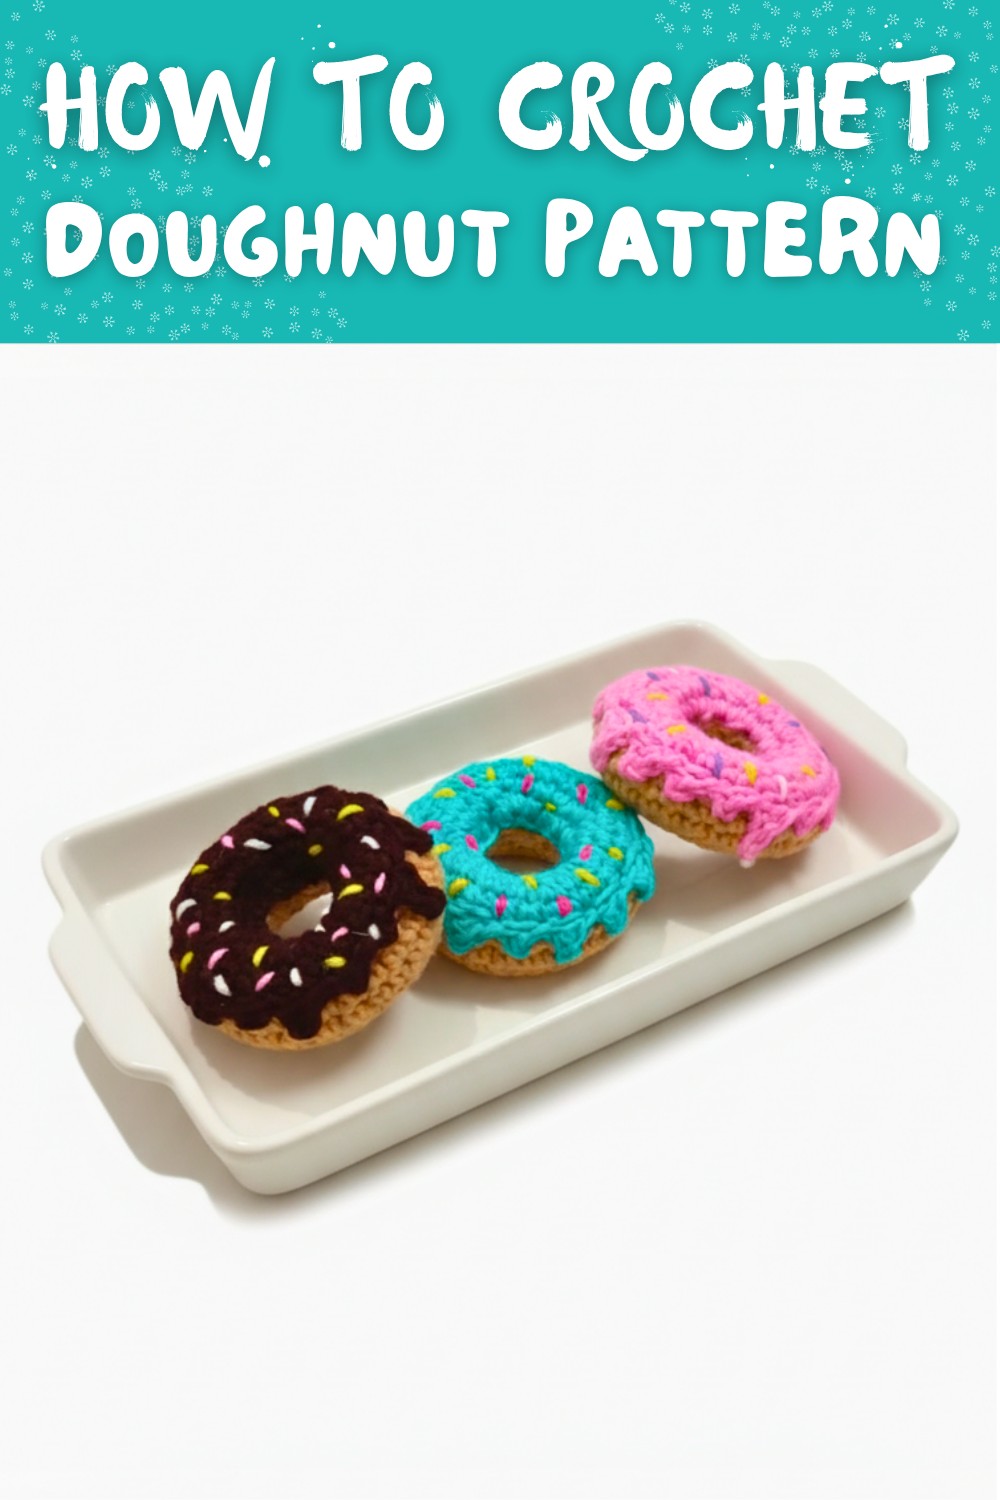
A soft yarn doughnut looks like a sweet treat but never melts or goes bad. It is fun for both kids and adults to enjoy at home. This little circle is usually round with a hole in the middle and can be made in many colors, such as pink, brown, cream, or rainbow shades. Often, it features cute sprinkles, a simple glaze look, or even a swirl on top, making it very eye-catching and playful.
Free Cute Crochet Doughnut Pattern Perfect for Kids’ Toys
A Free Crochet Doughnut Pattern provides step-by-step instructions, making it easy to follow along. People use it as toys, keychains, room decor, party favors, or even pretend play food for kids. It is light, soft, and safe to hold, and its small size makes it a quick project that is still detailed and unique. This cheerful yarn creation adds a cozy and playful touch to any space.
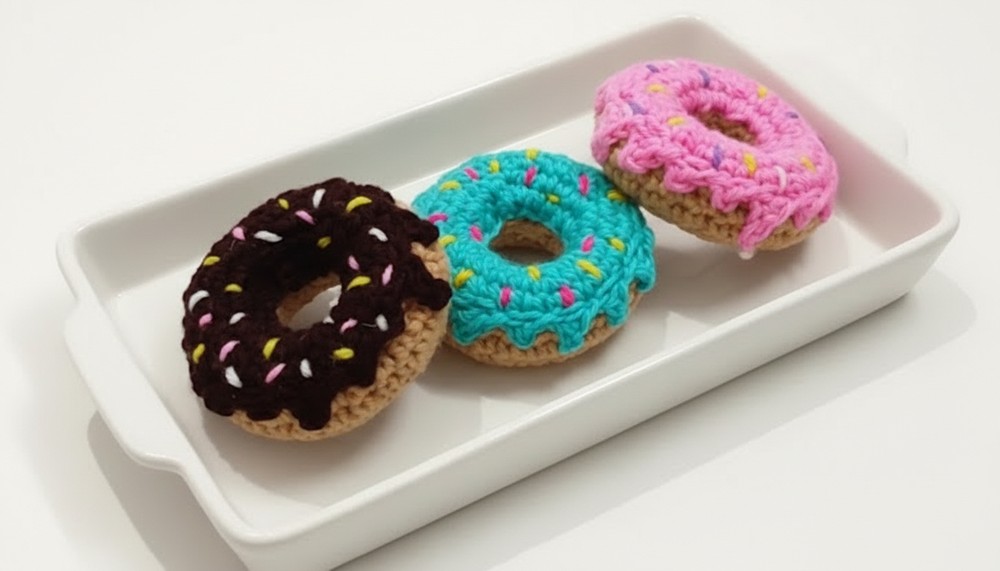
Crochet Cute Donut Pattern
This cheerful donut is a simple and fun crochet project that is perfect for decoration, gifting, or even a play toy! The pattern ensures clarity for crocheters of all skill levels.
Materials Required
- Yarn:
- Two colors for the donut:
- Base color (e.g., pink or chocolate for the “icing”).
- Contrast color (e.g., beige or light brown for the “dough”).
- Small leftover yarn in multiple colors for the “sprinkles” decoration.
- Two colors for the donut:
- Hook:
- 3 mm crochet hook.
- Optionally, you can use a 2.5–3.5 mm hook for tighter stitches.
- Stuffing:
- Cotton or fiberfill.
- E.g., “Reliance cotton” often used for stuffing bedsheets or cushions.
- Stitch Marker: To mark the first stitch of each round efficiently.
- Darning Needle: For sewing and weaving in ends.
- Scissors: To cut thread ends.
Pattern Abbreviations
- Ch: Chain.
- Sl St: Slip Stitch.
- SC: Single Crochet.
- Inc: Increase (2 SC in one stitch).
- Dec: Decrease (crochet two stitches together).
Special Techniques Used
- Working in the Round: This ensures a seamless, circular donut shape.
- Slip Stitch Joining: Used to close each round for seamless transitions.
- Increasing Evenly: Expands the donut in proportion.
- Sewing: The two halves are stitched together neatly, with the stuffing added gradually.
- Decorative Sprinkles: Add character with short, colorful yarn pieces placed randomly.
Finished Size
- Diameter: Approximately 7 inches (outer).
- Height: Approximately 2 inches.
Pattern Instructions
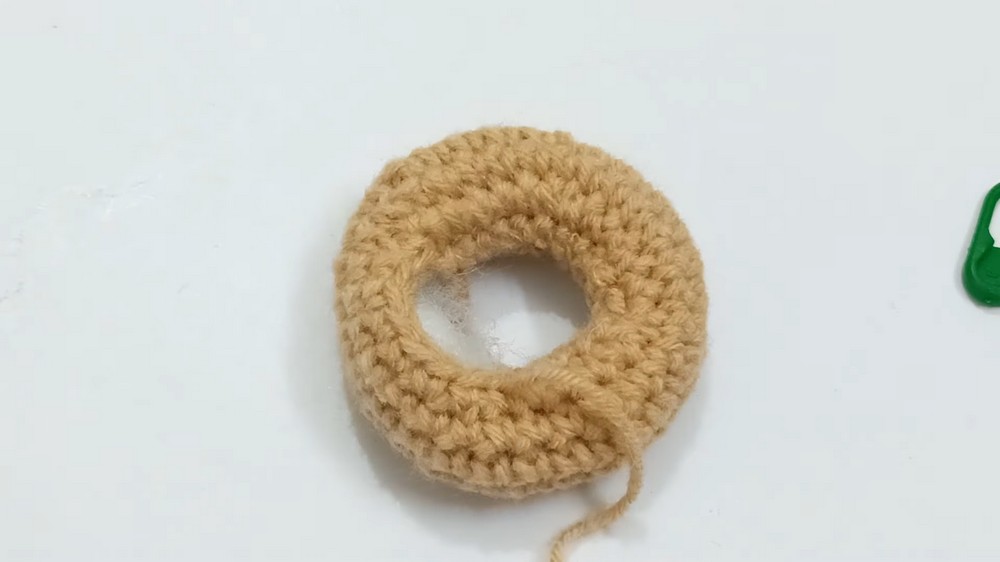
Step 1: Create the Donut Base
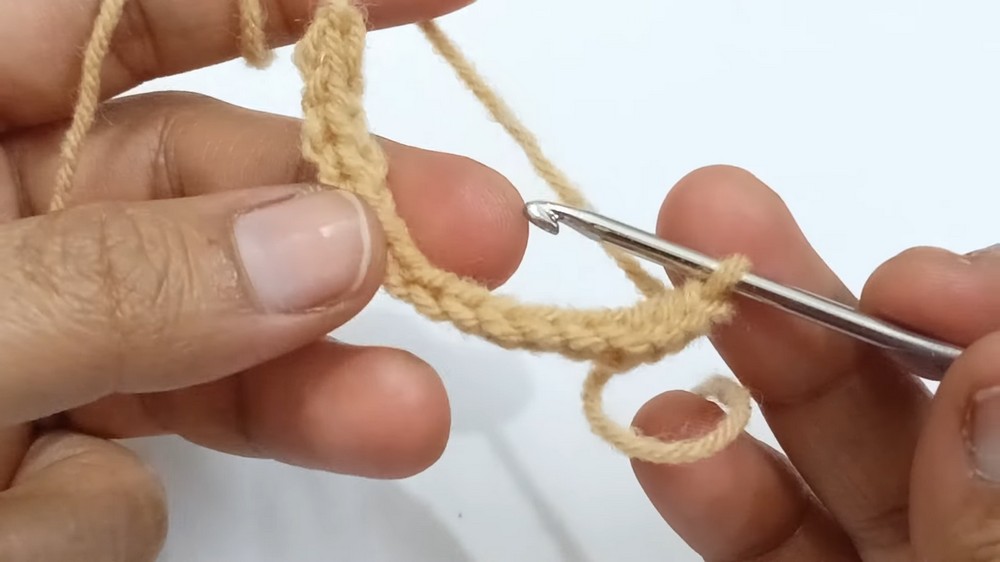
First Half of the Donut
- Ch 16: Use the contrast yarn (e.g., beige for the dough) to make a loose foundation chain of 16.
- Ensure the chains are not twisted before joining.
- Join the ends with a Sl St, forming a loop.
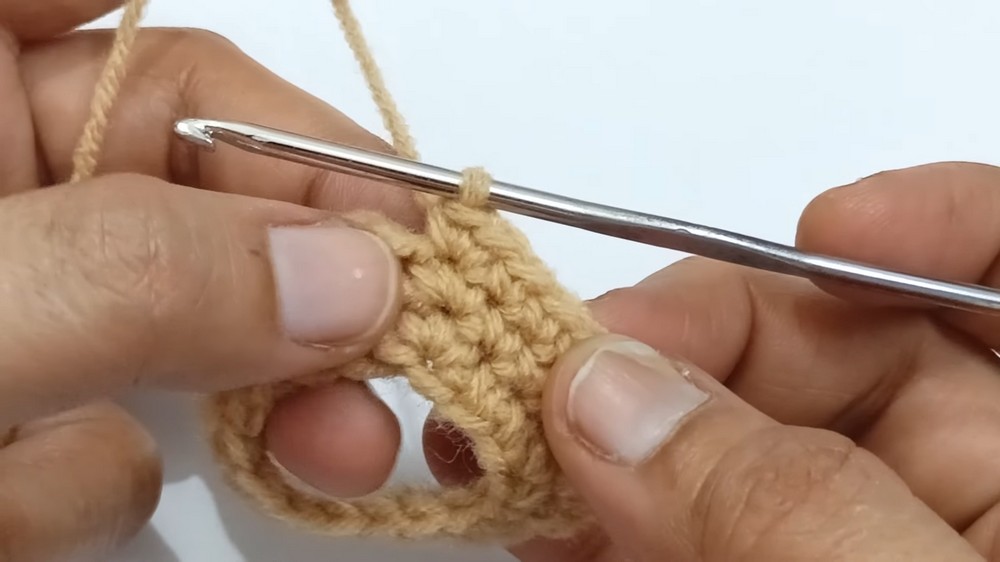
- Round 1:
- Work 1 SC in each Ch around. Finish by joining with a Sl St.
- You now have 16 SC in the round.
- Round 2 to Expand the Base:
- Pattern: 1 SC in each of the next 3 stitches, then 2 SC in the fourth stitch (Inc).
- Repeat this pattern 4 times around the round. You’ll end up with 20 SC.
- Round 3: Continue increasing:
- 1 SC in each of the next 4 stitches, then 2 SC in the fifth stitch.
- Repeat this pattern 4 times. You now have 24 SC.
- Round 4: Increase as follows:
- 1 SC in each of the next 5 stitches, then 2 SC in the sixth stitch.
- Repeat this pattern 4 times. You’ll now have 28 SC.
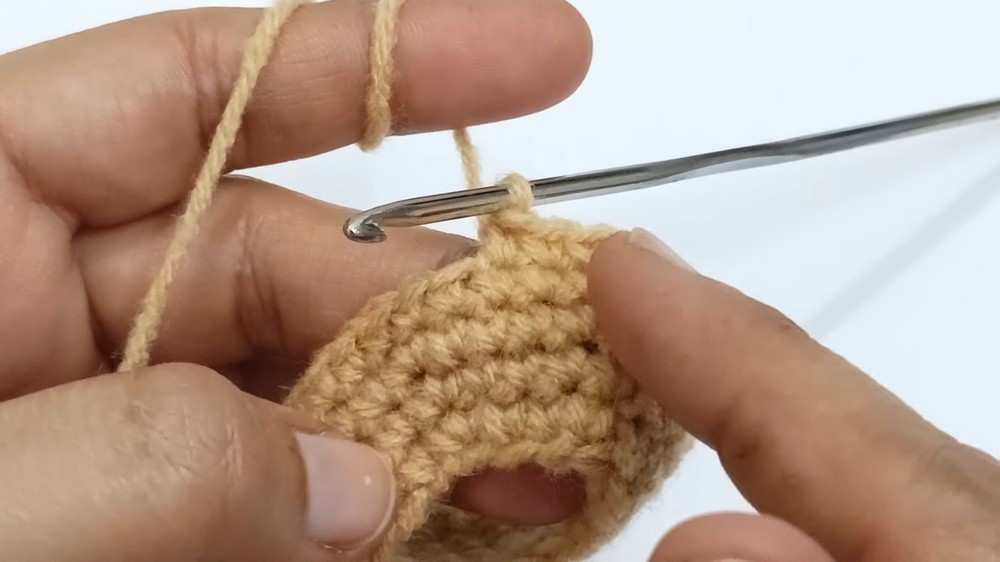
Rounds 5–7 (No Increase):
- Work 1 SC in each stitch around the loop (28 SC). This will add height and structure to the donut shape.
Step 2: The Icing Layer
- Take the icing color yarn (e.g., pink or chocolate) and repeat the steps above (1–7) to create the second layer (the top). Work similarly, with the same stitch counts and patterns, ensuring both halves are identical.
- After completing 28 SC in Round 7, introduce the decorative edges for the “dripping icing” effect:
- Do not increase further.
- Begin Slip Stitch (Sl St) around, skipping every few chains and working chains to create scalloped “drip” edges.
- Pattern:
- Ch 4, skip a chain, Sl St in the next few stitches.
- Use creativity to make the “icing” uneven and organic-looking.

Step 3: Join the Two Halves
- Align the base (dough) and the icing layer (top) together. Ensure the stitches match up evenly.
- Use a long yarn tail from the icing layer to sew along the outer edge of the donut in a clean, whipstitch motion. Leave a small opening for stuffing.

Step 4: Stuff the Donut
- Insert the fiberfill or cotton progressively as you stitch the edges closed:
- Add stuffing evenly to puff up the shape.
- Avoid overstuffing as it may distort the donut.
- Sew the remaining small gap shut securely.
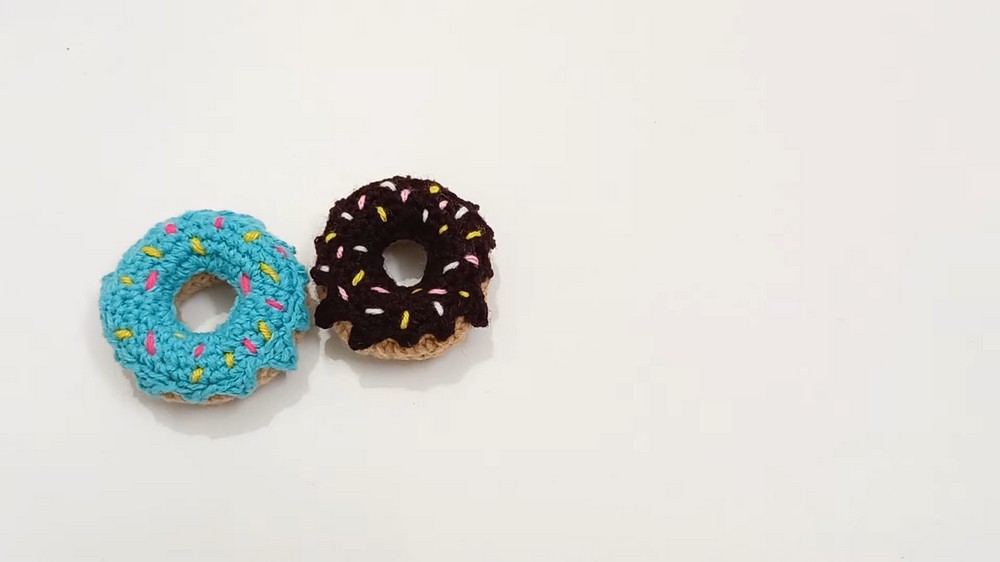
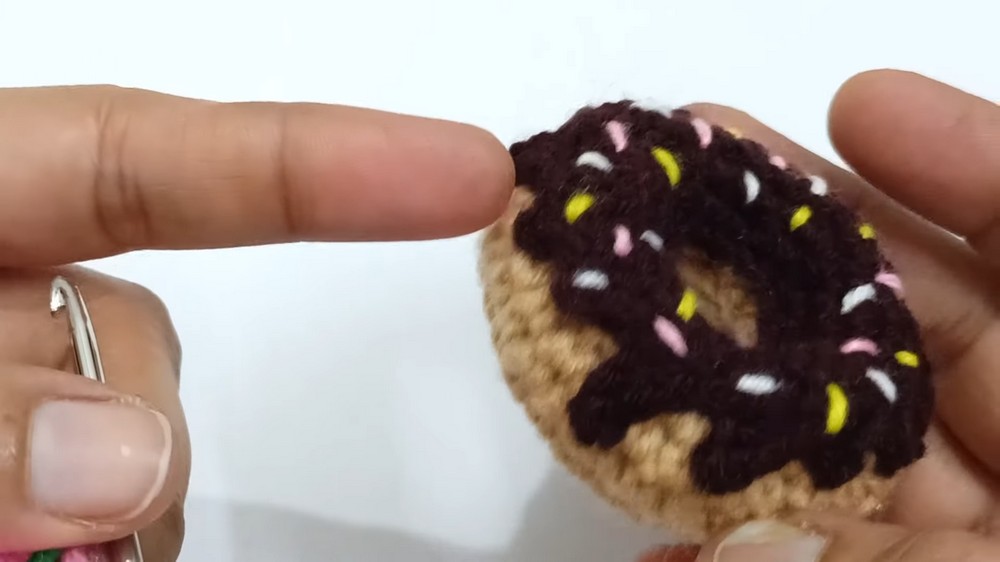
Step 5: Add Sprinkles
- Use leftover colorful scrap yarn to add detailed “sprinkles” on the icing.
- Randomly sew diagonal or straight lines across the icing layer to mimic sprinkles.
- Secure the ends of the “sprinkle” yarn with small knots inside the donut and hide the thread.
Finishing the Donut
- Weave Ends: Ensure all loose yarn tails are woven into the stitches to maintain a neat finish. Trim excess.
- Shape Adjustment: Press lightly into a round shape and ensure a smooth, symmetric look.
Final Tips and Suggestions
- Experiment with Colors:
- Try pastel combinations for a whimsical look.
- Go bold with bright icing colors like red or orange!
- Perfect for Beginners: This pattern uses basic stitches and is a great project to practice working in the round.
- Sprinkles Fun: Get creative by alternating sprinkle colors, shapes, or even using metallic yarn for a fun effect.
- Functional Applications: Use the finished donut as decor, a pin cushion, or a playful toy.
- Gifting: Pair the donut with other food-themed crochet items for a cute, handmade gift basket.
Final Words
Congratulations on completing your crochet donut project! This adorable and quick-to-make design is perfect for adding a touch of fun to your crafting projects. If you enjoyed this pattern, feel free to experiment with different sizes and colors to create a custom donut collection!