
Crochet Jasmine Flower Step-by-Step Free Pattern for Everyone
Create a cute and fun jasmine flower with this free crochet pattern, perfect for decorating your stuff or making unique and adorable handmade gifts.
Crocheting a delicate jasmine flower is a wonderful way to create something truly beautiful and special. With its soft petals, simple design, and elegant appearance, this flower is perfect for adding a gentle touch of charm to your creations. The sweet and natural look of the jasmine flower makes it a great choice for gift decorations, hair accessories, or even as a centerpiece for home décor.
Free Crochet Jasmine Flower Pattern for a Fresh and Lovely Look
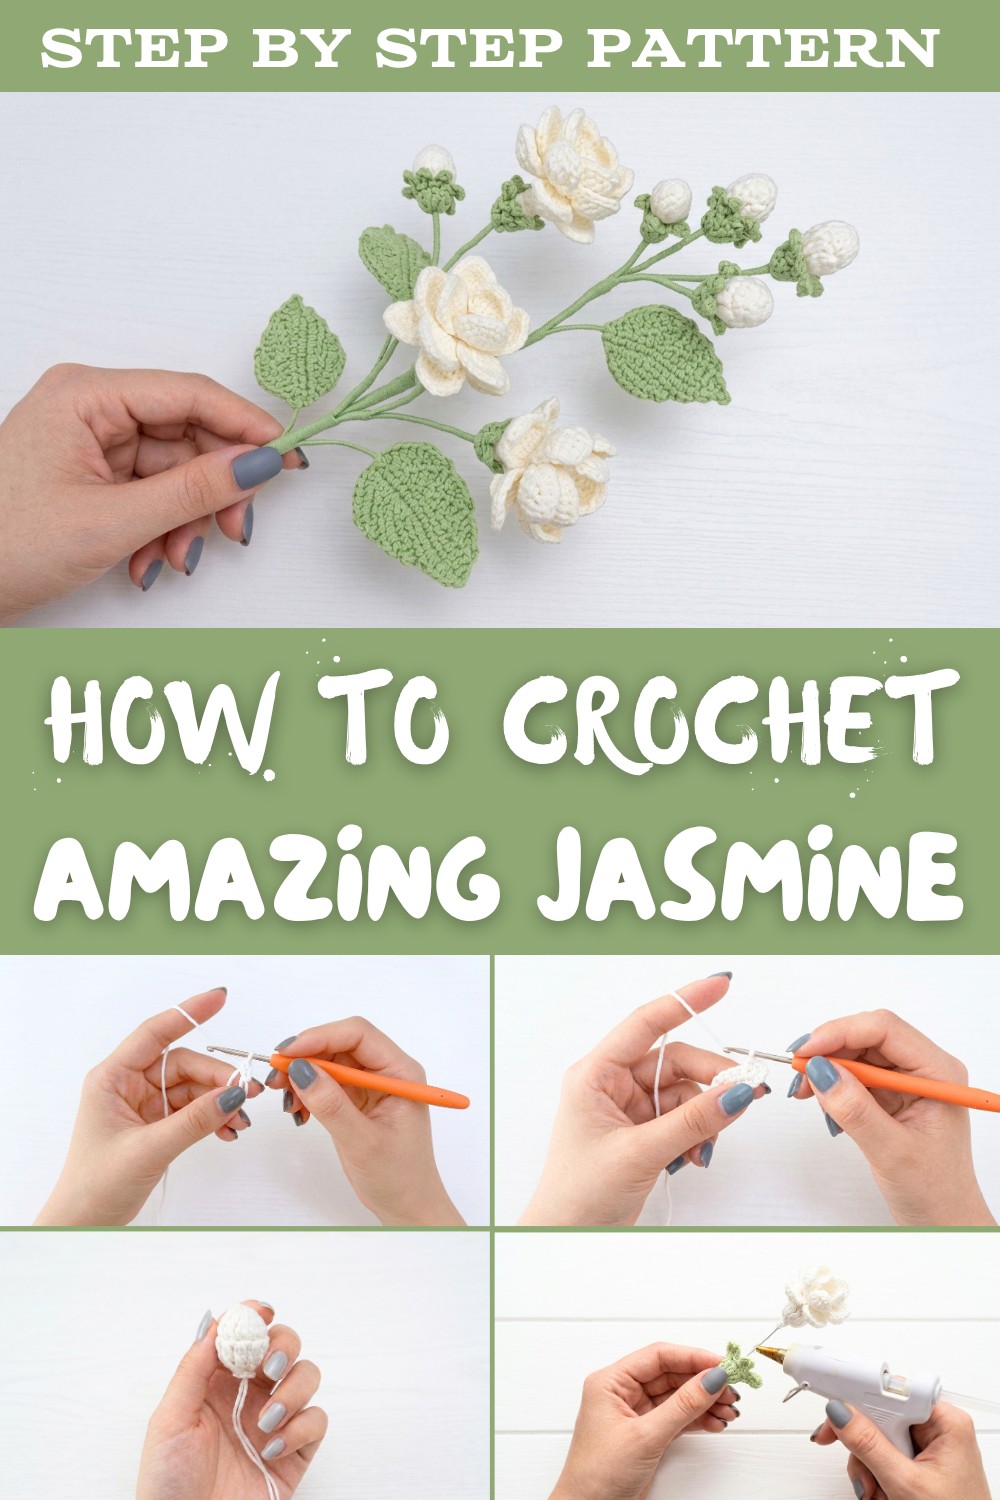
It works well with any yarn color, allowing you to personalize it to match your style or preference. The unique design of this flower makes it easy to crochet and ideal for beginners who want to try something creative. Its small size and lightweight features make it versatile to use in different craft projects, whether you're decorating clothes, making a bouquet, or gifting handmade items to loved ones. This soft yarn jasmine flower brings a cheerful and fresh vibe to your creations, making it a joy to crochet and display.
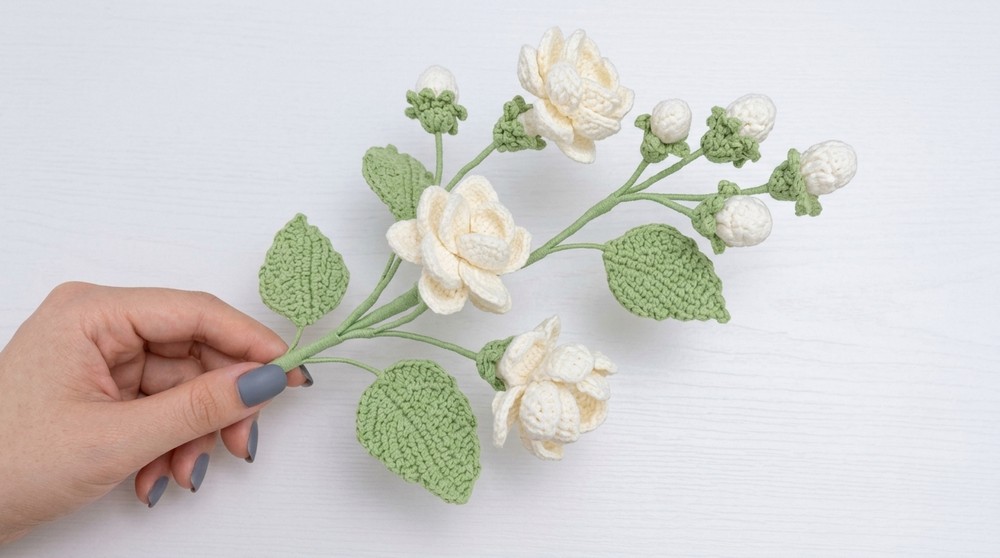
Jasmine Flower Spray Crochet Pattern
Finished Size
- Approximate finished size: A single spray (three flowers, five buds, four leaves, eight receptacles) is about 5-8 inches (13-20 cm) in length, depending on stem and arrangement.
Gauge
- Gauge is not critical for this project, since realistic proportion and tight stitches are priorities for structural stability.
- Aim for tight, neat stitches-especially important for floral crochet. Adjust hook size as needed so that stuffing or wire is not visible.
Materials
- Suzudex 4-strand cotton thread (or any strong mercerized cotton thread or embroidery floss)
- White for flowers and buds
- Green for leaves and receptacles
- Crochet Hook: Steel hook 1.25-1.5 mm (or size to produce tight stitches)
- Wire: Floral wire, 0.6 mm (for stems and support, bendable but strong)
- Fiberfill: Small amount (for buds)
- Stitch markers: Helpful for marking rounds
- Fabric glue
- Scissors
- Tapestry needle for weaving ends
Key Abbreviations
- sc: single crochet
- st(s): stitch(es)
- sl st: slip stitch
- ch: chain
- hdc: half double crochet
- dc: double crochet
- tr: treble crochet
- rep: repeat
- inc: increase (2 stitches in the same stitch)
- dec: decrease (single crochet two together)
- BLO/FLO: back loop only / front loop only
Special Techniques
- Magic ring/circle: Work stitches into a ring that can be pulled tight.
- Worked in rounds (spiral/circle): Do not join rounds unless specified; use a marker to keep track.
- Crocheting in BLO or FLO: Used for petal layers; see instructions.
- Invisible decrease: For a neat finish on buds.
Components
- Three large flowers
- Five buds (mix of large and small)
- Four leaves (some large, some small)
- Eight receptacles/calyces (small and large, as per the buds/flowers)
Instructions
A. Large Jasmine Flower (Make 3)
Base
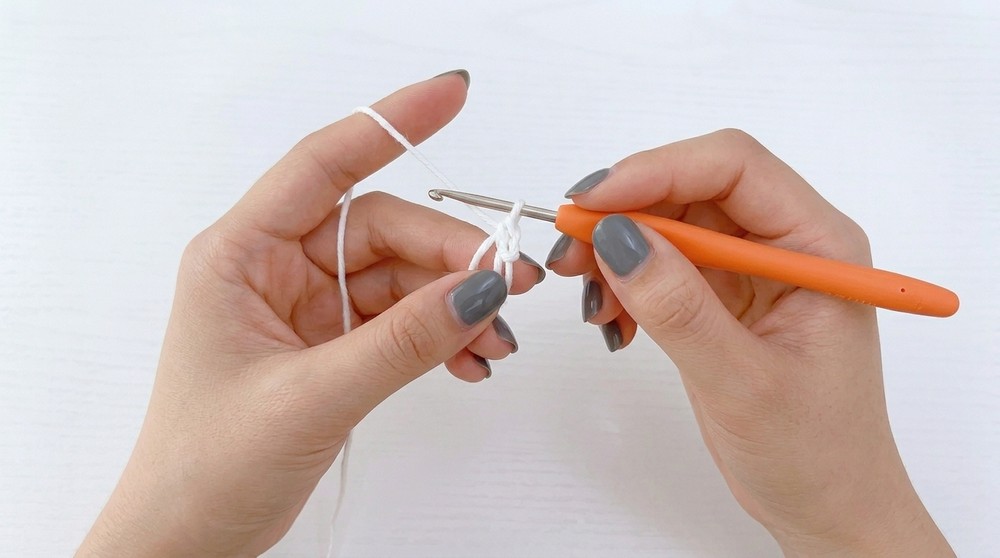
- Start with a magic ring.
- Into the ring, work 6 sc. Place a stitch marker in the first sc.
- Tighten the ring after the 6th sc.
Body
- For the next 5 rounds, work sc in each st around (6 sc per round).
- Move up your stitch marker as you go.
Preparing for Petals
- In the next two rounds:
- Work in BLO (back loops only) of each sc, 6 sc per round.
- These loops form anchors for the petal layers.
First Petal Layer
- In FLO of round 7 (the 6 marked loops):
- [Petal:] Attach yarn, ch 3, in same st, work 5 dc together (all into same st, incomplete, then draw through all loops), ch 2, sl st into next st;
- Rep for each of the 5 remaining stitches to make 6 petals in the first layer.
Second Petal Layer
- In FLO of round 8 (the next 6 loops), work petals as above.
Third Petal Layer
- If an additional layer is desired, find the inside front loops from earlier rounds and repeat the petal instructions above to create denser blooms.
Fasten off, neatly secure and weave in ends.
B. Buds
Large Buds (Make at least 2)
- Magic ring.
- Ch 3 (counts as first dc), work 9 more dc in ring. (10 dc)
- Pull ring tight, close with sl st.
- Rnd 2: Ch 3, dc2tog over next two sts-dec, rep around. (dc5tog total)
- Start stuffing small amount of fiberfill.
- Rnd 3: Sc2tog around, through FLO for neater closure.
- Pull tight and fasten off.
- Insert a piece of wire through base.

Small Buds (Make at least 3)
- Same as above, but with smaller rounds:
- Magic ring, 7 dc.
- Next round: dc2tog around.
- Stuff, close with sc2tog or simply pull tight and weave closes.
- Insert wire.

C. Receptacle/Calyx (Make 8)
- With green thread, magic ring.
- 7 sc in ring, join with sl st.
- For each point (make as many as needed for your calyx size, e.g., 7), ch 3, sl st in same st, sl st into next st around.
- Fasten off, leave tail for sewing/assembling.
D. Leaves (Make 4; Size as desired)
- With green thread, ch 11.
- Row 1: Sc in second ch from hook and next 8 ch. (10 sc)
- In end ch, work 3 sc (turning to work along other side).
- Sc in each across other side, sl st to first sc.
- For a slight point: ch 1, turn, working in BLO, sc in each st to tip, inc in tip, sc in each st back, sl st.
- For a universally shaped leaf, refer to any "rose leaf" pattern or variation of your choice. Adjust size as desired.
- Fasten off, leave tail.
To make the leaf stiff, crochet around a length of wire on the first row.
E. Assembly
Prepare All Stems
- Cut 0.6 mm floral wire and fold in half for each major part (flowers, buds, leaves).
- With glue, wrap cotton thread/flooral tape two times around wire stem to secure (as per video).
Attach Receptacles
- Slip each flower or bud wire stem through a green receptacle, glue in place.
- Wind connective wire tightly to join parts and cover all visible wire with cotton thread or floral tape for a professional look.

Arrange Spray
- Bind stems of three flowers and five buds (in random/lifelike order) together to form a spray, wrapping wires with green cotton and glue for stability and aesthetic.
- Attach leaves at intervals, wrapping and gluing after each addition.
- Continue wrapping and binding across 6-7 cm as needed for firmness and cohesion.
Finished Look
- A realistic jasmine spray with open blooms, buds in various stages, and alternating leaves on a wrapped central stem.
- The finished piece is delicate, lifelike in proportions and color, and suitable for bouquets, decor, or accessories.

Tips & Customization Ideas
- For extra realism, use shading or ombré yarns for the petals or leaves.
- Adjust number of flowers, buds, or leaves for a bushier or more minimal look.
- Add scent by dabbing the cotton thread with floral essential oil.
- For a flexible stem, use finer wire; for a sturdy upright stem, use thicker wire.
- Craft smaller sprays for corsages or hair accessories, or larger for bouquets.
- Refer to alternate "rose leaf" patterns for different leaf shapes.
Special Techniques Emphasized
- Mastering the magic ring for tight flower centers.
- Working in both front and back loops for layered petals.
- Assembling floral parts securely with conscious, neat wiring and wrapping.
Conclusion & Important Remarks
This jasmine crochet tutorial produces a highly realistic and elegant botanical spray using traditional flower-making techniques and careful assembly. Tight, even stitches and firm wirework ensure the finished spray is both beautiful and durable. The ability to customize colors, size, and density means every crafter can create a display unique to their taste and needs.