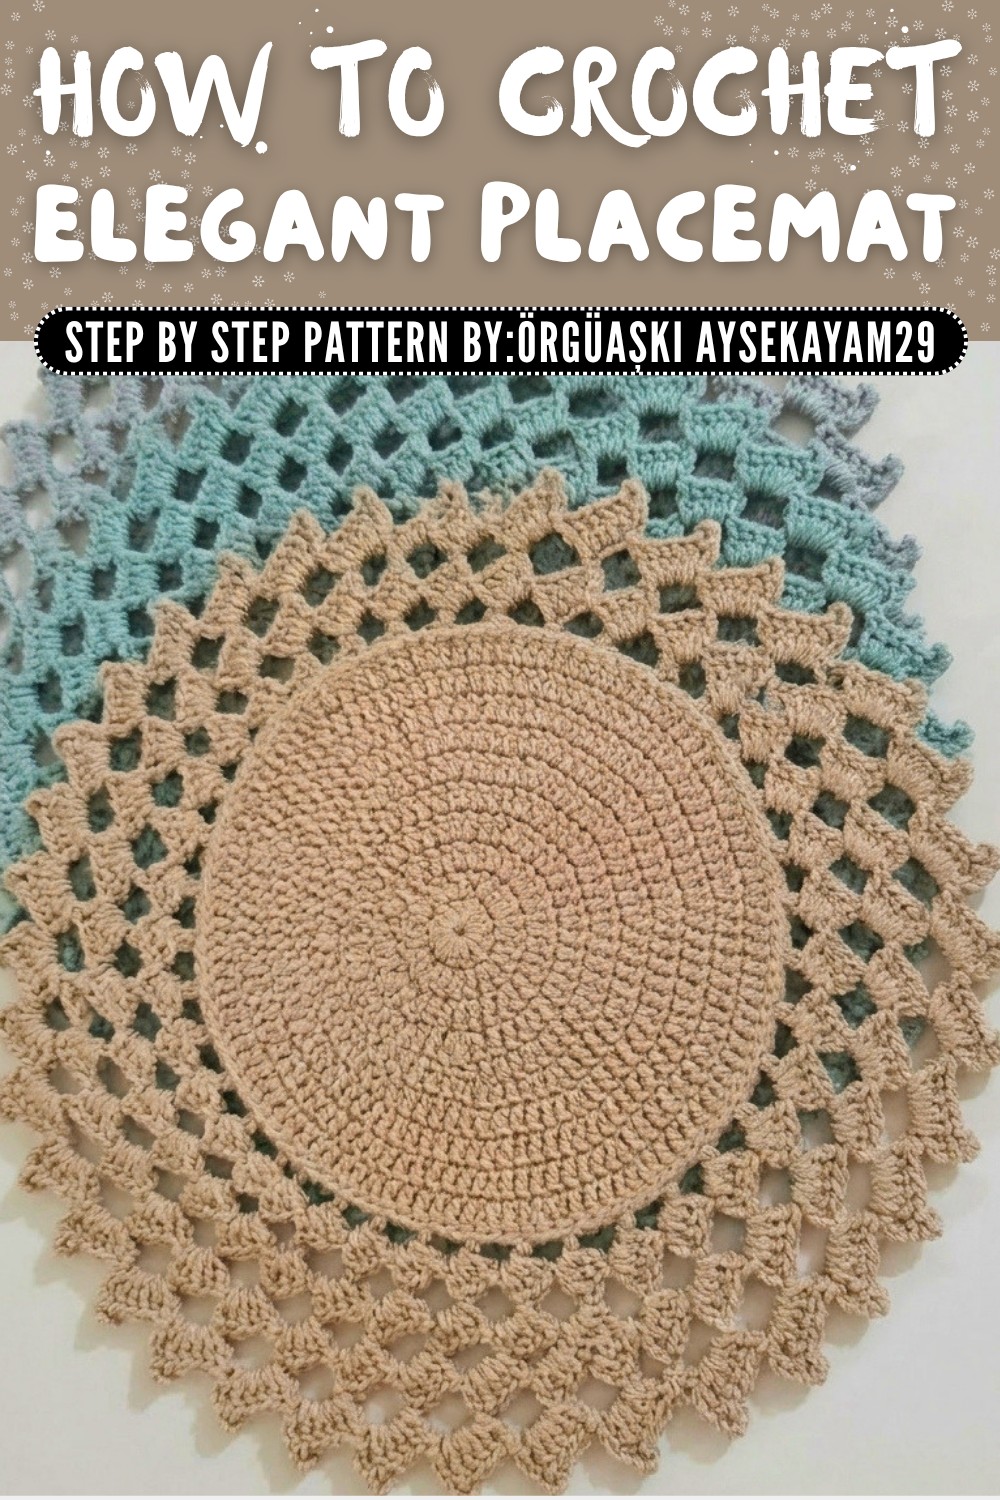
Easy Free Crochet Placemat Pattern
Shape a beautiful crochet placemat with this free and easy pattern that will brighten up your table and amaze your family and friends at every meal.
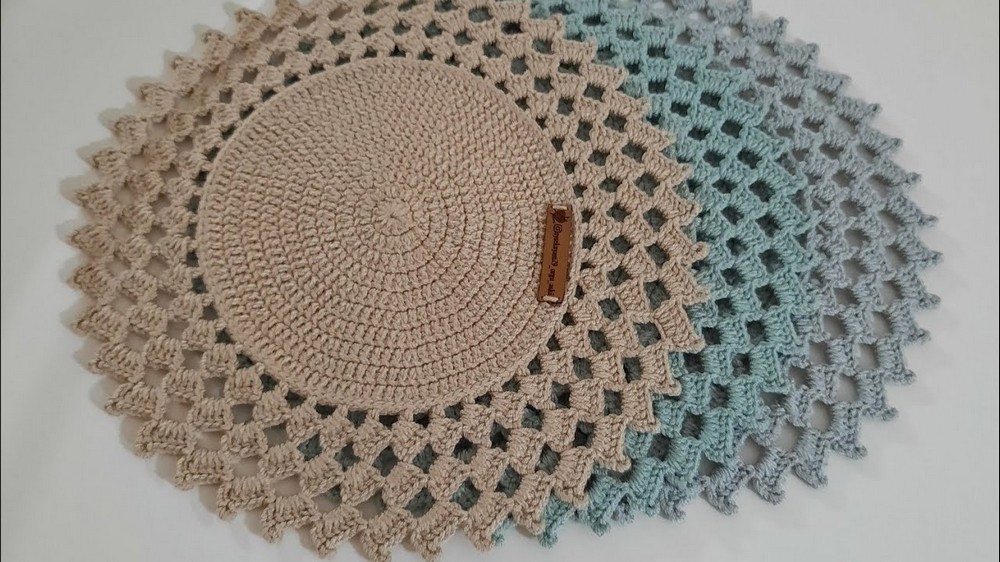
There's something wonderfully satisfying about setting the perfect table, isn't there? Adding a touch of handmade charm can take your dining experience to a whole new level, and that's where this free easy crochet elegant placemat pattern comes in. Whether you're hosting friends for a cozy dinner or setting the table for a relaxed family meal, these placemats are bound to add a hint of sophistication and warmth. Featuring a charming texture, the finished placemat feels smooth yet sturdy, making it practical for everyday use while showcasing delicate details that catch the eye.
Learn How to Crochet Elegant Placemat with This Free Pattern
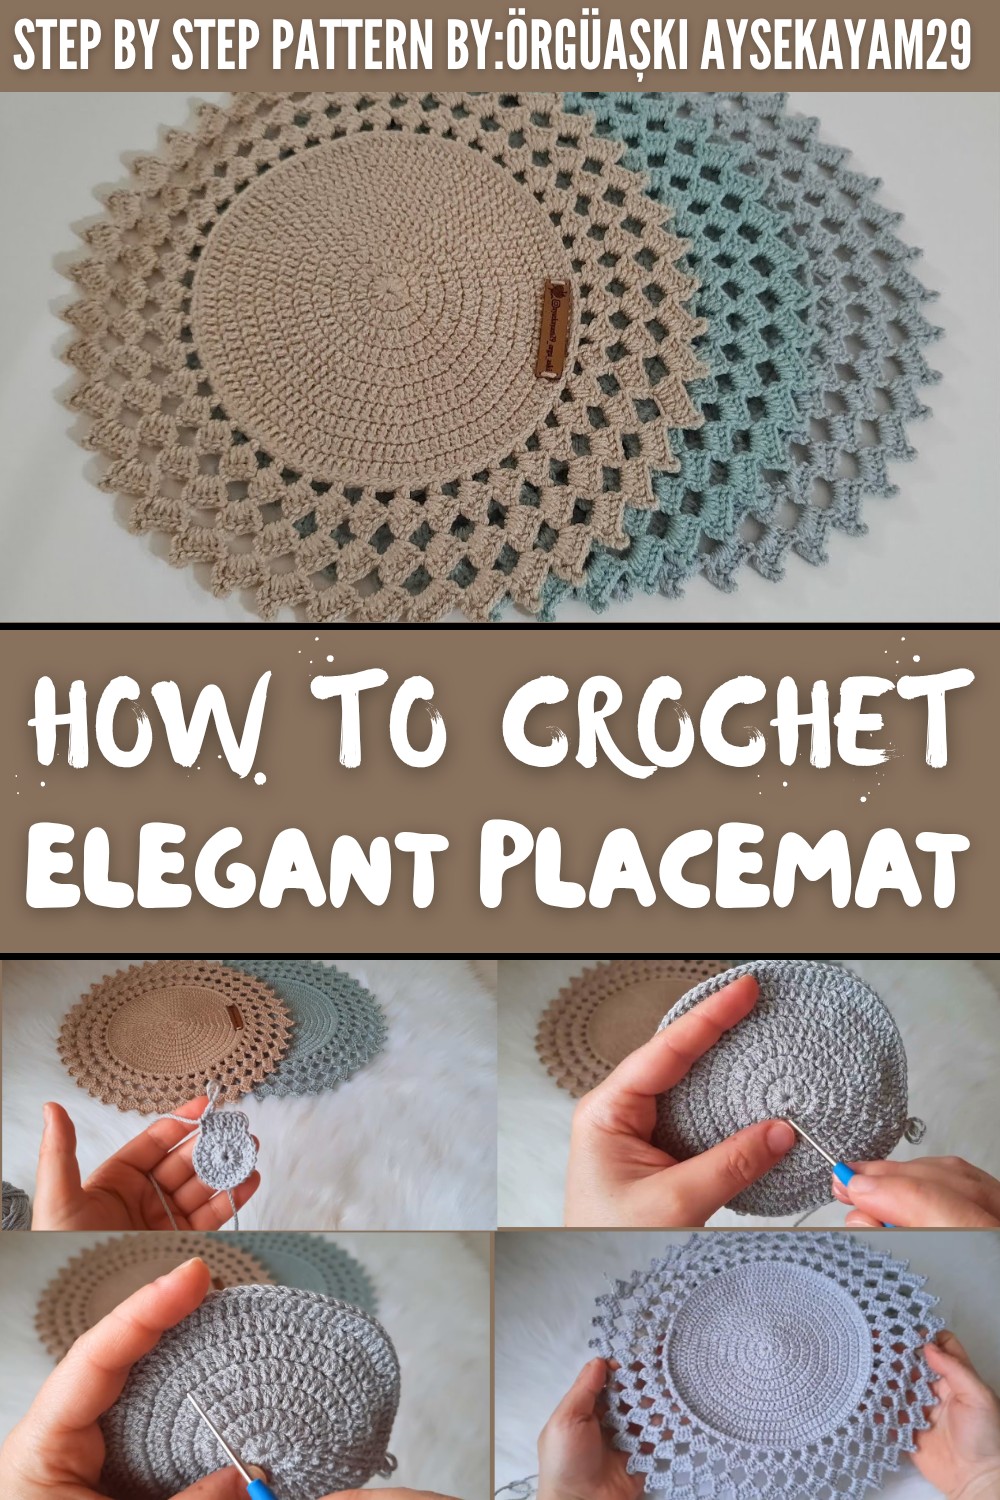
This project is easily adaptable, and the size can be customized to fit any table setting. Whether crocheting a single statement piece for a small dining table or creating a matching set for large gatherings, the design adjusts seamlessly. Color schemes offer ample creative freedom solid, neutral tones highlight the intricate stitch work, while bold and vibrant hues bring a pop of personality to the table.
Making the placemat is a mindful yet simple process, relying on a series of foundational stitches that are easy to learn. Gentle increases and evenly spaced stitch patterns keep the placemat flat, while blocking ensures the final product looks polished and professional. Choosing a yarn with some drape will enhance the design, allowing the texture to shine through beautifully.
It's a meaningful way to elevate your own home decor with something both functional and artistic. With creativity and just a bit of time, these placemats can become timeless treasures for any table.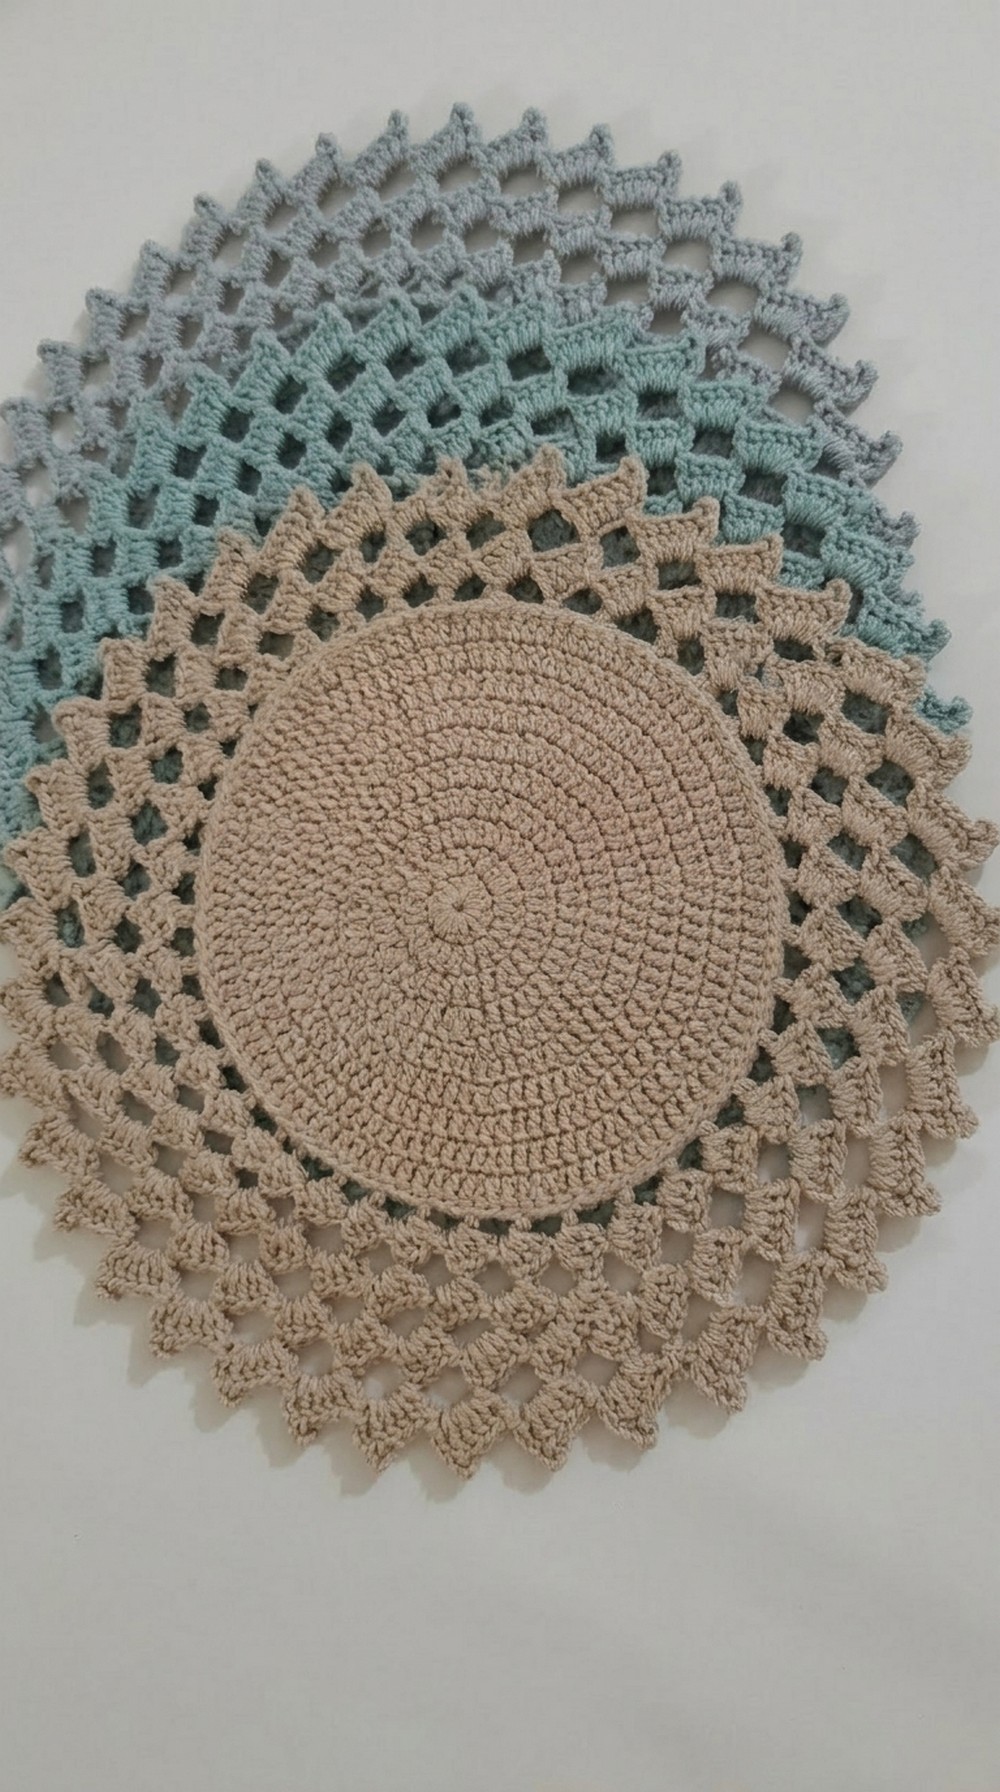
Stylish Crochet Placemat Pattern
Follow this detailed step-by-step pattern to create a beautiful crochet coaster (doily) using Nako Pırlanta yarn and a small 1.75mm crochet hook. This project features a flat circular base and decorative borders, making for a functional and elegant table piece.
Skill Level
- Intermediate
This pattern assumes basic knowledge of crochet stitches (magic ring, double crochet, slip stitch, chain stitches) and working in the round.
Materials
- Yarn: Nako Pırlanta, or equivalent fine yarn.
- Hook: 1.75mm crochet hook.
- Notions:
- Scissors.
- Yarn needle for weaving ends.
- Blocking tools: pins and blocking mat.
- Optional: Iron and cloth for pressing.

Measurements
Finished doily/coaster is approximately 10-12 inches in diameter, depending on yarn, tension, and blocking methods.
Gauge
Gauge is not critical for this project, but the base should lie flat as you crochet. If the piece starts to curl, try loosening your stitches or adding a few extra increases.
Stitch Abbreviations
(US Crochet Terms)
- ch - chain
- sl st - slip stitch
- dc - double crochet
- BLO - back loop only
- rep - repeat
Special Stitches
Magic Ring
Create a ring with yarn and insert your hook into the loop. Yarn over, pull through the loop, then chain 1 to secure. You'll be working stitches into this adjustable loop, and pull the tail to tighten when the round is complete.
The Crochet Pattern
Base - Middle Section
Magic Ring (Round 1)
- Create a magic ring.
- Ch 3 (counts as first dc).
- Work 12 dc into the ring.
- Pull the ring tight to close.
- Join with sl st to the top of the starting ch-3. (13 total dc including chains)
Round 2 - Start Increasing
- Ch 2 (counts as first dc).
- Work 2 dc in every stitch around (increase in each stitch).
- Join with sl st to the first dc. (24 total dc)

Round 3 - Increase Alternating
- Ch 2 (counts as first dc).
- Work 1 dc in next st, then 2 dc in next st (increase).
- Repeat: 1 dc, 2 dc around.
- Join with sl st to the first dc. (36 total dc)

Round 4 - Increase Alternating
- Ch 2.
- Work 2 dc, then 2 dc in next stitch (increase). Rep around. (2 single dc, then 1 increase)
- Join with sl st. (48 total dc)
Round 5
- Ch 2.
- Work 3 dc in each stitch, then increase. Rep around. (3 single dc, then 1 increase)
- Join with sl st. (60 total dc)
Round 6
- Ch 2.
- Work 4 dc in each stitch, then increase. Rep around. (4 single dc, then 1 increase)
- Join with sl st. (72 total dc)
Round 7
- Ch 2.
- Work 5 dc in each stitch, then increase. Rep around. (5 single dc, then 1 increase)
- Join with sl st. (84 total dc)
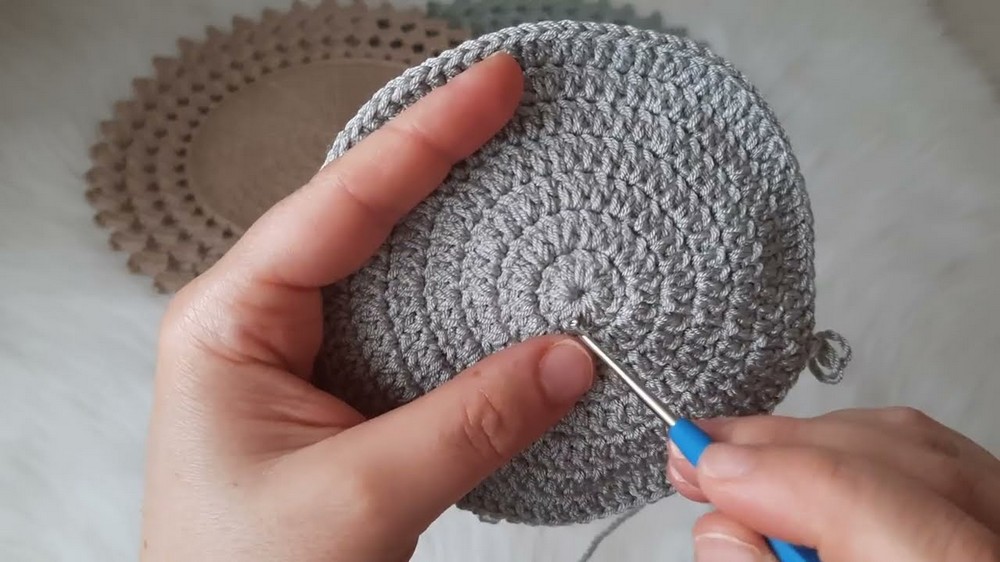
Round 8
- Ch 2.
- Work 6 dc in each stitch, then increase. Rep around. (6 single dc, then 1 increase)
- Join with sl st. (96 total dc)
Round 9
- Ch 2.
- Work 7 dc in each stitch, then increase. Rep around. (7 single dc, then 1 increase)
- Join with sl st. (108 total dc)
Round 10 - Intentional Adjustment
This row slightly reduces single dc count to ensure the final base stays flat.
- Ch 2.
- Work 5 dc in each stitch, then increase to finish the circular base. (5 single dc, then 1 increase)
- Join with sl st.
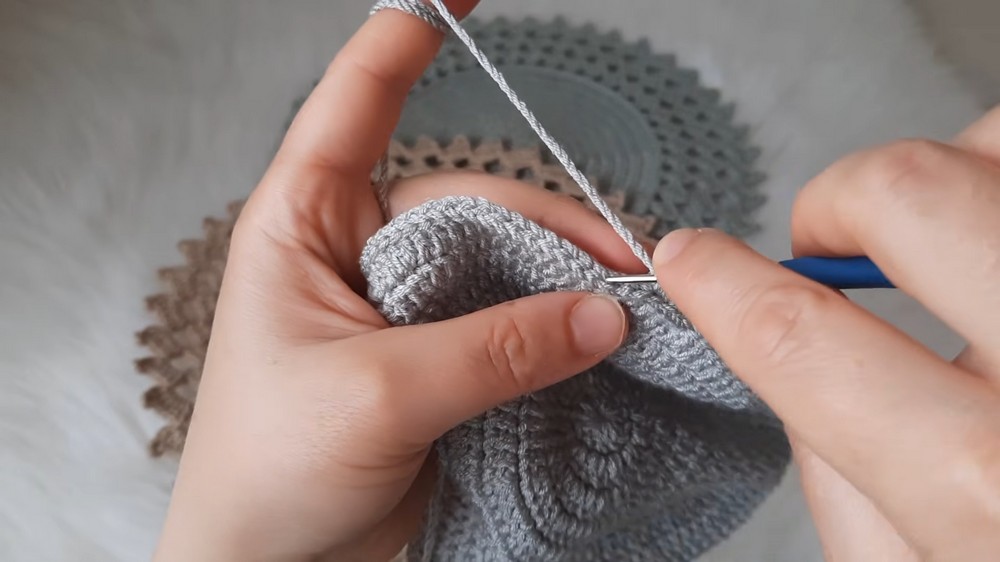
At this point, you should have a flat circular base from 10 rounds.
Slip Stitch Edge
- Ch 1, and work a round of sl st into the top loops only of each dc stitch from the last round.
- Make sure you keep tension loose so the edge doesn't curl or tighten.
- As described in transcription, treat this round as "relaxed scrolling."
- Join with sl st at the end.
This completes the main base edge, forming a subtle ridge transition into the decorative border.
Decorative Border
First Border Row - Fan Setup
- Working into the BLO behind the ridge, ch 6 or 7.
- Skip 2 sts, then:
- Work 4 dc into the next stitch - ch 3, 4 dc at the same place (forming the first fan).
- Continue by skipping 2 sts in between each fan, working:
- 4 dc + ch 3 + 4 dc into the same point.
- Repeat until end. Join with sl st.

At this point, there will be evenly spaced dc fans around the edge of the plate.
Second Border Row - Expanded Fans
- Sl st into the center chain space of one of the base fans.
- Ch 3 (counts as first dc).
- Work 5 dc into the space, separated by ch 3 between clusters.
- The pattern makes this distinction: an increase here creates five double crochets spaced round the fan loop.
- Work all fans around the edge in this pattern.
- Join with a sl st to complete the second round.

You should see larger, fuller fans on top of the previous row.
Final Edge Row - Pırpır Loops
- Sl st into the top of any fan.
- For pırpır loop:
- Ch 7, slip stitch into the 4th chain to form a loop.
- Work 5 dc into the next available space.
- Between fans, repeat:
Ch 7, pırpır loop, 5 dc. - Repeat around the edge until the last stitch.
- Join with a sl st, fasten off, weave in ends.
Finishing
- Weave in all loose ends using a yarn needle.
- Lay the coaster/doily flat and smooth out the shape.
- Block the piece:
- (Optional) Pin it to a blocking mat into the desired shape and lightly spray with water.
- Alternatively, gently press with an iron over a light cloth. Avoid heavy pressure to ensure the delicate border isn't compressed.

Conclusion
This elegant crochet placemate or doily features a flat spiral base and decorative fan motifs that are ideal for setting beneath plates, bowls, or decorative objects. With 10 rounds of double crochet and intricate edge details, this project is perfect for gifting or enhancing your table settings.