
Free Crochet Bow Hair Clip Pattern Great for Parties
Try this free crochet bow hair clip pattern to create a playful and elegant accessory that's quick to make and easy to customize for all ages and styles.
Handmade hair accessories bring a special touch to any outfit, and this crochet bow is no exception. Featuring a timeless shape with softly rounded edges and a pinched center, the bow has a graceful style and lovely texture that pairs well with many looks. Lightweight yet sturdy, the design is made using 2 ply yarn and basic crochet stitches to achieve a dainty item that works beautifully as a hair clip, brooch, or decorative accent. The Free Crochet Bow Hair Clip Pattern offers clear, straightforward instructions, making it suitable for both beginners and seasoned crocheters.
Free Easy Crochet Bow Hair Clip Pattern for Every Crocheters
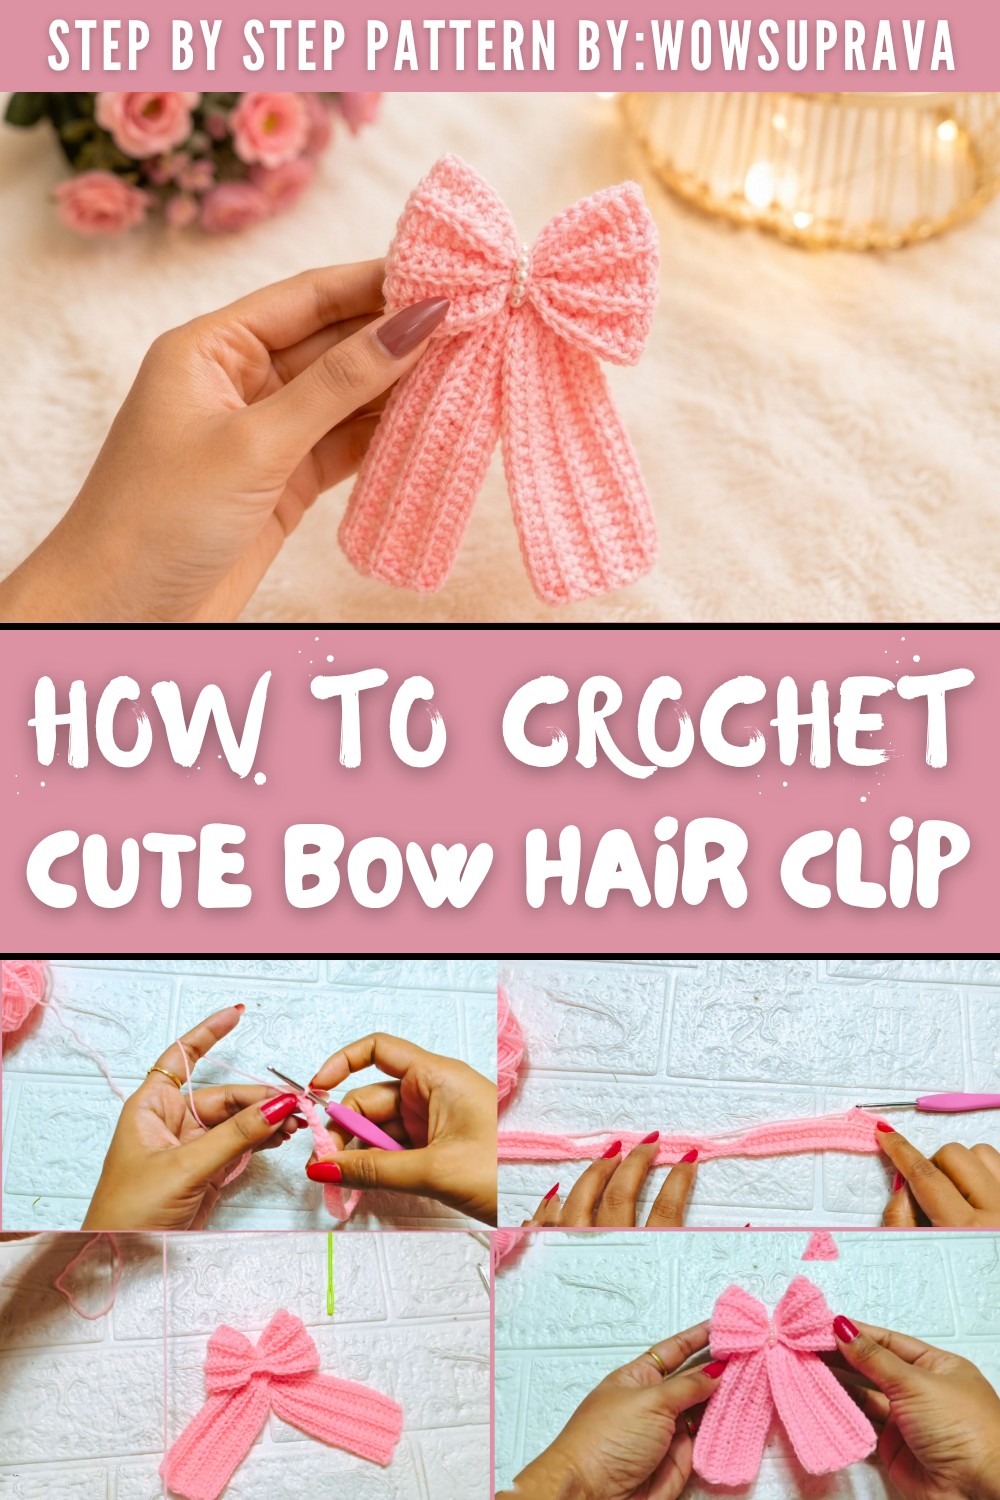
The bow is versatile and works for all ages. It is perfectly fitting for a child's playful hairstyle, yet equally chic for adults seeking to complement their outfit with a subtle, handmade piece. The size is easily adjustable by tweaking the number of stitches or rows, allowing ample opportunities for personalization depending on the desired look. Whether it's for a small casual piece or a bold statement accessory, the design adapts effortlessly.
Instead of complex construction, simple stitches like half double crochets and slip stitches are utilized, with an emphasis on working into back loops to enhance the pattern's texture. Smooth and pliable yarns, such as cotton or soft acrylic, are recommended to achieve a clean and refined finish. These yarns hold their form and offer a lovely balance of durability and flexibility.
This crochet bow makes an excellent choice for gifting on different occasions or as a thoughtful handmade detail for wedding or party favors. The option to incorporate beads, buttons, or other embellishments opens up endless avenues for imagination. With such adaptability, color combinations and embellishments can be mixed and matched to suit any mood, season, or personal style
Crochet Bow Hair Clip Pattern
This pattern uses a 3mm hook and 2 ply pink yarn to create an elegant and stylish hair bow. Simply follow the step by step instructions below to crochet this beautiful bow, perfect for hair accessories or decoration.
Quick Overview Of Pattern
- Main Techniques Used: Slip knot, chain stitch, half double crochet, slip stitch, and single crochet (optionally).
- Sections: Chain foundation, rows of half double crochet with slip stitch detailing, finishing the bow structure by weaving yarn ends, and adding final touches.

Notes
- Work carefully to ensure stitches remain consistent for a neat finish.
- The first round may require extra attention, but subsequent rounds will be easier as you settle into the rhythm.
- The bow can be customized in size by simply increasing or decreasing initial chains or repeats.
Take regular breaks to avoid hand fatigue while working.
Skill Level
- Beginner Friendly: Suitable for those with basic crochet knowledge including foundational stitches like chain, half double crochet, slip stitch, and single crochet.
Materials Needed
- Yarn: 2 ply lightweight yarn (Pink used in this example; feel free to choose a color of your preference)
- Hook: 3mm crochet hook
- Additional: A pearl or decorative bead for the center
- Other Tools: Scissors and a yarn needle
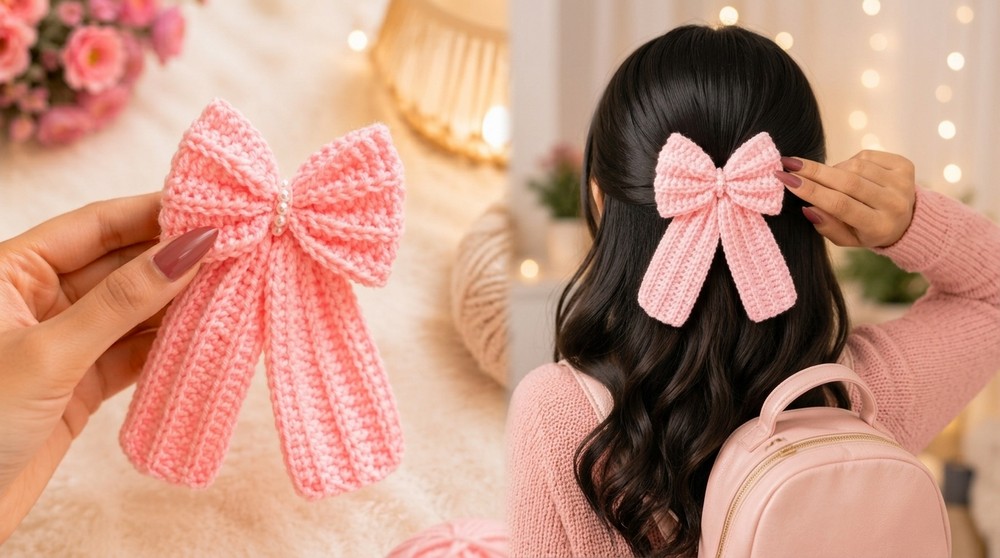
Stitches Used
Here is a quick overview of the basic stitches used in this pattern:
- Chain (ch): A fundamental loop used for the foundation and turning rows.
- Half Double Crochet (hdc): Yarn over (yo), insert hook into the stitch, yarn over and pull through. Yarn over again and pull through all three loops on the hook.
- Slip Stitch (sl st): Insert hook into the stitch, yarn over, and pull through the working stitch and the loop on your hook simultaneously.
Step by Step Instructions
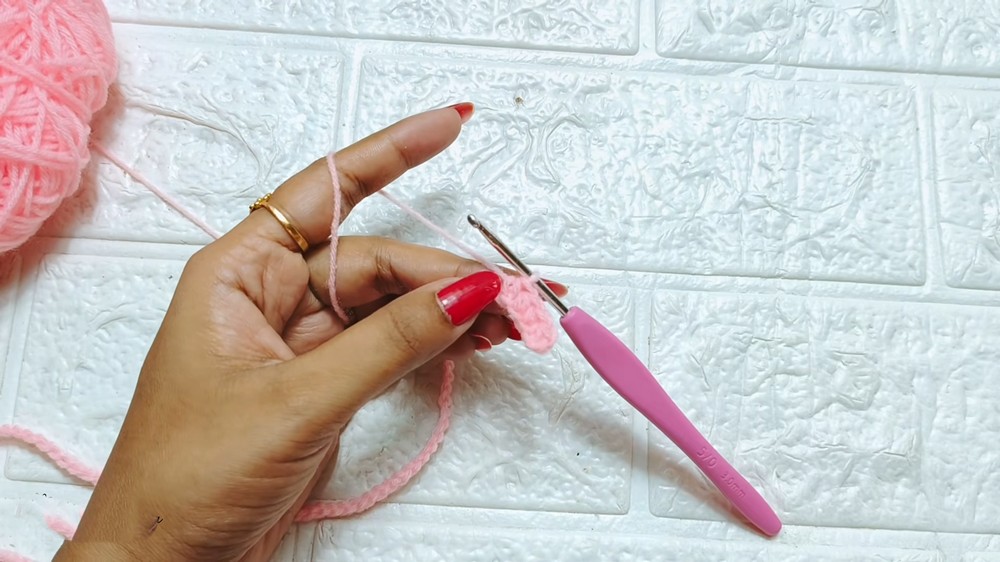
1.Step 1: Foundation Chain
- Create a slip knot on your hook.
- Crochet 20 chains.
- If you want to make a larger bow, increase the chain length accordingly, keeping the stitch counts proportionate.
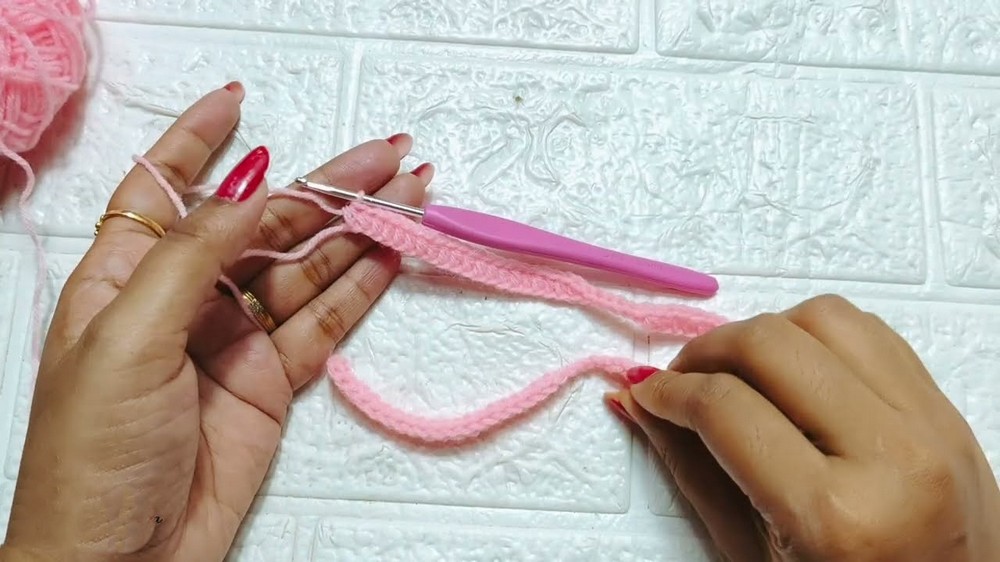
2.Step 2: Row 1 - Foundation Row
- Skip the first 2 chains from the hook (these count as your turning chain).
- Work into the back bumps of the remaining chains:
- Insert your hook into the third back bump, yarn over, and pull through all three loops (1 hdc).
- Repeat 1 hdc into each back bump across the chain.
- At the end of the row, you should have 20 hdc, including the skipped turning chains.

3.Step 3: Repeating Rows (Rows 2 - 6)
Each row follows the same stitch sequence but is worked into the back loops only to create the textured pattern.
Row Construction:
- At the start of every row, chain 1 and turn your work.
- Work into the back loops only for every stitch in the row.
- Follow the stitch sequence below for each row:
- 20 hdc
- 6 sl st
- 15 hdc
- 6 sl st
- 15 hdc
- 6 sl st
- 20 hdc
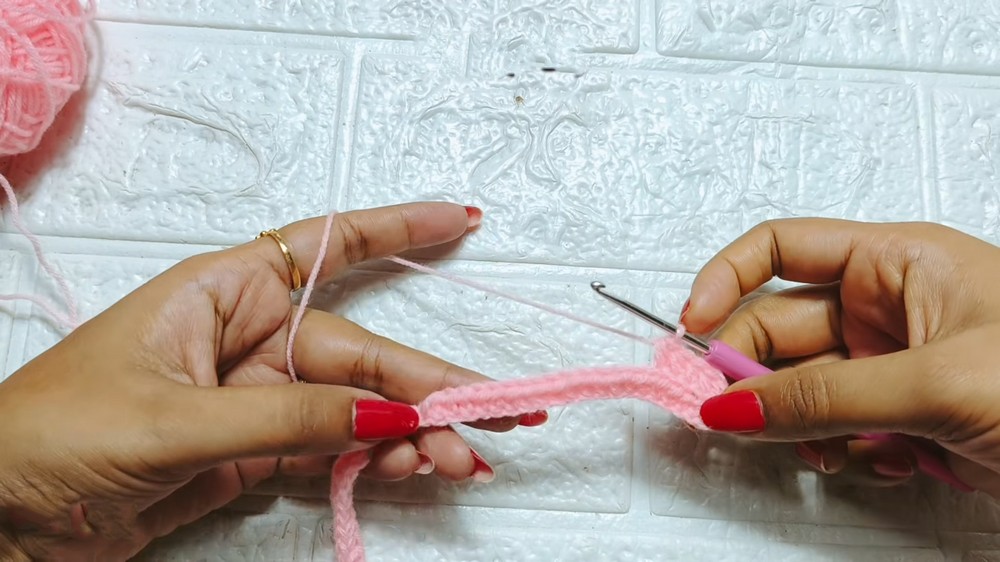
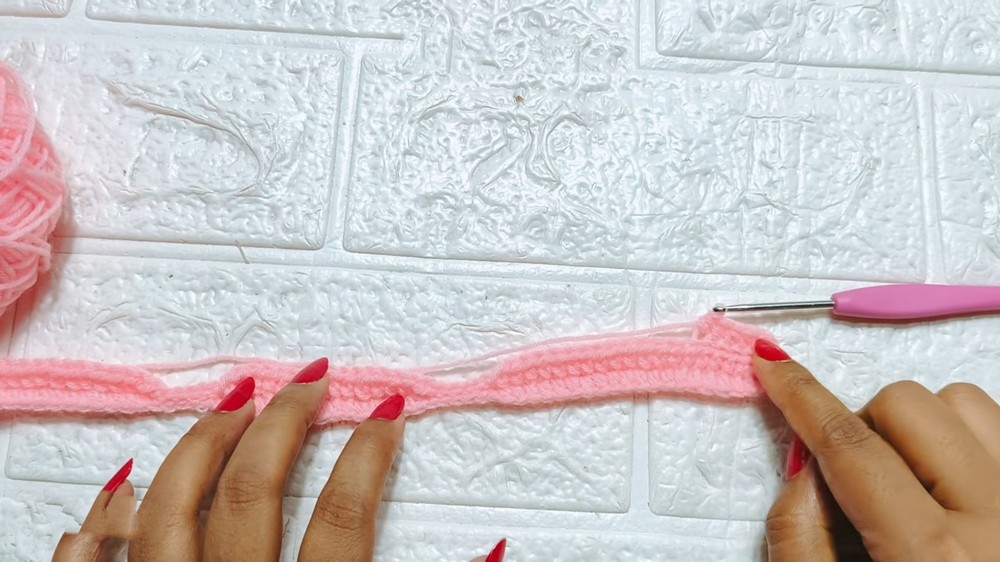
Complete this sequence carefully across each row, ensuring all stitches are worked into the back loops of the previous row.
- Repeat this sequence for Rows 2 through 6.
Tip: The first row may feel tricky to work due to tight tension, but subsequent rows should feel easier as the stitch texture develops.
4.Step 4: Finish and Assemble the Bow
Fastening Off:
- After completing Row 6, chain 1, leaving a long tail (approximately 8-10 inches).
- Cut the yarn with scissors.
Shaping the Bow:
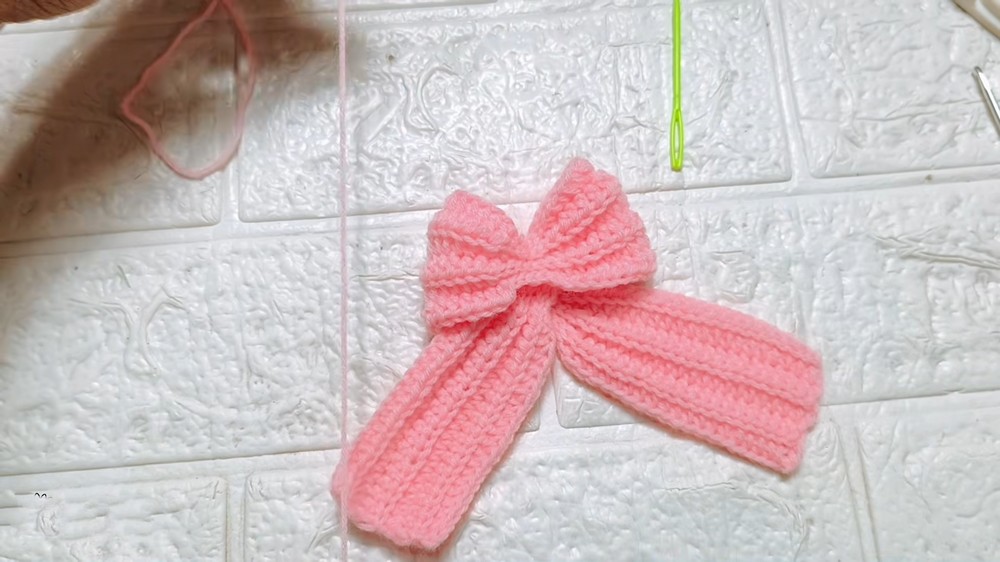
- Use a yarn needle to thread the loose tail through the stitches at the center of the bow.
- Gently pull the yarn to cinch the bow in the middle, forming the characteristic "tie" shape.
- Adjust the folds to refine the bow's appearance.
Securing the Bow:
- Wrap the remaining yarn tail around the center of the bow several times tightly to secure the cinched shape.
- Use the yarn needle to tuck and weave the tail back into the wrap for added security.
5.Step 5: Embellishment
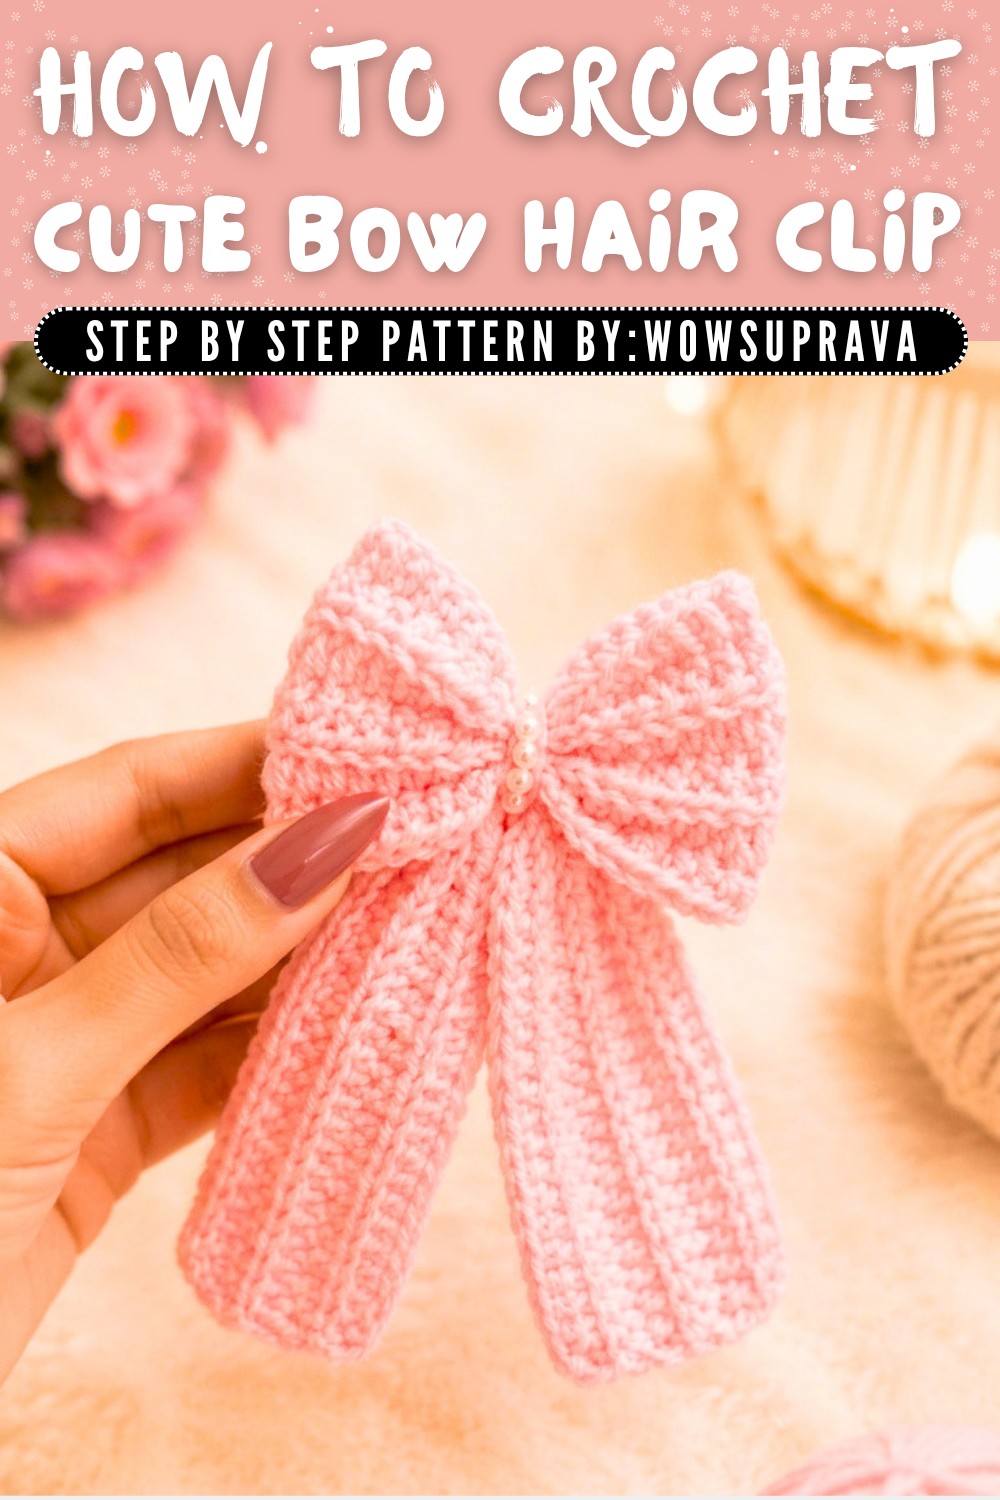
- Attach a pearl or decorative bead to the center of the bow using either the yarn needle or adhesive.
- Trim any remaining yarn and secure it neatly on the back for a polished finish.

Assembly & Measurements
- Attach the bow securely to a headband, clip, or accessory using adhesive or additional stitching.
- The bow made with these instructions measures approximately 3 inches wide and 1.5 inches tall.
Customization Ideas
- Size variation:
- For a larger bow, increase the starting chain and repeat more rows (e.g., 7 to 8 rows).
- For a smaller bow, reduce chain length and work fewer rows.
- Color changes:
- Use two colors and change color halfway through the rows for a dual tone bow.
- Create stripes by alternating colors each row.
- Center band options:
- Instead of wrapping with the working yarn, make a small separate rectangle and wrap that around the center as a neat band.
- Use ribbon in place of yarn for a different look.
- Embellishments:
- Add small pearls, beads, or buttons to the bow center.
- Sew or glue a decorative charm in the middle.
- Different uses:
- Attach to hair clip, headband, bag, dress, or gift box.
- Use it as a brooch by sewing or gluing it onto a pin back.
Conclusion
Congratulations, You've successfully made an elegant hair bow with this beginner friendly crochet pattern. This bow makes an excellent decorative piece for accessories, clothing, or gifting purposes. Customize its size and color to suit all your creative needs.