
Free Crochet Bucket Hat Pattern That Pops
Level up your style with this free crochet bucket hat pattern, an easy and fun way to make an accessory that's both practical and fashionable.
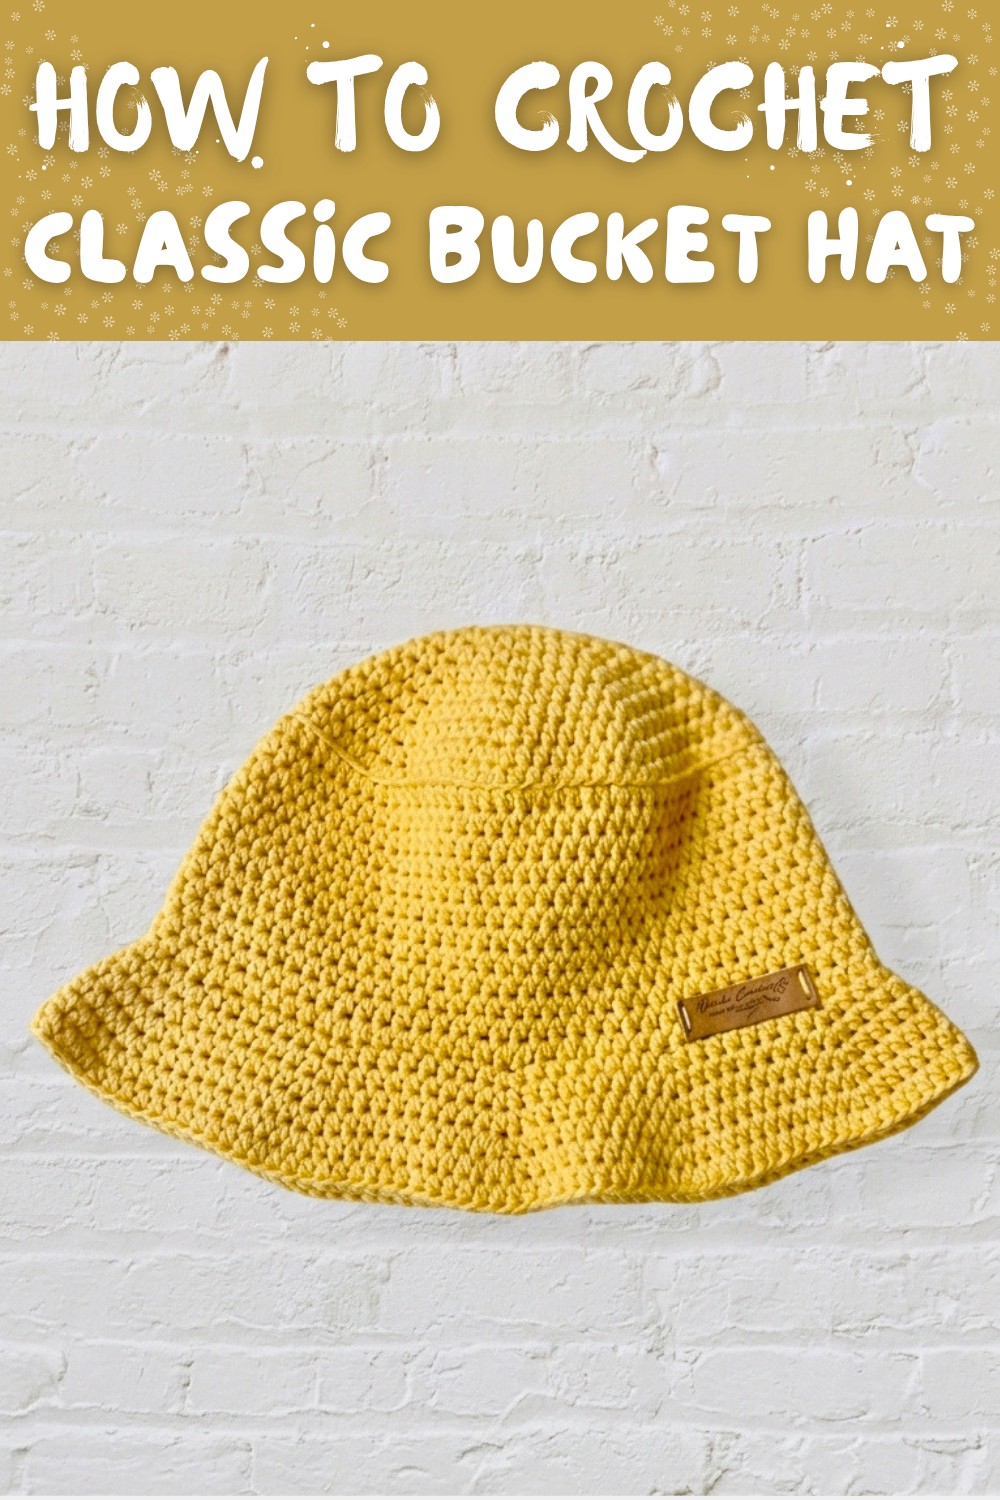
A bucket hat is a stylish and practical accessory that adds charm to any outfit. This free crochet bucket hat pattern brings a textured, lightweight fabric together with a soft flared brim for a look that's effortlessly casual. Its rounded crown provides a snug fit, while the carefully shaped brim offers shade for sunny days. This hat is great for everyday wear, beach outings, or strolls in town, making it a versatile addition to your wardrobe. It customized easily, adjusting the diameter or brim length ensures it fits adults, kids, or anyone looking for a tailored fit. Bright bold colors stand out, while neutrals pair well with any outfit.
Fashion Forward Free Crochet Bucket Hat Pattern

The hat starts from the top and is worked in seamless rounds using gradual increases to shape the crown. Yarn choice plays an important role here. Cotton yarn works best, holding the texture firmly while keeping the hat lightweight and breathable. A yarn with good stitch definition highlights the subtle simplicity of this accessory, while softer, more flexible cotton ensures comfort.
Adding stripes, playful appliqués, or a cute bow can make this hat stand out even further. It's a thoughtful gift option for friends or family members who appreciate accessories with a handmade touch. Whether worn on sunny afternoons or tucked into beach bags, this bucket hat balances style with function and adapts to any setting beautifully. Let your personality shine with your color and detail choices.
Crochet Pattern: Awesome Bucket Hat
Quick Overview of the Pattern
- Project: Crochet Bike Hat (Bucket Hat inspired)
- Difficulty: Beginner friendly
- Style: Customizable brimmed hat
- Uses: Everyday wear, casual outings
Notes
- The hat is worked in rounds starting with a magic ring.
- Increases are used throughout the rounds to shape the hat's base and brim.
- You can make adjustments to the size by adding more rounds to the base or brim.
Skill Level
Beginner - Basic knowledge of simple stitch types (magic ring, half double crochet, slip stitch, chain stitch) is needed.
Materials
- Scissors
- 4mm Crochet Hook
- Tape Measure
- Darning Needle
- 150 grams of 100% cotton yarn (50g x 3 balls) - Use any brand, but sample used Kiss Medians cotton yarn
Measurements / Sizing
- Base Diameter: 6.5 inches (up to 7 inches for larger fit)
- Hat Height: Approximately 7 inches
- Brim Width: 2 inches
Gauge
6.5 inches for base diameter with continuous increases works as standard size. Adjust as needed for larger or smaller fits.
Stitch Abbreviations
- CH: Chain
- HDC: Half Double Crochet
- SL ST: Slip Stitch
Special Stitches
- Magic Ring: A loop to begin your crochet project, allowing for a tightly closed center.
The Crochet Pattern
Step 1: Start the Magic Ring
- Create a Magic Ring.
- CH 1, then crochet 8 HDC into the ring. Pull the ring tightly closed.
- SL ST into the first HDC to close the round.
Step 2: Round 2 (Increases Begin)
- CH 1. Work 2 HDC into each stitch around (this is your increase round).
- You should have a total of 16 HDC by the end of this round.
- SL ST into the first stitch to close the round.
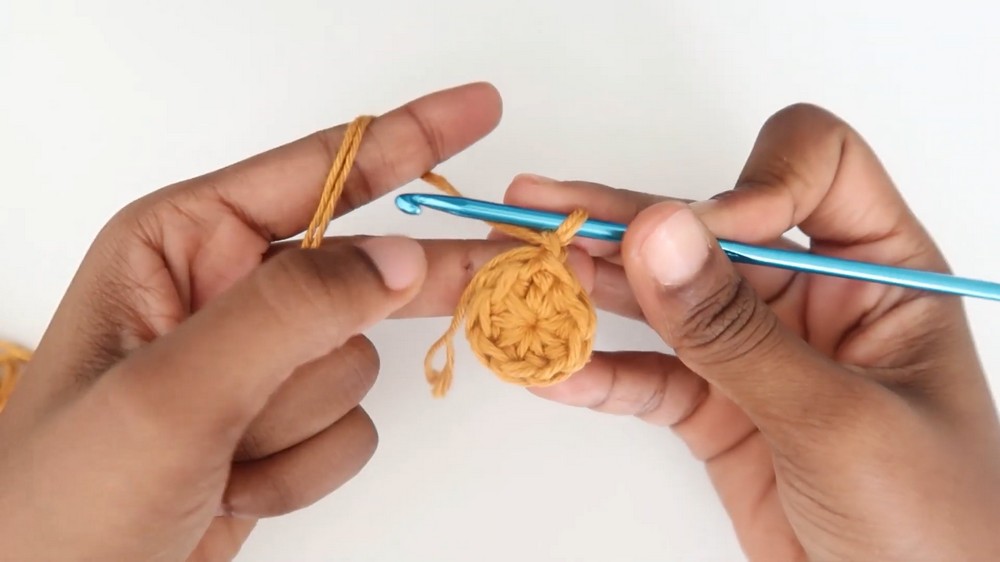

Step 3: Round 3
- CH 1. Work 1 HDC into the first stitch, then 2 HDC into the next stitch (alternate single and double stitches).
- Repeat the pattern 1 HDC, 2 HDC until the round ends.
- SL ST into the first stitch to close.

Step 4: Round 4
- CH 1. Work 2 HDC into two consecutive stitches, then 2 HDC into the next stitch (alternate between two singles and one increase).
- Repeat this pattern 2 HDC + 1 increase around.
- SL ST into the first stitch to close.
Step 5: Round 5 (Continue Increasing)
- CH 1. Work 3 HDC, then an increase (2 HDC in one stitch).
- Repeat the pattern 3 singles, 1 increase until the round ends.
- SL ST into the first stitch.
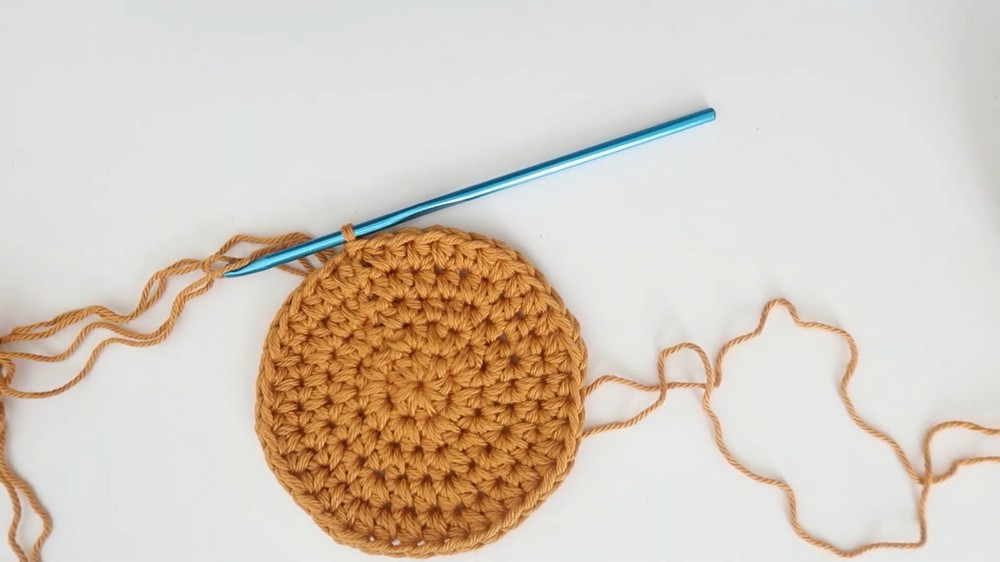
Step 6: Measure the Base
Continue increasing in this fashion (adding an extra single stitch before the increase in each new round). Your goal is for the base of the hat to reach approximately 6.5 inches in diameter. If needed, add another round to achieve 7 inches for a larger hat.
Step 7: Work the Body of the Hat (No More Increases)
- CH 1. Work 1 HDC in each stitch (no increases).
- Place a stitch marker at the beginning of this round to mark the transition from the base to the body of the hat.
- Continue crocheting until the height of the hat's body measures 4 inches.

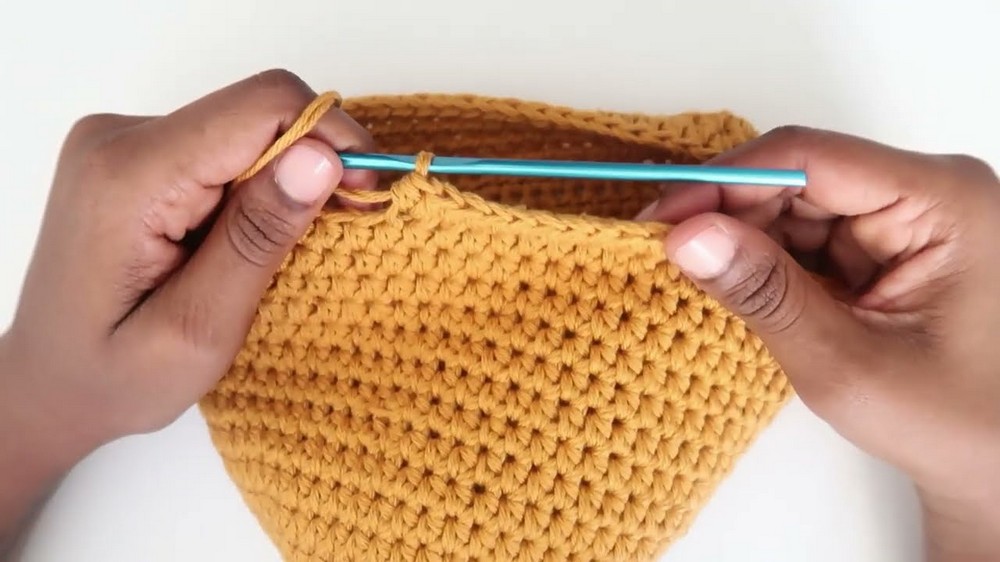
Step 8: Measure Total Height
After finishing the hat's body, measure the total height from the center of the base to the top edge.

It should be between 16 and 17 inches.
Step 9: Start the Brim
- CH 1. Work HDC in the front loop only for the brim to create a ridge effect.
- Work 10 HDC, then 1 increase (2 HDC in one stitch). Repeat this pattern around.
Step 10: Adjust for Brim Size
For larger brims, in each subsequent round:
- Increase the count of single HDCs before each increase.
- Round 2: 11 HDC, 1 increase.
- Round 3: 12 HDC, 1 increase.
- Round 4: 13 HDC, 1 increase.
- Continue until the brim is approximately 2 inches wide. If you prefer a wider brim, add more rounds accordingly.
Step 11: Final Round
- CH 1. Work 1 HDC in the front loop only for a finishing edge.
- SL ST to close the round. Cut the yarn and fasten off.
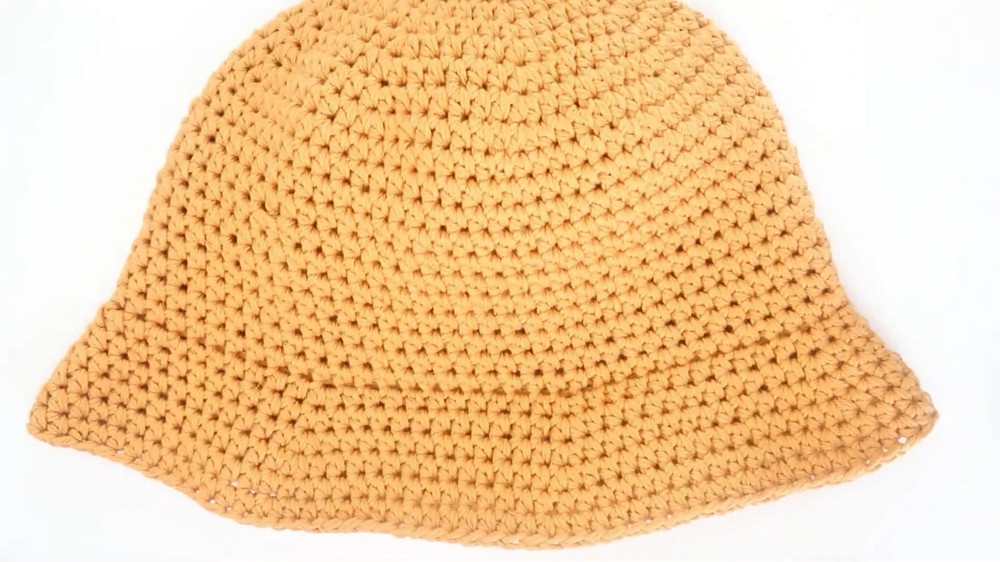
Assembly & Finished Size
Weave in the loose ends of yarn with a darning needle for a clean finish. The final hat should measure:
- Base Diameter: 6.5 inches
- Hat Height: 7 inches
- Brim Width: 2 inchesAdjustments can be made depending on desired fit.
Tips for Best Results
- Check Your Gauge Early: To ensure the hat fits perfectly, measure your first few rounds and adjust your hook size or tension if necessary.
- Customize Design: Personalize your hat by using multicolored or ombre yarns. You can also add decorative elements like embroidery, buttons, or even a crocheted flower embellishment.
- For a Stiffer Brim: To keep the brim upright, weave in nylon thread or fishing line around the outer edge as you crochet the last border round.
Conclusion and Ending Words
Congratulations, You've successfully created a stunning bucket hat. It's lightweight, stylish, and customizable with different yarns and colors. This hat is perfect for sunny days or as a creative gift for friends and family.