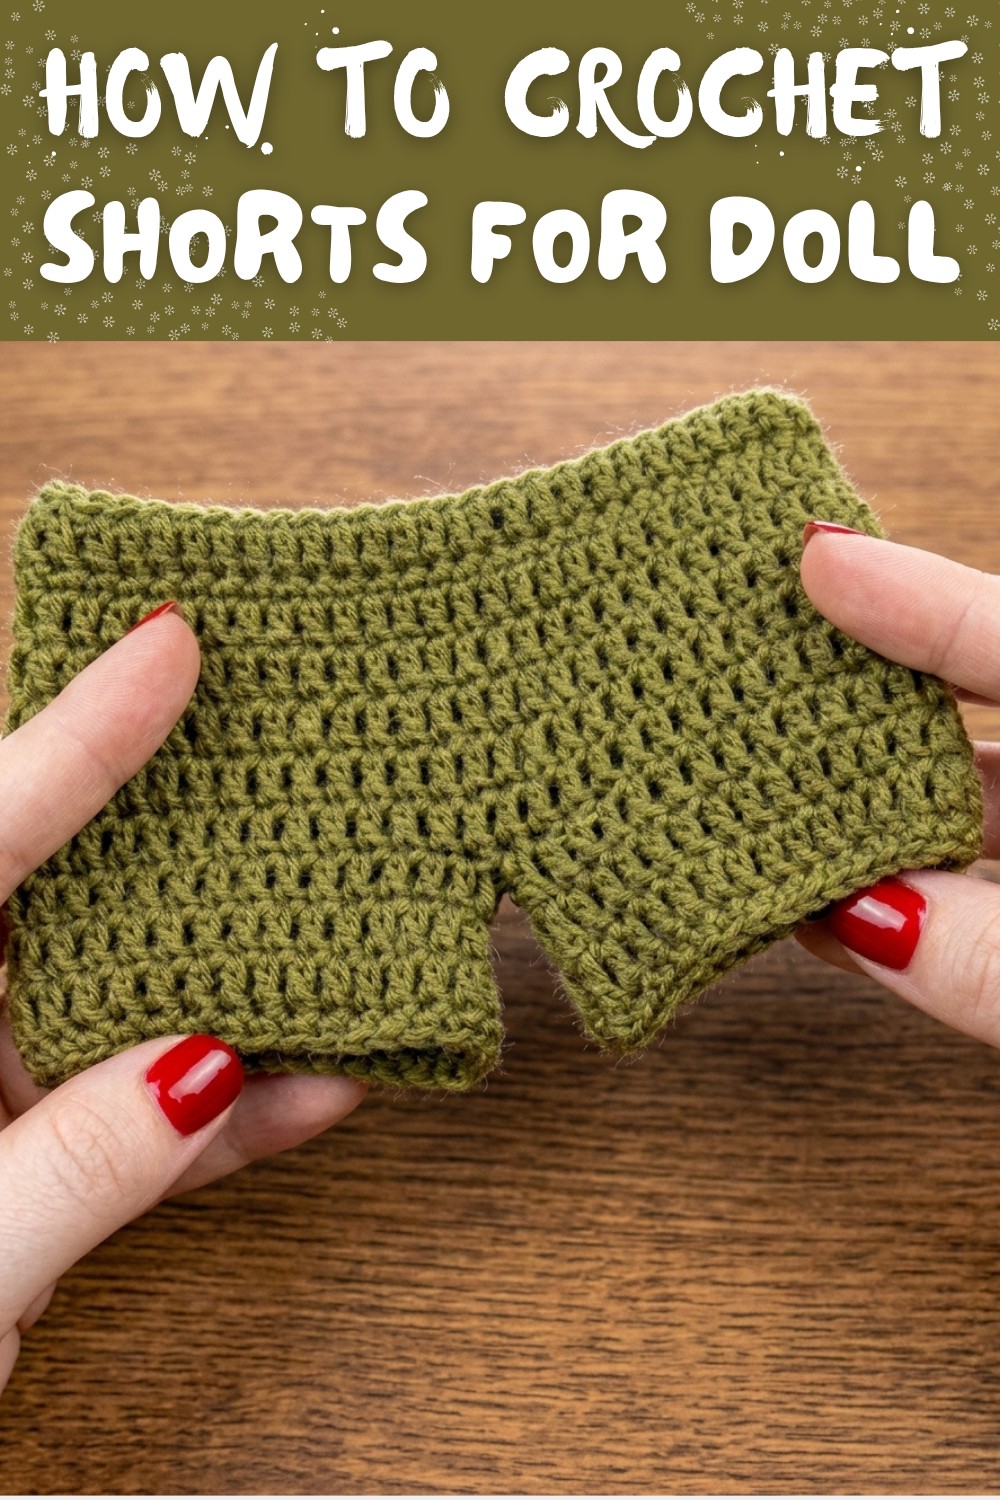
Free Crochet Doll Shorts Pattern for Adorable Handmade Style
Dress your doll in adorable handmade fashion with this free crochet shorts pattern, perfect for adding fun and charm to playtime and creating tiny stylish outfits.
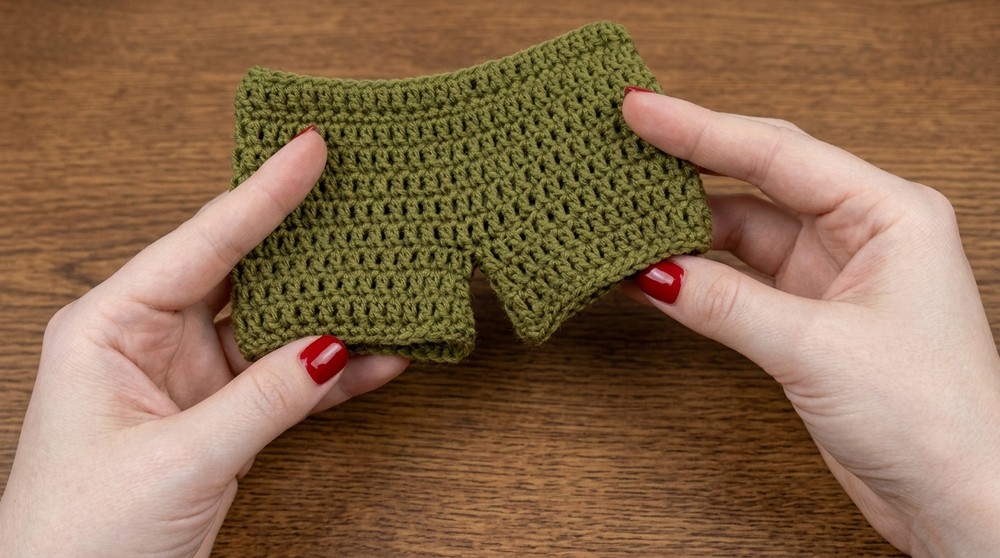
Add a delightful touch of miniature fashion to your toy collection with this adorable crochet short for a doll! This tiny masterpiece has a neat, stylish shape with two petite leg openings, looking just like a luxury item from a doll boutique. This simple project allows you to make something truly special for your favorite toy companion.
This lightweight short is not only cute but also practical. The textured stitch design and sleek, stretchy waistband ensure a snug fit that stays secure during playful adventures. With bright cotton colors and a polished appearance, it adds a cheerful and realistic look to your doll's outfit.
Easy Crochet Doll Shorts Pattern - Completely Free

The standout feature is the hidden elastic waistband, which makes dressing your doll simple and stress free, while the durable fabric ensures it handles plenty of play without losing its charm. All you need is thin cotton yarn, a small crochet hook, and a bit of time. Plus, it's an incredibly affordable way to bring extra fun to your doll collection!
This charming mini clothing piece serves more than just play. It's a thoughtful handmade gift, perfect for a birthday surprise or adding a special touch to your doll display. Dress your doll for a sunny beach outing, a garden picnic, or just everyday fun-it will look absolutely delightful.
With its soft, chunky texture and easy instructions, this project brings new life to your doll's wardrobe. Brighten up your favorite toy's look with this cute and simple crochet short.
Crochet Doll Shorts Pattern
Materials Needed
Before starting the project, gather the following materials:
- Yarn: Thin yarn of your choice (color and material can vary depending on preference).
- Hook: A crochet hook suitable for the yarn's thickness (e.g., 2.5mm to 4mm for thin yarn).
- Elastic:
- Flat garter for shorts.
- Shirrable garter for the waist, folded for reinforcement.
- Measuring Tape: To take size measurements of the doll.
- Scissors: For cutting yarn and elastic.
- Tapestry Needle: To weave in ends and secure the elastic.
Special Techniques Used
- Foundation Chain: Creates the base of the project.
- Double Crochet (dc): The primary stitch used throughout the pattern.
- Single Crochet (sc): Used for finishing edges and securing elastic.
- Slip Stitch (sl st): Joining method to close rounds.
Pattern Instructions
This pattern consists of three main parts: the waistband, the body, and the legs.
1. Taking Measurements
- Measure the fullest part of the doll's hips (commonly the "second hip").
- For a 60 cm doll, craft a foundation chain of 56 chains as the base. Adjust as necessary for other doll sizes.
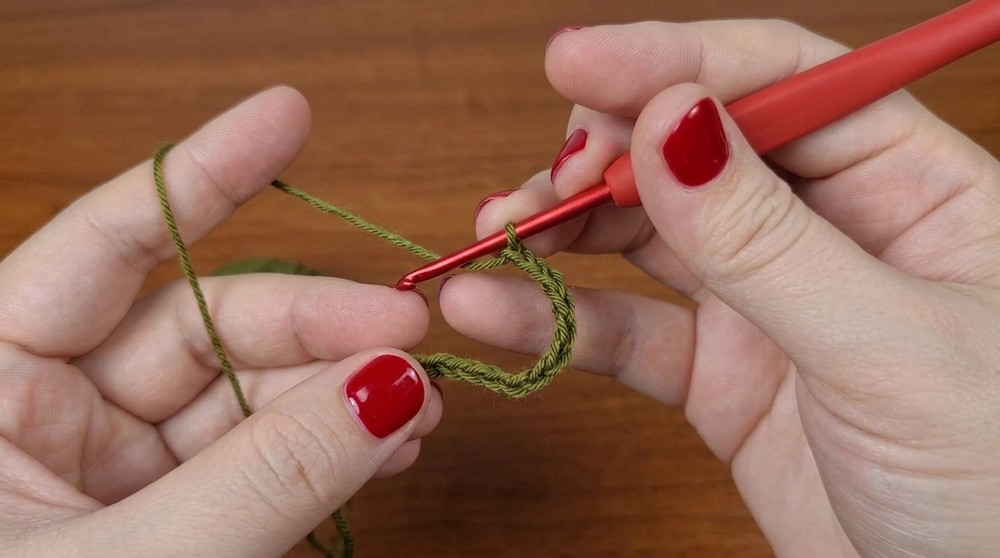
2. Creating the Foundation Chain
- Chain 56 (or based on your doll's hip measurement).
- Add 3 additional chains, counting this as your first double crochet stitch.
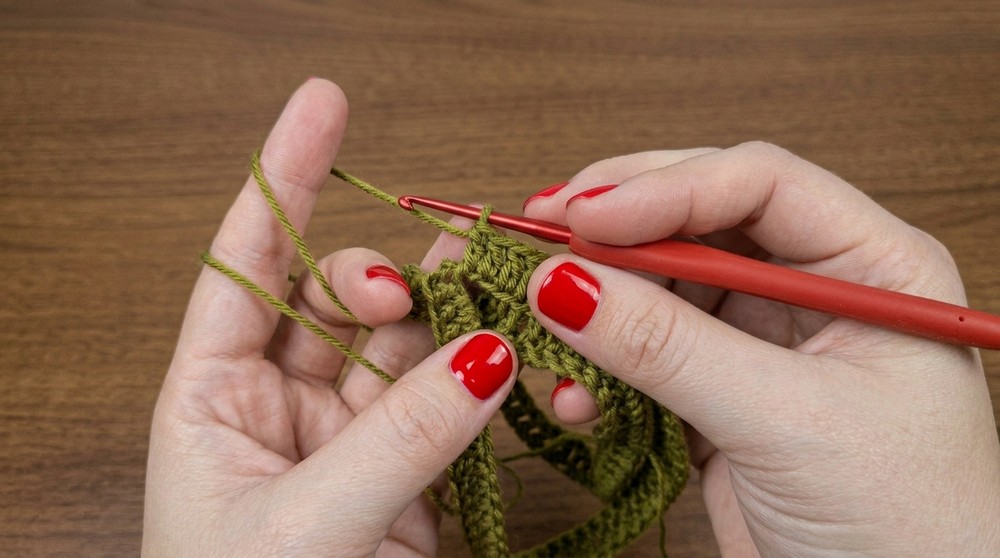
3. Crocheting the Waistband
- Double Crochet Stitches in Rounds:
- Work one dc into each chain around the foundation chain.
- After completing the round, join with a slip stitch to the third chain of the beginning ch 3.
- Repeat the round of double crochet stitching three times to form a waistband.
- After finishing the waistband, cut and secure the yarn if necessary.
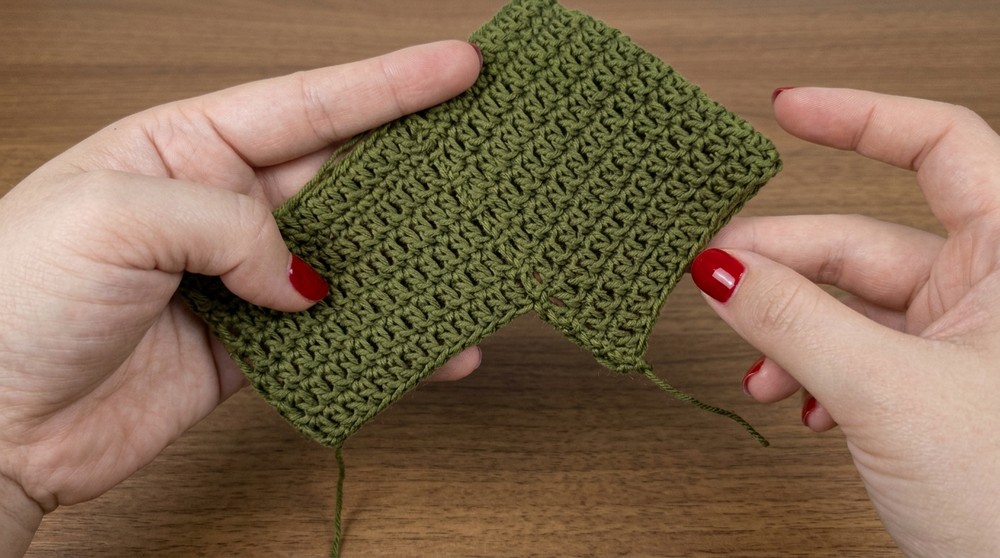
4. Dividing for the Crotch
- After completing three rounds of dc stitches:
- Divide the round equally for the crotch, leaving half of the stitches for the front and the other half for the back.
- Attach yarn to the front and work double crochet stitches smoothly across one section (front to back).
- Rejoin the two sides and continue working double crochet stitches in continuous rounds to form the body.
5. Adding Elastic (Waistband)
- Insert the flat or shirrable elastic into the waistband area.
- If you are using shirrable elastic, fold it for extra strength.
- Use single crochet stitches to lock the elastic securely.
- Work across the top of the waistband to create neat edging while securing the elastic.
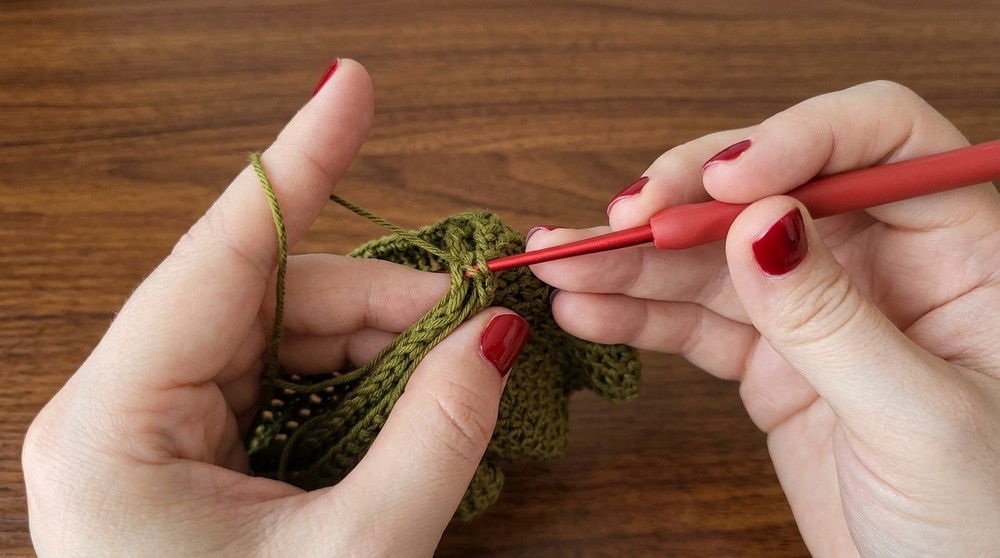
6. Shaping the Legs
Once the waistband portion is complete, you will move on to shaping the legs:
- Divide for Two Legs:
- First Leg: Count 28 stitches (or half the total stitches in the body).
- Attach the yarn and work double crochet stitches around one leg hole for a few rounds.
- Second Leg:
3. Attach yarn to the second leg and repeat the same steps as you did for the first leg.- Ensure both legs are equal in size and stitch count.
- Optional Shaping (Tapering or Straight Fit):
- For a straight cut leg: Continue working in double crochet without any increases or decreases.
- For a tapered fit: Reduce stitches by working decreases at regular intervals (e.g., 1 decrease stitch per round) as you progress to the desired length.
7. Finishing Touches
- Bottom Edging:
Add a polished finish to the leg openings by working single crochet stitches evenly around the edges. - Joining and Final Adjustment:
- Weave in any loose yarn ends using a tapestry needle.
- Test the fit on the doll and adjust the elastic to ensure it holds snugly at the waist.
Final Words and Tips
- Always measure your yarn tension while crocheting to maintain consistency, especially for doll sized clothing.
- Prewash the yarn if it comes in direct contact with children to remove any residue.
- Be creative! Experiment with different colors, patterns, or even embellishments to make the shorts or pants unique.
- For longer durability, consider tying knots to reinforce the elastic placement securely.
With this step-by-step pattern, you can crochet perfectly fitted pants or shorts for a 60-cm doll or adjust as needed for other sizes. If you have any questions or need clarification, feel free to ask.