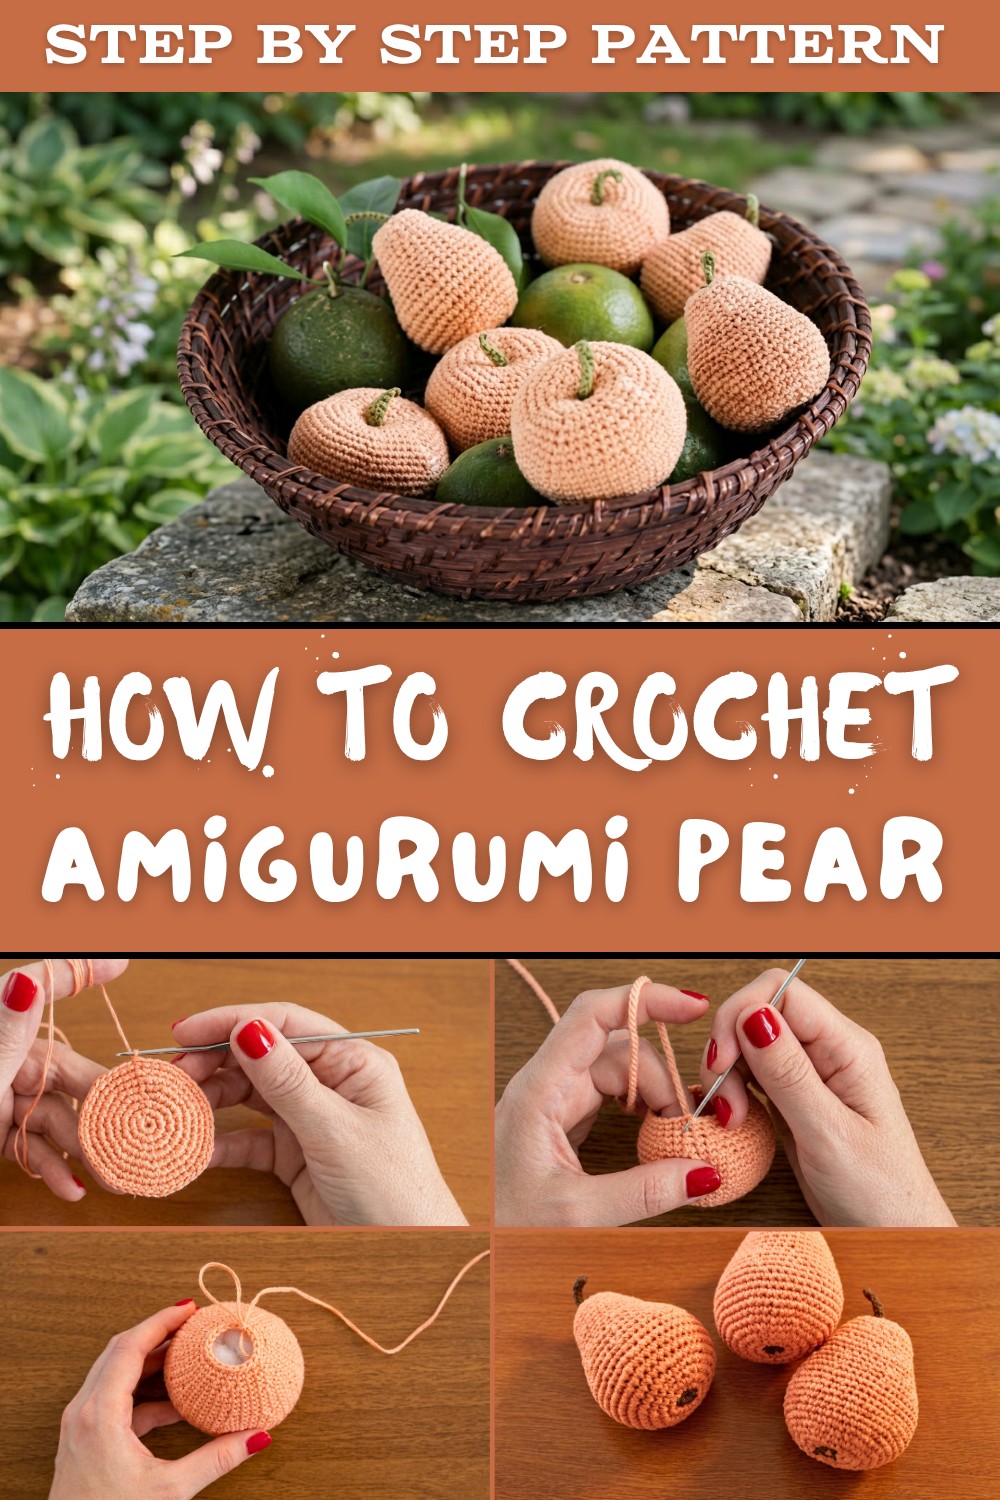
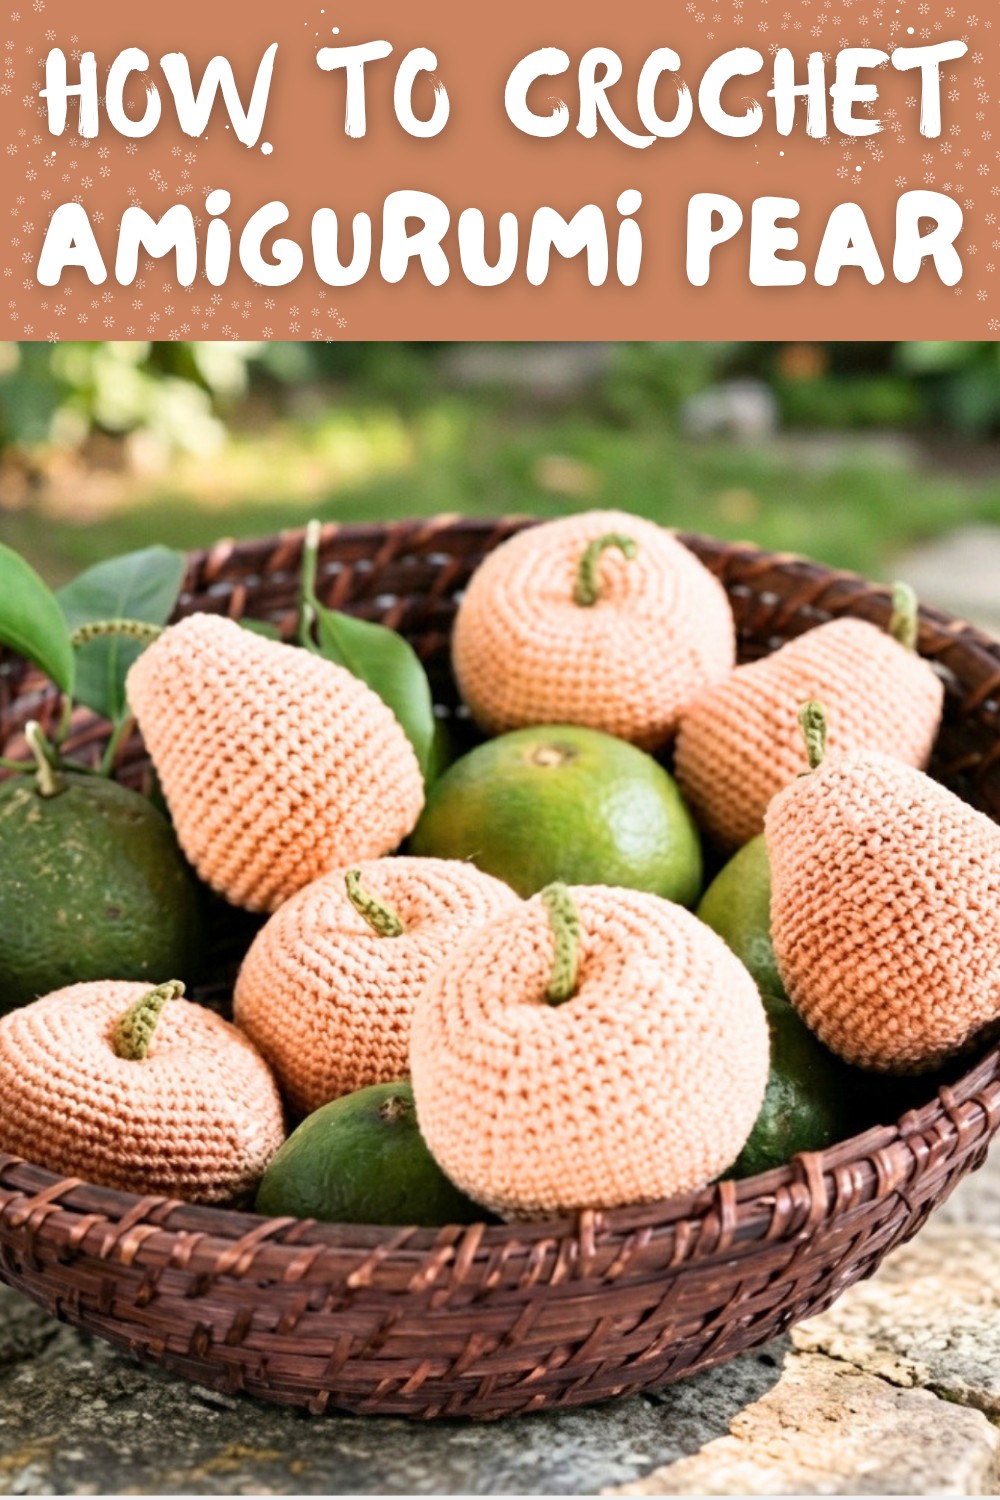
Whimsical Free Crochet Amigurumi Pear Pattern
Juicy fruit fun becomes a bundle of crochet joy with this free crochet amigurumi pear pattern that brightens your shelves and fills your days with happiness and creativity.
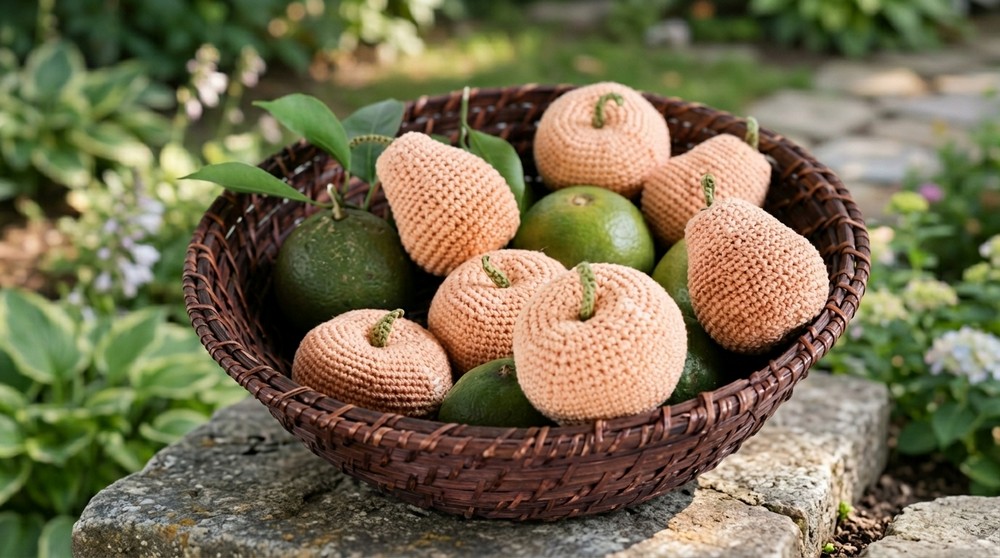
Slip a cheerful touch of nature into your crochet room and make an amazing fruit plushie right now. This adorable and soft toy has a classic bottom heavy shape with a tiny brown stalk on top, just like a fresh pear from a sunny orchard. The free crochet amigurumi pear pattern is the perfect way to build a lightweight, handmade treasure to brighten up your bedroom or add charm to your kitchen shelves. Its vibrant lime green body, paired with a neatly stitched single leaf made of soft cotton threads, gives it a lifelike and colorful look.
Adorable Free Crochet Amigurumi Pear Pattern for Every Maker
What makes this pear special is its smooth, seamless finish, thanks to the tight loops of the crochet stitches. The fiberfill stuffing stays securely inside, making it squeezable and durable even during playful moments. Using standard skeins of thick acrylic yarn and a basic hook tool, this project lets you practice easy stitching techniques while staying budget friendly. You'll love how it comes together effortlessly, giving you a cute plushie with realistic details.
This handmade item is perfect as a thoughtful holiday gift or a long lasting piece to brighten your home. The toy's rounded shape and soft texture are gentle to touch, while the flat base allows it to sit upright on any table or shelf. It's a wonderful way to add a pop of nature inspired charm to your surroundings and even teach kids about healthy eating habits. Whether displayed in a playroom, a study desk, or a cozy corner, this pear will add a cheerful sparkle wherever it's placed. Grab your yarn and hook and start building your little fruit wonder-it's fun, simple, and perfect for all ages.
Crochet Amigurumi Pear Pattern
Materials
- Yarn:
- Camilla 100% Cotton Yarn in two shades:
- Color 1: Green (main color for the pear) Color code: #1181
- Color 2: A lighter green for blending and highlighting.
- A small amount of brown yarn for the stem.
- Camilla 100% Cotton Yarn in two shades:
- Hook: 2.75 mm crochet hook (compatible with yarn thickness).
- Stuffing: Fiberfill for filling the pear.
- Darning Needle: For sewing and finishing details.
- Scissors.
Abbreviations
To make the guide concise, familiarize yourself with the following abbreviations (US terminology):
- ch: Chain
- sc: Single Crochet
- sl st: Slip Stitch
- inc: Increase (2 sc in the same stitch)
- dec: Decrease (invisible decrease method preferred for neatness)
- st(s): Stitch(es)
- BLO: Back Loop Only
Special Techniques
- Magic Ring (MR):
Begin crocheting in the round with an adjustable loop, allowing tight closure at the base. - Invisible Decrease:
Instead of traditional decreases, use the front loops only of the next two stitches for smooth shaping. - Blending Two Threads:
Combine two strands of differently shaded yarn to create a nuanced color palette for the pear.
Pattern Instructions
Body of the Pear
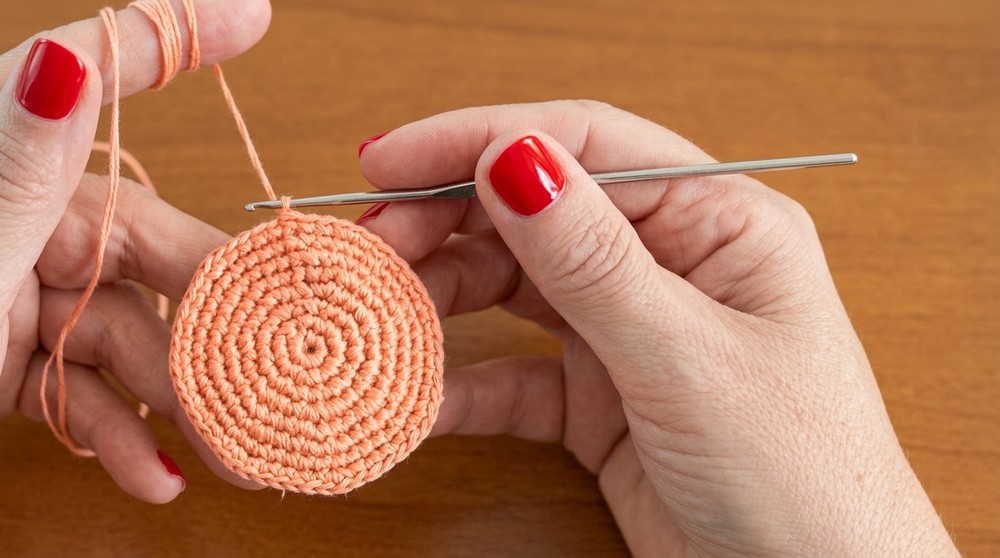
- Begin with the Magic Ring:
- With your blended green yarn (Color 1 + Color 2), create a magic ring.
- Work 8 sc into the magic ring and pull tight to close. (8 sts)
- Round 2:
- Ch 1, work 2 sc in each st around. (16 sts)
- Round 3:
- Ch 1, (1 sc, inc) repeat 8 times. (24 sts)
- Round 4:
- Ch 1, (2 sc, inc) repeat 8 times. (32 sts)
- Round 5:
- Ch 1, (3 sc, inc) repeat 8 times. (40 sts)
- Round 6:
- Ch 1, (4 sc, inc) repeat 8 times. (48 sts)
- Rounds 7-8 (2 Rounds):
- Ch 1, sc in each st around. (48 sts)
- Round 9:
- Ch 1, (5 sc, inc) repeat 8 times. (56 sts)
- Rounds 10-14 (5 Rounds):
- Ch 1, sc in each st around. (56 sts)
- Round 15:
- Ch 1, (4 sc, dec) repeat 8 times. (48 sts)
- Round 16:
- Ch 1, sc in each st around. (48 sts)
- Round 17:
- Ch 1, (3 sc, dec) repeat 8 times. (40 sts)
- Rounds 18-20 (3 Rounds):
- Ch 1, sc in each st around. (40 sts)
- Round 21:
- Ch 1, (2 sc, dec) repeat 8 times. (32 sts)
- Round 22:
- Ch 1, sc in each st around. (32 sts)
- Round 23:
- Ch 1, (1 sc, dec) repeat 8 times. (24 sts)
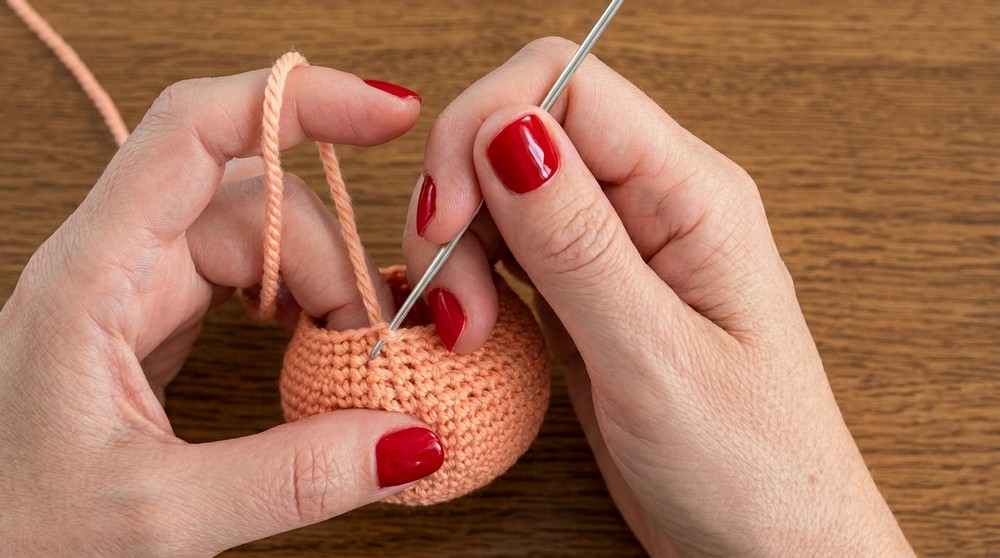
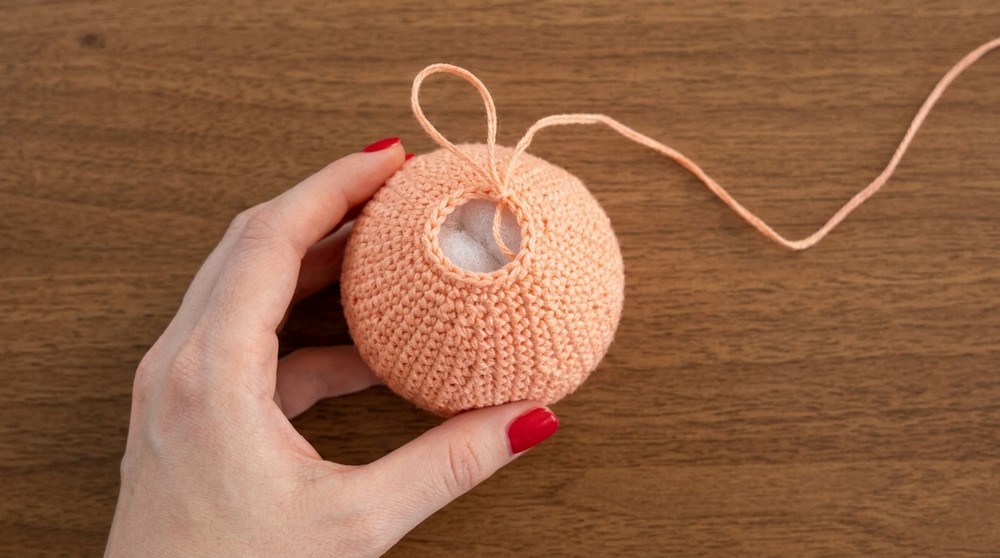
- Start lightly stuffing the pear.
- Round 24:
- Ch 1, dec in every st around. (12 sts)
- Add more stuffing as necessary.
- Round 25 (Final Round):
- Continue decreasing by working only dec in every st around until the hole is completely closed.
- Fasten off and weave the yarn tail securely into the body using the darning needle.
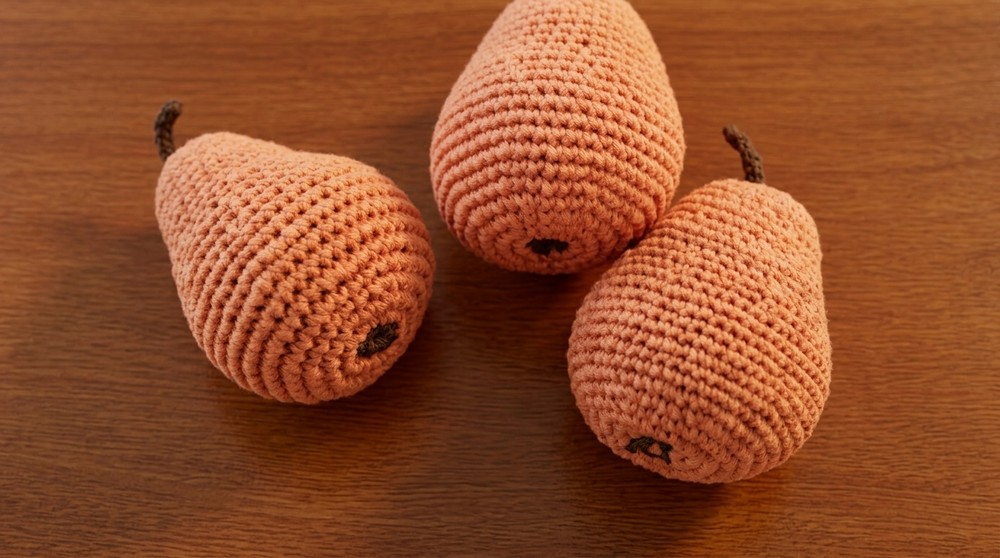
Stem (Brown Yarn)
- Ch 6:
- Work 1 sc into the 2nd ch from the hook.
- Sc across. (5 sts)
- Row 2-3 (Optional for Thickness):
- Turn and work 1 sc in each stitch across.
- Roll the strip into a tubelike stem. Sew the edges together as you roll.
- Securely sew the base of the stem onto the top center of the pear.
Optional Embellishments:
- Bottom Patterned Indents:
- Use green yarn to create spokes at the bottom center. Anchor the yarn in the middle, pass it to a surrounding st, and back through the center. Repeat to shape prominent detail.
- Leaves: Attach a crocheted or artificial leaf near the stem to add a decorative touch to the pear.
Finishing the Pattern
- Ensure all yarn ends are secured and hidden inside the pear.
- Shape the pear gently with your hands after stuffing to achieve the desired look.
- Use scissors to trim any excess yarn.
Final Words and Tips
- Color Variation: Using two threads of green creates a unique texture and natural appearance. Experiment with varying shades of green for a more lifelike effect.
- Invisible Decreases: Master this technique to ensure smooth shaping and refined stitching.
- Even Stuffing: Properly distribute fiberfill to maintain uniform shape and prevent lumps.
- Customize the Shape: Add or reduce rows in the middle and bottom of the pear for a shorter or taller pear.
Enjoy your completed amigurumi pear, and happy crocheting, If you'd like another pattern or customization ideas (such as fruit in yellow or red tones), let your creativity flow and experiment further.