
Crochet Sweater Free Pattern That’s Both Free and Chic
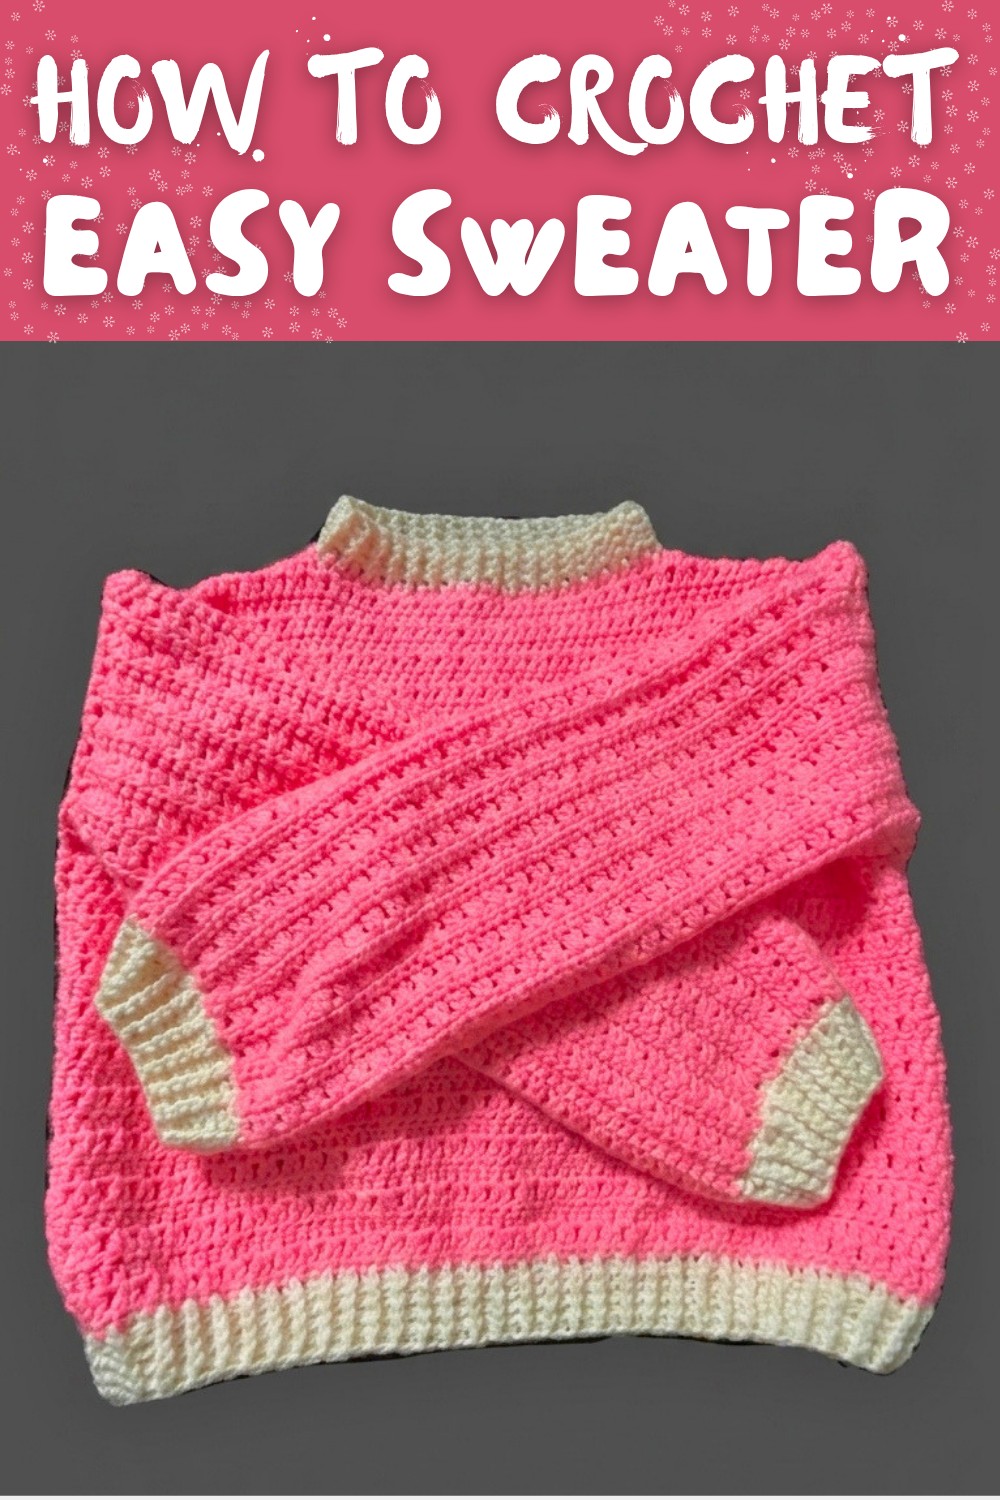
Float through cool weather in comfort with this free crochet sweater pattern and enjoy a handmade sweater full of charm and warmth.
Winter is the perfect season to wrap yourself in warmth while staying stylish. As the temperatures drop, finding clothing that combines coziness and fashion becomes a must.
This project gives you the freedom to create a cozy, stylish sweater that fits just right while allowing you to play with different colors, textures, and designs. Whether you prefer a delicate cotton candy pink or a bold deep shade, the choice is yours. One standout feature of this sweater is its ribbed neckline and hem, which add a polished and professional look to the finished piece. The stitches are kept simple so even beginners can follow along easily. Using common techniques like half double crochet, double crochet clusters, and front and back post stitches, this pattern transforms basic yarn into a warm and comfortable garment.
Cozy Up with This Free Crochet Sweater Pattern for Winter

The sweater is perfect for colder weather, providing a sense of warmth and style without sacrificing comfort. Its soft texture and customizable fit make it an ideal choice for both casual and formal outfits. It's a great design for layering too, whether you're at school, heading outdoors, or lounging at home.
One special aspect of this pattern is the option to add sleeves and adjust the length to suit your needs. You can make it loose or snug depending on your preference. This sweater not only looks amazing but also makes the stitching process relaxing and rewarding. In short, the free crochet sweater pattern is fun, versatile, and full of creative possibilities.

Crochet Sweater Pattern
Materials Needed
To fully execute this project, gather the following items:
- Yarn: Medium weight yarn in a color of your choice (Rose Pink is used in the pattern).
- Quantity:
- Sweater: 3 skeins (depending on the size).
- Scarf/hat: 1 skein.
- Suggestions: Cotton Candy yarn or a similar soft textured yarn for comfort and durability.
- Quantity:
- Crochet Hook:
- Size: 4 mm hook recommended for crochet; 5 mm hook for knitting (optional).
- Tapestry Needle: For weaving ends and joining the panels or sleeves.
- Scissors: To cut the yarn ends.
- Measuring Tape: Necessary for precise panel and sleeve measurements.
- Stitch Markers: Optional but useful for marking areas such as the neckline, sleeves, and panels for better alignment.

Special Techniques Used
- Slip Knot: Creates the base for starting a chain.
- Foundation Chain: Chain stitches establish the width of the panel.
- Half Double Crochet (hdc): A simple yet textured stitch for the foundation rows and sleeve.
- Double Crochet (dc): Used for the main body and stitches around the edges.
- Front Post and Back Post Stitches: Used for ribbing at the neckline, sleeves, and bottom hem to give texture and a polished finish.
- Decreasing for Shaping: Helps reduce stitch count in areas such as sleeves and bottom hem for a fitted look.
Step by Step Sweater Crochet Instructions
1. Start with the Back Panel
- Foundation Chain: Begin with a slip knot. Chain stitches until the length equals shoulder to shoulder measurement.
- Example: If your shoulder width is 40 cm, make chains to match this length. For accuracy, use a measuring tape.
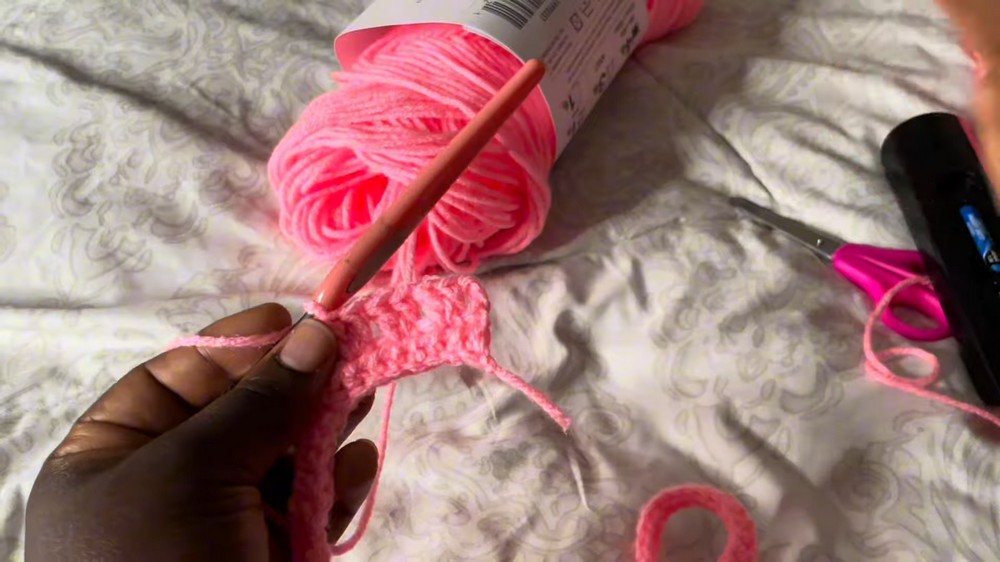
- First Row: Turn the chain to the side with the bumps. Yarn over, and insert your hook into the third chain from the hook. Work a half double crochet (hdc) in the bump. Continue hdc stitches across the entire row.
- Remaining Rows:
- Chain one at the end of the row, turn your work, and continue working hdc stitches across each row.
- Work rows until the length reaches your desired back panel measurement.
- Example: Panel length = shoulder to waist measurement, approximately 50 cm for an adult sweater.

2. Create the Front Panel
- Follow the same steps as the back panel. The front panel's dimensions are identical to the back panel.
3. Join the Panels at the Shoulders
- Use a tapestry needle and yarn to sew the shoulder edges of the front and back panels together. Use slip stitches or whipstitch for durability.
- Ensure the seams are clean and aligned properly for a polished look. This creates the basic sweater structure.

4. Add Sleeves
- Measure Sleeve Length: Use a measuring tape to measure shoulder to wrist length or how long you want your sleeve.
- Foundation Chain: Begin with a chain matching your sleeve measurement. Use a slip knot to start.
- Work Rows:
- Row 1: Yarn over, insert your hook into the third chain, and work hdc stitches across for the foundation row.
- Row 2 and Beyond: Chain two, turn your work, and alternate between double crochet clusters (two dc stitches grouped together in the same space) and spaces across the row. Follow the double crochet with hdc stitches in the next row.
- Use stitch decreases for shaping the sleeve as desired.
- Continue working rows until the sleeve reaches the desired width and length.
- Join Sleeves to Panels:
- Using a tapestry needle, attach each sleeve to the sweater body by stitching along the armhole edges.
- Ensure sleeves are aligned and symmetrical on the sweater.
5. Neckline Ribbing
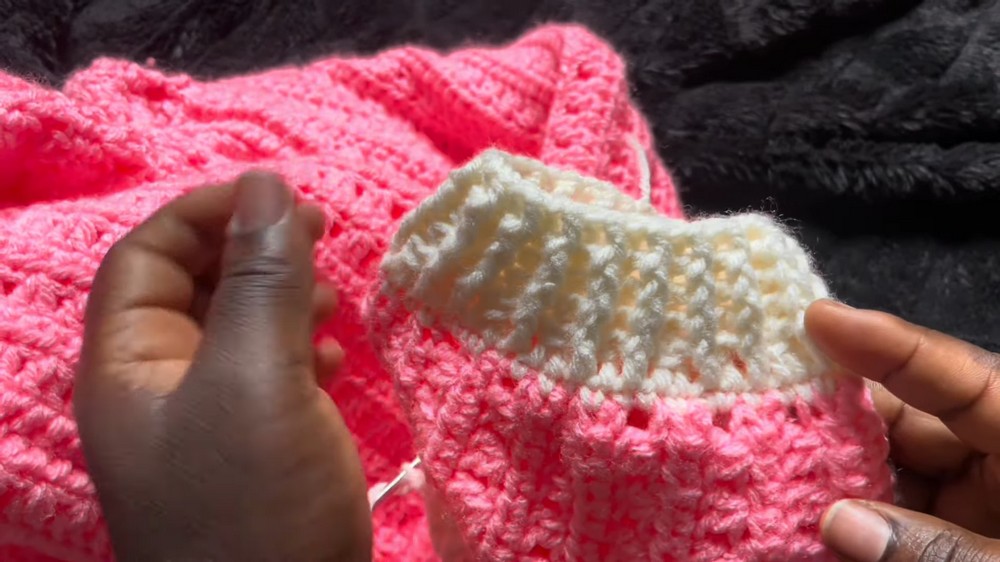
- Attach yarn to the neckline edge with a slip knot.
- Round 1: Work double crochet stitches evenly around the neckline to create a flat, smooth edge.
- Subsequent Rounds: Alternate between front post and back post double crochets to create a ribbed texture. This adds stretch and structure to the neckline.
- Work 2-3 rounds for a secure and neat finish.
6. Bottom Hem Ribbing
- Attach yarn to the bottom edge of the sweater with a slip knot.
- Round 1: Work double crochet stitches evenly across the edge.
- Round 2 and Beyond: Alternate between front post and back post double crochets for ribbing.
- Use decreases sparingly to shape the hem slightly for a fitted look, especially for oversized sweaters.

7. Finishing Touches
- Weave in all loose ends using the tapestry needle to secure your stitches.
- Turn the sweater inside out to review and hide any visible seams or knots.
- Block the sweater, if desired. Blocking helps the yarn stretch and settle into its final shape, which enhances the look and fit of your garment.
Final Measurements and Appearance
- Panels:
- Front and back panel = Shoulder to waist length (e.g., 50 cm for adults).
- Sleeve:
- Length = Shoulder to wrist measurement (e.g., 60 cm).
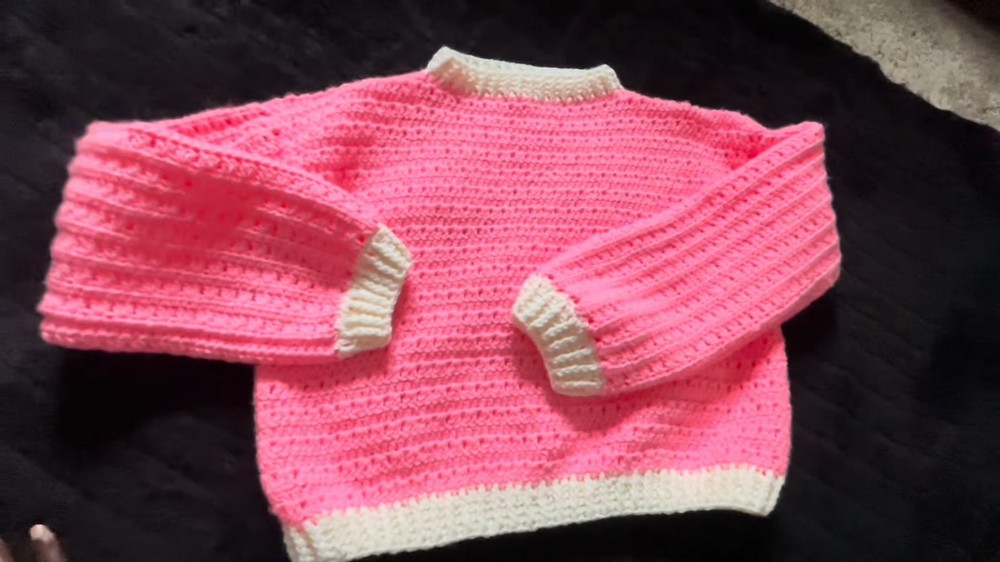
- Neckline: Fine ribbing adds texture and stretch.
- Bottom Hem: Ribbed edge ensures the sweater fits snugly at the waist.
Tips for Creating and Maintaining the Sweater
- Choose Comfort: Use soft yarn, such as cotton candy or medium weight yarn, for a breathable and cozy garment.
- Watch Symmetry: Ensure panels, sleeves, neckline, and bottom hem are even and aligned for the best fit.
- Be Consistent with Tension: Maintain even tension throughout your stitches to create a professional looking sweater.
- Prevent Stretching: Avoid overblocking your sweater as this may stretch the yarn too much.
- Customize Colors: Feel free to experiment with stripes or other color combinations to personalize your sweater.
Final Words
This crochet sweater pattern is a fun and rewarding project that creates a versatile piece of clothing suitable for various occasions. Whether you are lounging at home or layering it for outdoor use, this handmade sweater will add warmth and style to your wardrobe. The process of alternating panels, stitches, and ribbing ensures the design stays simple yet sophisticated.
Remember to take accurate measurements, follow the steps closely, and enjoy showcasing your creativity.