
Free Crochet Button-Up Crop Top Pattern You'll Adore
Stitch your way to a gorgeous button up crop top that's perfect for adding style to any outfit-all with this fun and free crochet pattern.
Leave plain outfits behind with this top and enjoy a cozy layer that always looks amazing. This easy to make button up crop top exudes charm and versatility, making it a perfect addition to your wardrobe. Its unique button front style adds a touch of personality while offering convenience and comfort. Whether you pair it with jeans, skirts, or shorts, this top enhances any look effortlessly. The buttons along the front add a playful yet functional feature, making the top easy to wear and adjust.
Crochet a Button Up Crop Top - Free Pattern for All Sizes
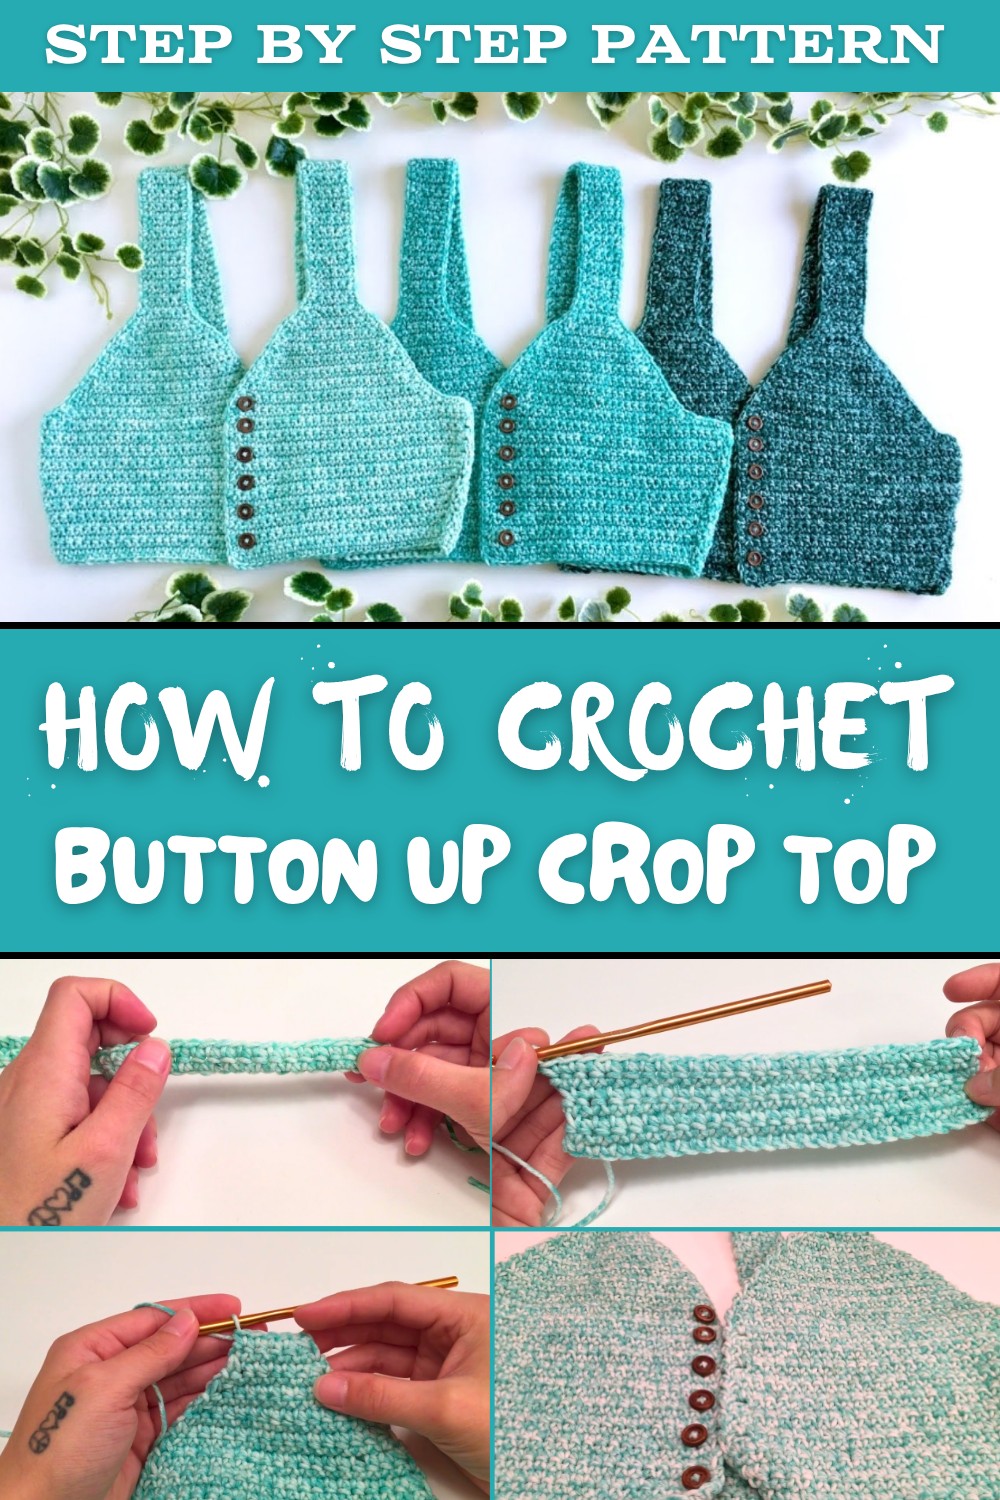
The lightweight straps rest comfortably on your shoulders, ensuring all day relaxation, while the sleeveless silhouette keeps you cool during warm days. It's meant to stand out, offering both simplicity and elegance that anyone can appreciate.
Its flexible design allows you to make it suit your size and fit exactly how you want, from the midsection to the bust. You have the freedom to customize its measurements and even pick your favorite yarn color, allowing your personality to shine through in every stitch. Each panel comes together seamlessly in this simple yet stunning piece, and the border stitching adds a clean, sharp finish, making the crop top polished and neat.
Whether you plan to wear it for casual outings, at the beach, or layered under cozy cardigans, this crop top is sure to impress. Combining style with the joy of handmade charm, this top is more than an outfit-it's a statement of individuality, creativity, and comfort.
Crochet Button Up Crop Top Pattern
Materials Needed
To begin, gather the following materials:
- Yarn: Approx. 230 yards of #4 medium weight yarn (cotton or acrylic recommended).
- Crochet Hook: 5.5 mm hook (or size recommended for your yarn).
- Buttons: 6 buttons of desired size.
- Tapestry Needle: For sewing panels and weaving in ends.
- Scissors: For cutting yarn neatly.
Special Techniques
- Single Crochet (SC): Basic stitch to construct the crop top.
- Single Crochet Two Together (SC2TOG): Used to decrease for shaping straps and armholes.
- Whip Stitch: Sewing technique for joining panels and straps.
- Slip Stitch: For finishing borders and seamless connection points.
Step by Step Pattern Instructions
Measurements
Before starting, measure the following:
- Midsection Circumference: Where you want the crop top to sit at the bottom.
- Bust Circumference: The widest area around your chest.
You will crochet panels that will transition from the midsection measurement to the bust measurement for proper fit.
Part 1: Back Panel
Steps:
- Foundation Chain:
- Chain half of the midsection circumference in length.
- For example, if your midsection is 27 inches, chain the equivalent width in stitches corresponding to 13.5 inches (~55 stitches).
- Row 1 (Base Row):
- Chain 1 (does not count as a stitch), and work 1 single crochet (SC) into the second chain from the hook.
- Single crochet into each chain across.
- Turn your work.
- Repeat Single Crochet Rows:
- Repeat a single crochet row until you reach the desired height of the back panel.
- Measure from where the bottom of your crop top will sit to your armhole (this is typically ~21 rows, depending on size or style preference).
- Optional Increase:
- If the bust measurement is larger than the midsection, increase one row to expand the width.
- Example: SC 2 times in the first and last stitch of Row 7 to go from 55 stitches to 57 stitches.
- Finish Off:
- Once you've created the back panel, leave a long piece of yarn for joining later, or weave in ends neatly.


Part 2: First Front Panel (Button Side)
Steps:
- Foundation Chain:
- Chain the number of stitches required for half of the crop top plus space for button overlap.
- Example: If the back panel has 55 stitches, divide by 2 (27 stitches for each panel), and add space for buttons (e.g., 1 stitch). This equals 28 stitches.
- Single Crochet Rows (Row 1 - 6):
- Work single crochet stitches across each row for the first 6 rows, matching the back panel method.
- Shaping with Increases:
- Begin increasing on Row 7 to match the bust measurement.
- SC 2 times in the first stitch to widen one side (the side connected to the back panel).
- Buttonhole Rows:
- Place buttonholes strategically, starting on Row 4. Work the following:
- Chain 1, SC into the first stitch.
- Chain 1, skip 1 stitch, SC into the next stitch for the buttonhole.
- Repeat buttonholes every 4 rows or as needed (e.g., Rows 4, 8, 12, 16, 20, 23).
- Place buttonholes strategically, starting on Row 4. Work the following:
- Continue to Bust Line:
- Work alternating rows of increases and regular single crochet rows until the front panel matches the length of the back panel (e.g., 21 rows).

Part 3: Second Front Panel (Buttonhole Side)
- Foundation Chain:
- Same as the first panel: 28 stitches.
- Single Crochet and Buttonholes:
- Repeat the same steps as the first front panel but place buttonholes on your chosen rows.
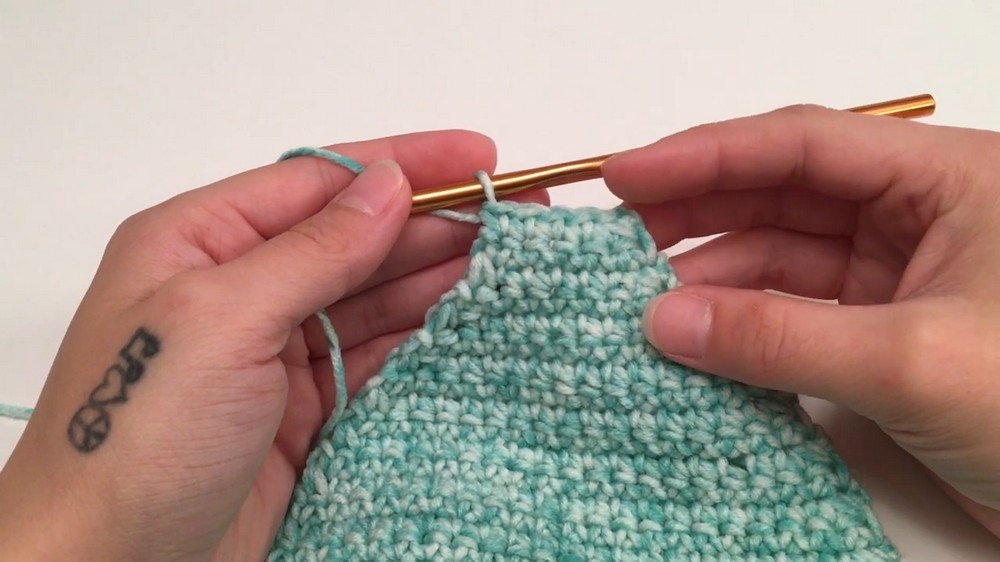
- Shaping with Decreases:
- Decrease only on one side (the side connecting to the back panel) and keep the other side straight for button placement.
- Continue to Match Back Panel:
- Ensure the second front panel has the same number of rows and dimensions as the first front panel for symmetry.
Part 4: Triangles and Straps
Shaping the Top Triangle:
- Continued Decreasing:
- After completing the front panel width, begin decreasing evenly on both sides to create a triangle shape at the top.
- Use SC2TOG to bring the first and last stitches together at the beginning and end of rows to taper the width.
- Strap Width:
- Work decreases until the panel narrows to the desired strap width (~5 stitches).
Strap:
- Once you reach the strap width, stop decreasing and work one single crochet in every stitch per row until the strap reaches the desired length (~16.5 inches or ~100 rows).
- Finish off and leave a long yarn tail for attaching the strap to the back panel.
Part 5: Joining the Panels
- Align Panels:
- Place the panels together inside out so the seams will be hidden.
- Whip Stitch:
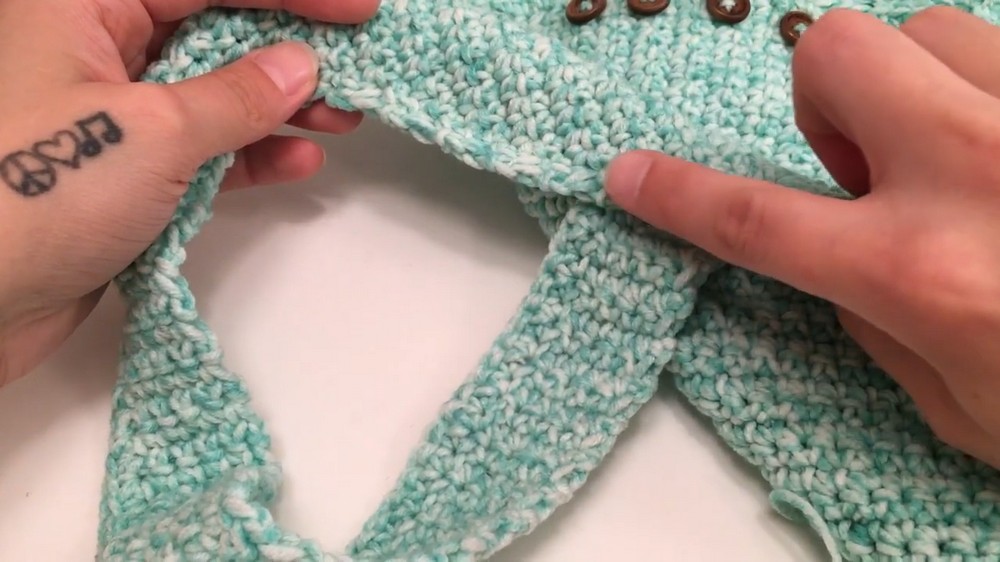
- Use the long ends of yarn or additional pieces to sew the panels. Insert your needle into matching stitches of adjacent panels and pull through, working evenly up the sides and straps.
- Attach Straps:
- Use a whip stitch to sew the straps to the back panel, ensuring an even placement that allows comfortable armholes.

Part 6: Button Placement and Sewing
- Mark Positions:
- Place buttons over the rows with buttonholes to ensure alignment.
- Sew Buttons:
- With a needle and yarn, securely sew buttons into position. Use a cross-stitch or similar technique to anchor buttons thoroughly.

Part 7: Border Round
- Start at the Bottom Back:
- Create a slip knot on your hook and attach it to a stitch at the bottom back panel.
- Single Crochet:
- Work one single crochet (SC) in every stitch around the edge of the entire crop top-this includes the bottom, side panels, straps, and top triangles.
- Work 3 SC into every corner stitch for smooth turns.
- Armhole Borders:
- Repeat a border round for each armhole, working 1 SC into every stitch and edge row.
Finishing Touches
- Weave in Ends:
- Secure all loose yarn ends by weaving them neatly into the stitches.
- Final Adjustments:
- Check that buttons align properly with buttonholes.
- Adjust strap placements or tension as needed.
Final Words
Congratulations-you've created your very own button up crop top. This pattern combines functionality and beauty, giving you a stylish piece perfect for warm weather or layering. The button detail makes it easy to wear, while the various panels allow for adjustments to fit your unique size.

Tips for Maintaining and Customizing the Pattern
- Size Adjustments:
- Increase or decrease stitches evenly across panels and rows to suit different sizes.
- Yarn Choices:
- Experiment with lighter weight yarns for a summery look or bulkier yarns for a cozy finish.
- Personal Touches:
- Add decorative borders, embroidery, or beadwork to customize your crop top further.
- Care Instructions:
- Wash gently by hand or on a delicate cycle in cold water to maintain shape and texture.
By following this detailed pattern, you'll not only create a stunning crop top but also gain skills that you can apply to future projects.
