
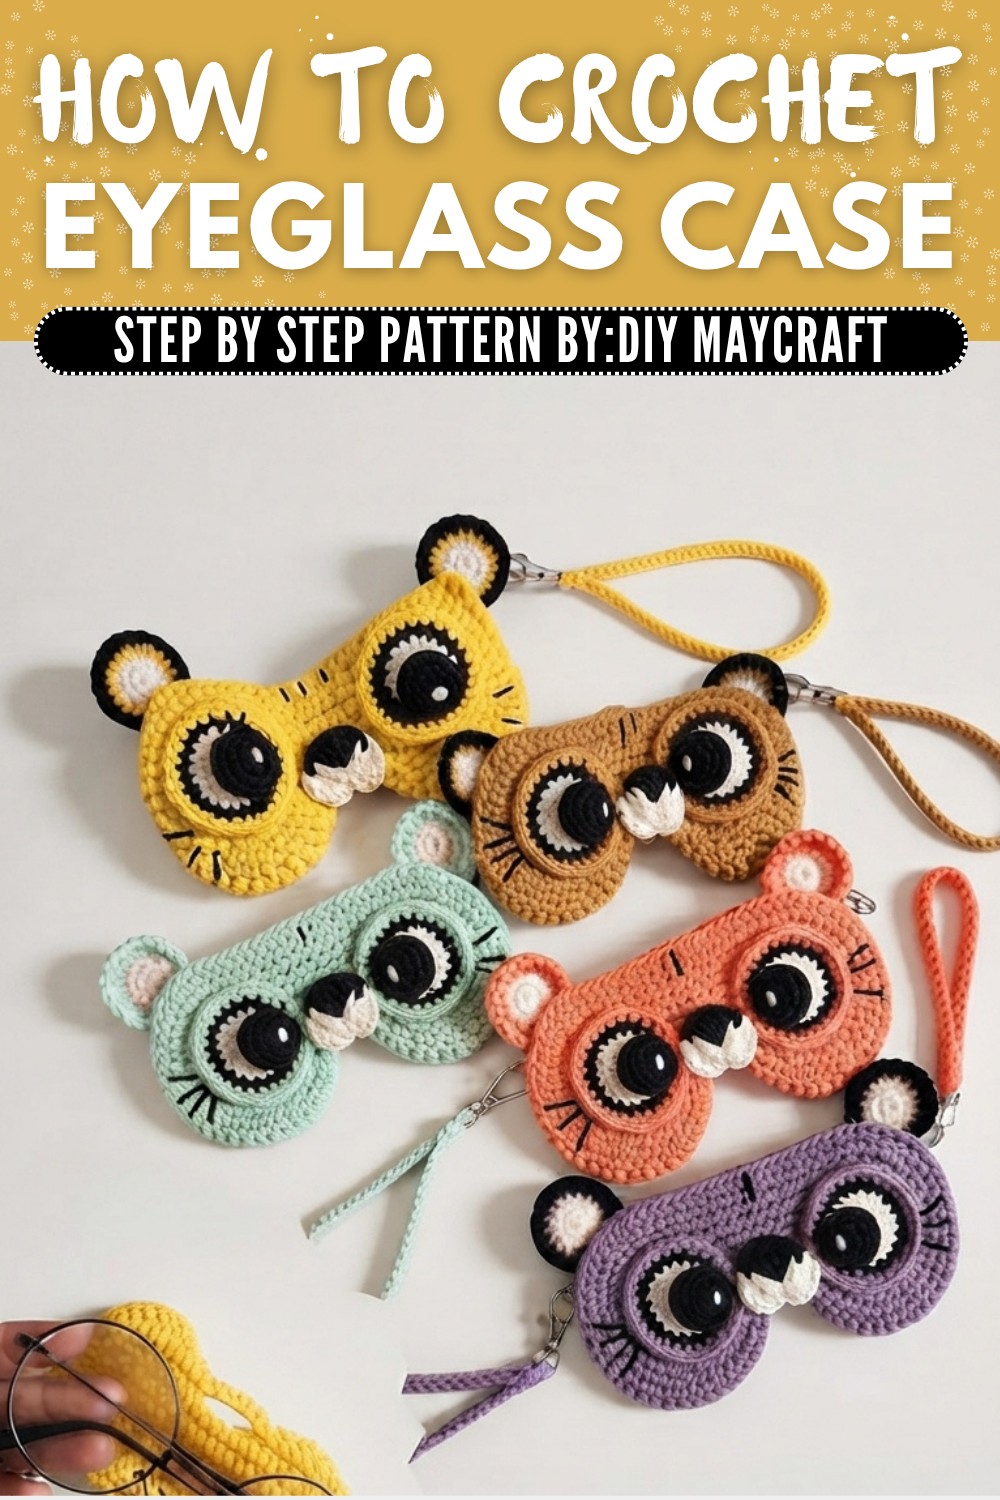
Free Crochet Eyeglass Case Pattern With Bold Tiger Shape
Fill your day with fun by crocheting this simple eyeglass case, a practical accessory that adds a touch of handmade charm to your daily life.
There's something special about turning simple stitches into something both useful and personalized. A crochet eyeglass case is a charming project that keeps your glasses safe and adds a touch of handmade beauty to your everyday essentials. A soft yet durable finish makes it an ideal companion for your eyewear, while its compact shape is perfect for on the go convenience. Whether made with bold colors or subtle tones, it reflects your style in a truly unique way. Perfect for beginners and experienced crocheters alike, this project is easy to adapt for different frame sizes by adjusting stitch counts or adding rows. Worked seamlessly in the round, starting with a sturdy base and topped with a flap closure, it's a relaxing and rewarding way to spend an afternoon.
Step by Step Crochet Pattern for a Super Cute Tiger Glasses Case

Inspired by the desire to bring beauty to everyday objects, this eyeglass case isn't just practical-it feels like a little piece of you in every stitch. It's a thoughtful handmade gift for birthdays, holidays, or even just because. And the best part? You can make it your own with pops of color, buttons, or small accents like embroidery and appliqués.
Whether it's to keep glasses safe or to brighten someone's day with a handmade treasure, this project is a lovely way to enjoy the process while ending up with something meaningful. Sit back, grab your favorite yarn, and start your next favorite project-it's sure to bring a smile every time it's used.
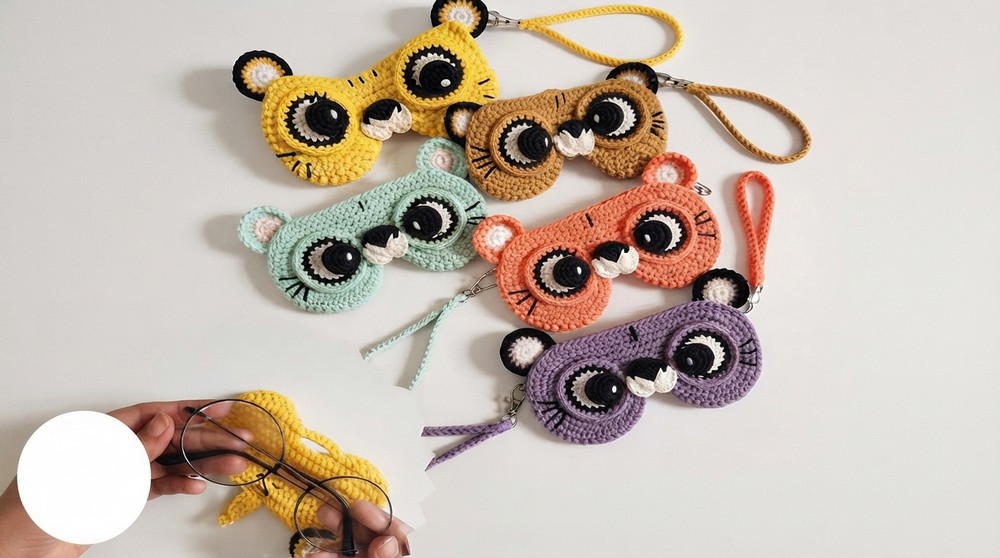
Crochet Eyeglass Case Pattern
Materials Needed
To begin your crochet project, gather the following materials:
- Yarn: Polycherry yarn (or any medium weight yarn) in orange (main color), black (tiger stripes and details), and white (optional for tiger face details).
- Hook Size: 4.0 mm crochet hook (for consistent stitches).
- Tapestry Needle: To sew details like eyes, ears, nose, and tiger stripes.
- Stitch Markers: For marking the beginning or specific points while crocheting in the round.
- Scissors: To cut yarn neatly.
- Button: A small button for the closure flap.
- Lighter (Optional): To seal yarn ends if you prefer a tidy finish.
Gauge
Gauge is not critical for this project, but achieving a tight stitch will give the case better structure and durability. Roughly:
- 1 inch = 4 single crochet (sc) stitches horizontally.
- 1 inch = 4 single crochet rows vertically.
You can adjust the hook size or yarn weight to achieve the desired dimensions.
Finished Size
- Approx. 7 inches long and 3.5 inches wide. Your finished size may vary slightly based on yarn tension and hook choice.
Abbreviations (US Terminology)
| Abbreviation | Meaning |
|---|---|
| ch | Chain |
| sc | Single Crochet |
| inc | Increase (2 sc in 1 stitch) |
| dec | Decrease (sc2tog) |
| sl st | Slip Stitch |
| st | Stitch |
| MR | Magic Ring |
Pattern Instructions
Base for the Eyeglass Case (Make 2)
The base forms the structure for the eyeglass case. Two identical base sections will be crocheted and later joined to complete the main shell.
- Round 1:
- Using orange yarn, create a magic ring (MR).
- Chain 1 (does not count as a stitch) and make 6 sc into the ring. (6 sc)
- Pull the short tail to tighten the MR.
- Round 2:
- Work 2 sc in each st around (1 inc in every stitch). Use a stitch marker to mark the first stitch of the round. (12 sc)
- Round 3:
- [1 sc, 1 inc] repeat around the circle. (18 sc)
- Round 4:
- [2 sc, 1 inc] repeat around. (24 sc)
- Round 5:
- [3 sc, 1 inc] repeat around. (30 sc)
- Rounds 6-8:
- Work 1 sc in each st around for a total of three rounds, maintaining the stitch count at 30 stitches per round.
- Fasten off the yarn after completing the first base section, leaving a long tail to weave in. Repeat the above steps to make a second identical base section.
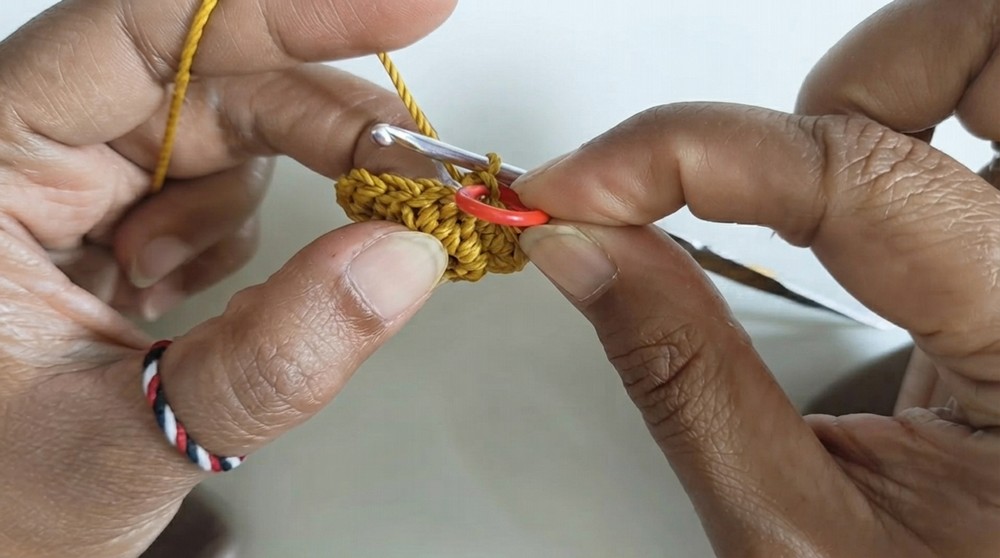
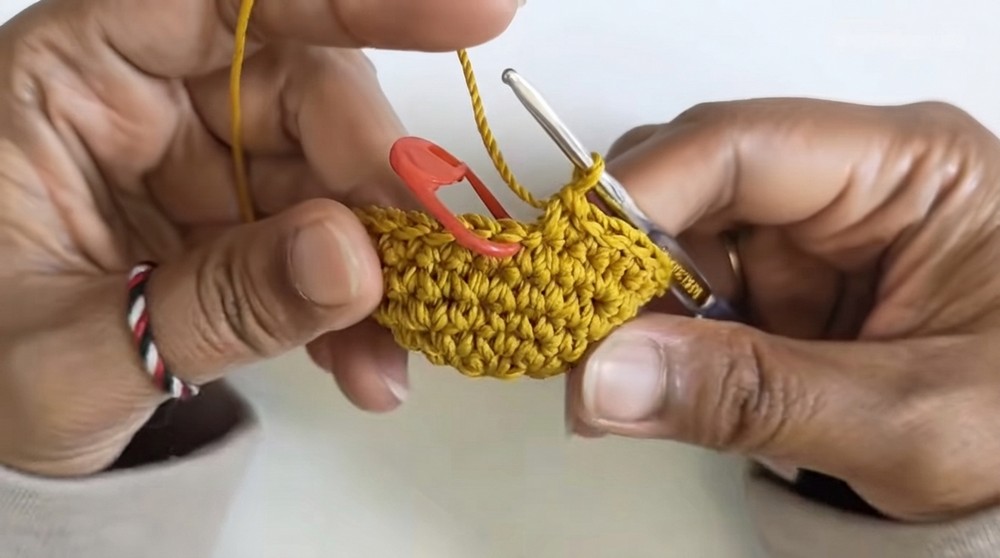
Joining Two Base Sections
The two base sections are joined seamlessly to create a cylindrical shell for the eyeglass case.
- After finishing the second base section, do not fasten off the yarn.
- Chain 3 to form a short bridge between the two sections. This bridge will join the two bases together.
- Attach the first base:
- Work 30 sc along the perimeter of the first base.
- Move to the chain space:
- Crochet 3 sc into the chain space.
- Attach the second base:
- Work 30 sc along the perimeter of the second base.
- Move to the second chain space:
- Crochet 3 sc into the second chain space.

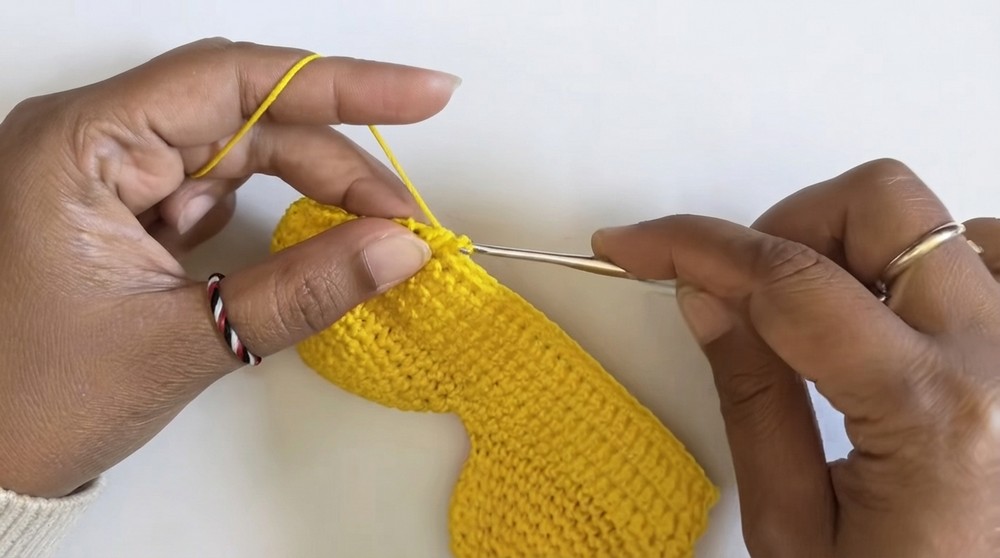
At this stage, the shell should consist of 66 stitches.
- Rounds 9 and 10:
- Work 1 sc in each st around (66 sc per round).

At the end of Round 10, fasten off securely and weave in the yarn ends neatly.
Flap Section
The flap ensures secure closure for the eyeglass case and includes a buttonhole.
- Rejoin the orange yarn on one side of the case's opening.
- Row 1:
- Chain 1 and make a single crochet decrease (sc2tog).
- Crochet 28 sc across.
- Make another single crochet decrease at the end. (30 sc)
- Row 2:
- Chain 1, turn, and work 30 sc across. (30 sc)
- Row 3: Repeat Row 1 with decreases: [1 dec, 26 sc, 1 dec]. (28 sc)
- Row 4: Chain 1, turn, and work 28 sc across. (28 sc)
- Row 5: Repeat Row 1 with decreases: [1 dec, 24 sc, 1 dec]. (26 sc)
- Row 6: Chain 1, turn, and work 26 sc. (26 sc)
- Row 7: Decrease at both ends again: [1 dec, 22 sc, 1 dec]. (24 sc)
- Row 8: Buttonhole row:
- Chain 1, turn. Work 9 sc.
- Chain 6 to form the buttonhole and skip the next 6 stitches.
- Work 9 sc to complete the row.

At the end, fasten off and tidy the yarn ends.
Tiger Face Details
Tiger Eyes
- Round 1 (White Yarn):
- Start with a magic ring (MR).
- Chain 1 and work 6 sc into the MR. (6 sc)
- Pull the tail to close the ring.
- Round 2:
- Work 2 sc in each st. (12 sc)
Fasten off. For the black pupil, repeat Round 1 using black yarn. Sew the black pupil onto the white eye piece.
Tiger Ears
- Round 1:
- Use orange yarn and make 6 sc into a magic ring. (6 sc)
- Round 2:
- Work [1 sc, 1 inc] around. (9 sc)
Fasten off securely. You may switch colors (e.g., black or white) for added detail.

Tiger Nose
- Use black yarn to create a magic ring and chain 3.
- Crochet 3 dc into the ring, followed by chaining 3 and slip stitching into the ring.
- Repeat Step 2 to mirror the first triangle and form a pointed nose shape.
Fasten off and attach to the case using the tapestry needle.
Adding Tiger Stripes and Details
Use black yarn to embroider tiger stripes across the orange section of the case. Add two or three diagonal lines per side.
Attach the eyes, ears, and nose proportionally onto the case to create the tiger face.

Optional Strap
For a strap:
- Make a chain of approximately 60-80 stitches (depending on desired length).
- Work 1 row of sc across the chain for durability.
- Attach each end of the strap securely to both sides of the case.

Customization Ideas
- Color Variation: Substitute the orange yarn for blue, pink, or purple for a unique twist.
- Size Adjustment: Increase or decrease rounds in the base section to resize for larger or smaller glasses.
- Extra Details: Add beads, sequins, or glitter edges for added decoration.
Final Remarks
Congratulations, You now have a tiger style crochet eyeglass case that is both functional and fun. This handcrocheted accessory showcases your skill and creativity while keeping your glasses protected.
Whether you keep it for yourself or gift it to a loved one, the tiger themed design is sure to be a hit. Enjoy experimenting with colors and personal touches to make your creation truly unique.