Best Free Crochet Cat Head Pattern That Show Off Your Skills
Grab this adorable Free Crochet Cat Head Pattern to make a playful kitty that’s perfect for keychains, gifts, or a cozy touch at home.
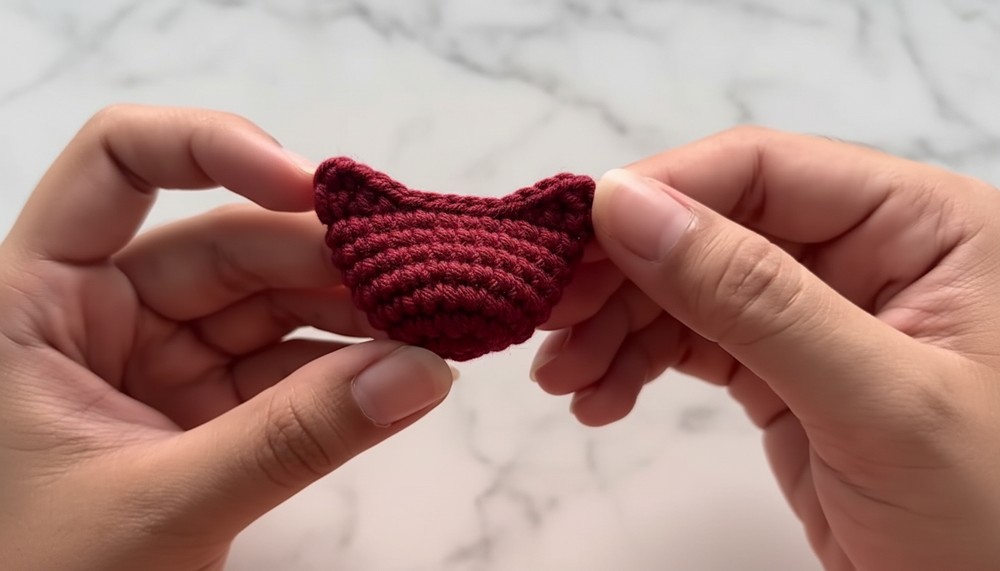
Nothing is more charming than a small, playful cat face full of cuteness and personality. This soft and rounded piece with tiny ears and a cheerful expression is perfect for anyone who enjoys adorable and fun decorations. Its lightweight design makes it a wonderful choice for keychains, bag charms, or even small home decorations. The finished look stands out with its simplicity and lovable appearance, making it an ideal gift or personal accessory.
Free Crochet Cat Head Pattern to Charm Everyone

This cat head is easy to personalize in your favorite colors, giving it a unique and personal touch. Whether it’s hanging from a backpack or displayed on a shelf, it brings a smile with its adorable features and cozy handmade feel. Perfect for all ages, this little treasure is a heartwarming way to show creativity and love for all things cute! A small idea that holds endless charm.

Adorable Crochet Cat Heads Pattern
Finished Size
- Approx. 1.5 to 2 inches in diameter for the head (depending on yarn and hook tension).
Materials Needed
- Yarn:
- Milk cotton or lightweight yarn (approximately 4-ply or DK weight) in chosen colors:
- Main color: For the head (e.g., Dried Burgundy, Red, Gray, etc.).
- Black yarn: For the eyes and details.
- Optional: Additional color for the scarf.
- Milk cotton or lightweight yarn (approximately 4-ply or DK weight) in chosen colors:
- Hook Size: 2.5 mm crochet hook.
- Stuffing Material: Fiberfill or polyester stuffing.
- Tapestry Needle: For sewing and weaving in the yarn ends.
- Scissors: For cutting yarn and cleaning edges.
- Stitch Marker: To mark the first stitch of each round.
Gauge
- 8 single crochet stitches (sc) x 8 rows = 1 inch.
- Gauge isn’t critical for this project, but maintain consistent tension throughout.
Abbreviations (US Terminology)
- MC: Magic Circle
- sc: Single Crochet
- inc: Increase (2 sc in same stitch)
- sl st: Slip Stitch
- hdc: Half Double Crochet
- dc: Double Crochet
- ch: Chain
- st(s): Stitch(es)
Notes
- Work in continuous rounds unless otherwise stated.
- Use a stitch marker to mark the beginning of each round and adjust as you go.
- Customize colors to your preference for unique designs.
- Stuff the head firmly but not overly tight to preserve the shape.

Pattern Instructions
Head
- Start with Head Base:
- Using your main color yarn, make a magic circle.
- Round 1: Create 8 sc into the magic circle. Pull the yarn tail to close the circle tightly. Place a stitch marker on the first stitch. (8 sc)
- Round 2: Make 1 inc in each stitch around (2 sc in each st). (16 sc)
- Round 3: Alternate 1 sc in the next st, then 1 inc in the following st. Repeat this pattern around the row 8 times. (24 sc)
- Form the Head Shape:
- Rounds 4-8: Work 1 sc in each stitch around (no increases). (24 sc per round)
- Stuff the head with fiberfill loosely but firmly before proceeding.
- Close the Head (Round 9):
- After Round 8 is completed, make small indentations for the face detail using a combination of slip stitches, hdc, and dc as follows:
- Make 3 chains.
- Insert the hook into the first stitch and last stitch (total 2 loops), and make a dc.
- Insert the hook into the second and second-last stitch, then create hdc.
- Create slip stitches to close any gaps, evenly spacing six slip stitches along the edge of the deformity.


Face Details
- Eyes:
- Cut a 10 cm length of black yarn.
- Using a tapestry needle, attach the eyes at Round 6, with 5 stitches apart.
- Secure the eyes by double-knotting at the back, leaving tails loose for later.
- Nose:
- Separate one strand of the main yarn and thread it onto a needle.
- Place the nose between the eyes at the middle stitch level.
- Thread gently to create a triangular shape; avoid pulling the yarn tightly.
- Whiskers:
- Use the yarn tails from the eyes and nose to create whiskers. Insert the tapestry needle horizontally and create straight stitches extending outward.

Scarf
- Attach Yarn:
- Use any secondary color for the scarf.
- Attach the yarn at the back of the base of the head (between Round 3 and Round 4).
- Crochet Around the Neck:
- Make 2 chains.
- Row 1: Starting from the same stitch as the chain-2, create 22 half-double crochets (hdc) around. Work over the yarn tail as you go.
- Close with a slip stitch into the first hdc.
- Cut the yarn and secure.
- Optional Front Piece:
- Locate two stitches at the base of the face.
- Attach the yarn to the first stitch.
- Chain 6, and starting from the 3rd chain from the hook, make 4 hdc.
- Slip stitch into the second stitch. Cut and secure the yarn.

Finishing
- Hide all loose yarn tails within the head using a tapestry needle.
- Double-tie knots where necessary to prevent unraveling.
- Finalize with shaping and adjusting any curls in the scarf.

Customization Ideas
- Colors: Experiment with different yarn colors for the head, face, or scarf.
- Accessories: Add embellishments like a small flower, buttons, or beads to the scarf.
- Size Variations: Use a larger hook or thicker yarn for a bigger cat head, and vice versa.
Special Techniques
- Magic Circle (MC): Loop the yarn around your fingers to create an adjustable loop. Crochet inside the loop as instructed, and then pull the tail tight to close the circle.
- Stuffing Tips:
- Use a crochet hook or chopstick to push small amounts of stuffing into place.
- Avoid overstuffing to maintain a smooth shape.
Conclusion
Congratulations! Your adorable crochet cat head is complete. These are perfect as customized keychains, ornaments, or decorative items. Display them on your desk, gift them to a friend, or include them in other larger projects like amigurumi animals.