
Handmade Free Crochet Granny Square Cardigan Pattern
Find a fun way to stay warm with this free crochet granny square cardigan pattern that combines comfort style and handmade beauty.
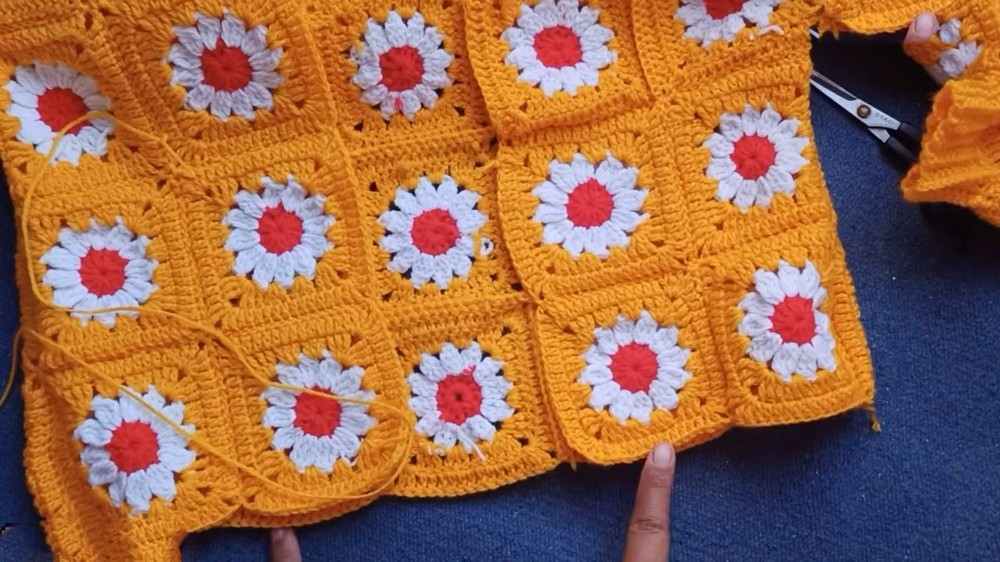
Step into winter with elegance and flair, wrapped in a masterpiece that blends timeless charm with handmade beauty. This Daisy Flower Granny Square Cardigan is a true reflection of creativity, showcasing vivid colors and eye catching textures. Each square is a piece of art, crocheted to bring vibrancy and joy to chilly days. The cardigan is a symphony of colors, making it a striking addition to any wardrobe. With 56 granny squares brought together, its intricate pattern exudes warmth and style. Each square offers the opportunity to play with hues, allowing customization that complements your personality and seasonal vibe.
A Must Try Free Crochet Granny Square Cardigan Pattern For Fall Style
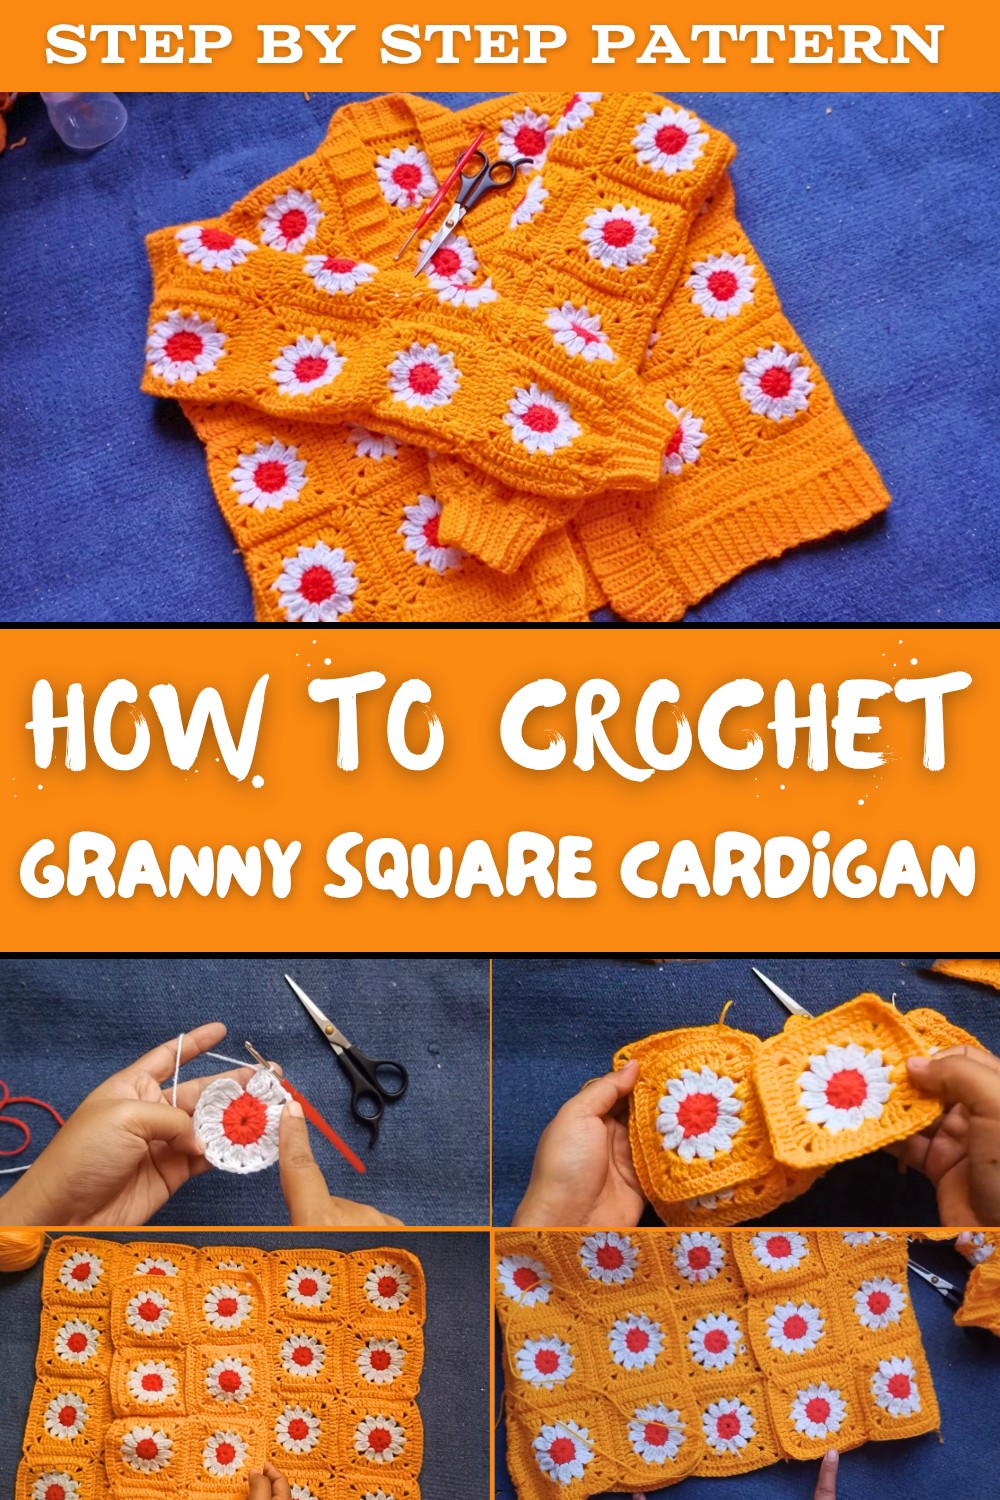
Whether neutral tones for a subtle look or bright pops of color for bold fashion statements, every choice adds to the cardigan's irresistible charm.
Key Features That Stand Out
- Timeless Appeal: The textured look of the granny squares gives the cardigan a vintage yet modern touch, making it suitable for any age group.
- Versatility: Perfect for layering over casual or formal outfits, the cardigan effortlessly transitions between cozy lounging and outdoor outings.
- Customizable Fit: From the sleeves to the neckline, every part of this cardigan can be adjusted to match your preferred size and style.
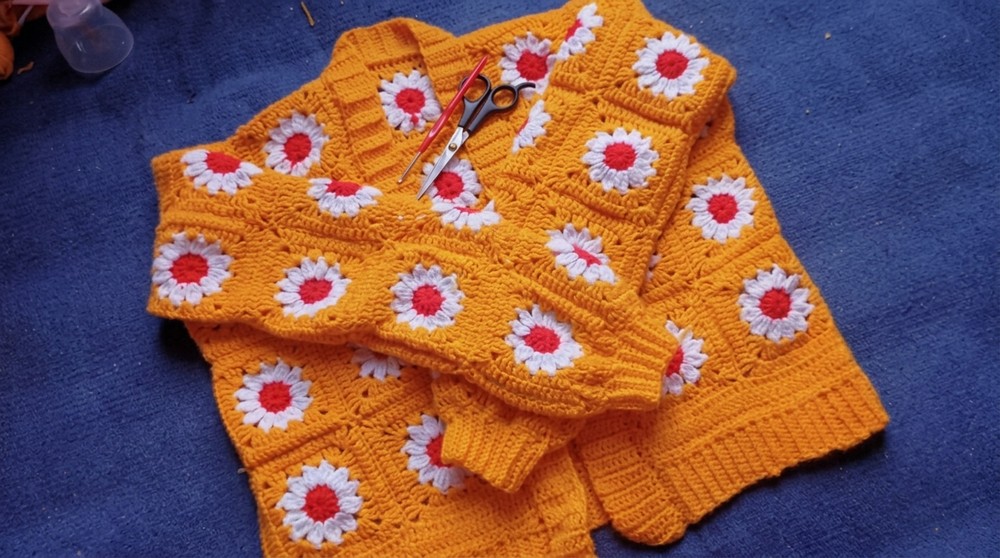
This gorgeous cardigan isn't just a fashion piece-it's a heartfelt creation infused with the maker's touch. Whether you wear it or gift it, this granny square cardigan is guaranteed to turn heads and bring smiles. Make this winter special with the beauty, comfort, and creativity encapsulated in this stunning crochet design.
Crochet Granny Square Cardigan Pattern
Materials Needed
- Yarn: Use soft, lightweight baby yarn in multiple colors, such as gray, white, and yellow, to add visual interest. Ensure the yarn is machine washable for long lasting wear and convenience.
- Crochet Hook: Select the hook size suitable for your yarn (commonly 3mm to 4mm for baby projects).
- Stitch Markers: To assist with tracking areas for seaming.
- Scissors: Sharp scissors for cutting yarn neatly.
- Tapestry Needle: Required for weaving in loose ends and joining pieces.
Step by Step Instructions
Step 1: Creating Granny Squares
Round 1: Foundation
- Start with a Slip Knot: Create a slip knot and chain 7 stitches.
- Form a Circle: Use a slip stitch to join the first chain to the last, forming a circular base.
- Establish the Center: Chain 3 (this functions as your first double crochet), then create 11 double crochets into the center of this ring. You'll now have 12 stitches total in the center.
- Close the Round: Slip stitch into the top of the initial chain 3 to complete the round. Fasten off the yarn.
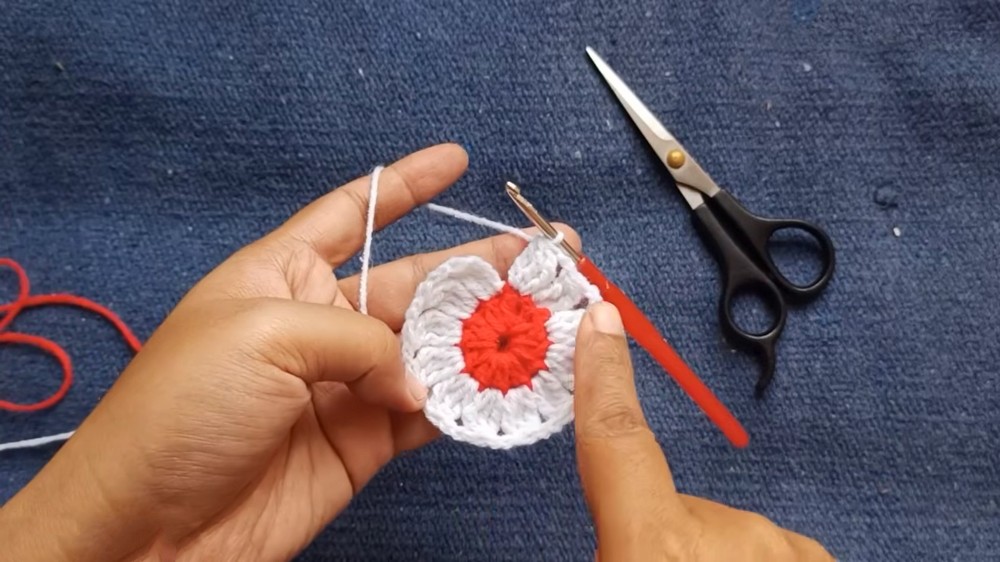
Round 2: Adding Color Layers
- Introduce the Next Color: Connect the second yarn color (e.g., white) into any stitch of the previous round using a slip stitch.
- Triple Crochet Clusters:
- Chain 3. This counts as your first triple crochet.
- Work 2 additional triple crochets into the same stitch. Pull the yarn through all loops at once to form your first petal cluster.
- Chain 2, skip a stitch, and repeat another cluster of 3 triple crochets. Keep going until you have completed 12 petal clusters.
- Join the Round: Slip stitch into the top of chain 3 from the first cluster to complete the round. Fasten off.
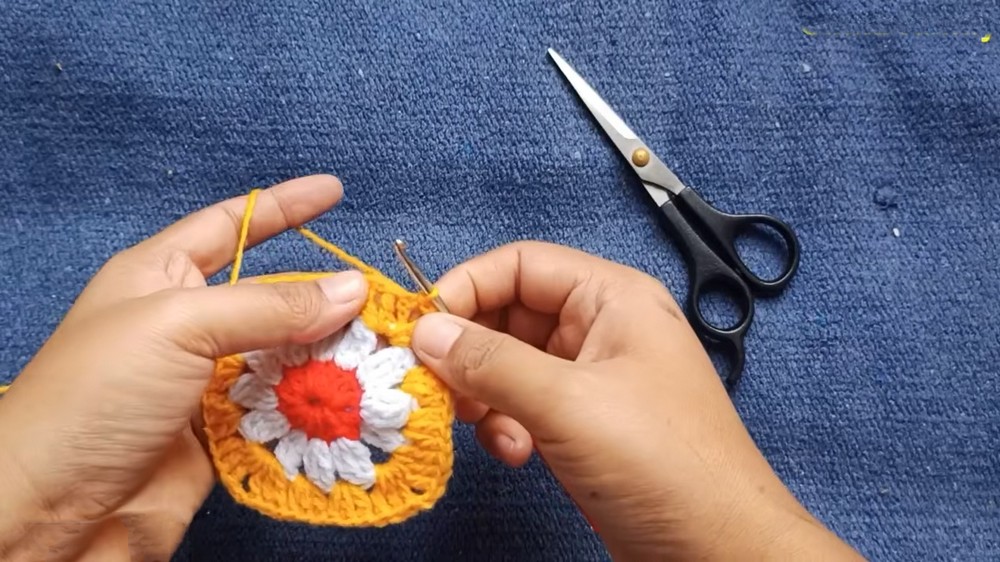
Round 3: Expanding the Pattern
- Switch to a New Color: Use another yarn color (e.g., yellow) to create a border.
- Cluster Groups Between Gaps:
- Join the yellow yarn into any 2 chain gap from the previous round.
- Chain 3, then make 3 triple crochets into the gap. Chain 2 and repeat with another group of 3 triple crochets in the same gap.
- Continue until each chain gap has been filled with alternating pairs of clusters.
- At the end, join with a slip stitch and fasten off the yarn.

Step 2: Make 56 Granny Squares
You'll need a total of 56 finished granny squares for the cardigan:
- Back Panel: 20 squares arranged in a rectangular formation.
- Front Panels: Each panel consists of 8 squares, totaling 16 squares.
- Sleeves: Each sleeve uses 12 squares.
Step 3: Joining the Granny Squares
Now that your granny squares are complete, it's time to assemble them into the cardigan panels.

Assemble Panels
- Arrange Squares: Lay them out as follows:
- 20 squares for the back panel in a rectangle.
- 8 squares for each front panel in two groups.
- Sleeves formed from 12 squares for each arm.
- Seaming Technique:
- Place two granny squares together with their fronts facing inward.
- Insert your crochet hook into the chain gaps and join the edges using single crochet or slip stitches.
- Repeat this process for each square until all panels (back, front, sleeves) are formed.


Step 4: Assembling the Cardigan
Connect Front to Back
- Join the Shoulder Seams: Align each front panel with the back panel at the shoulders. Use single crochet to seam the top edges.
Attach Sleeves
- Locate Sleeve Placement: Find the midpoint of each sleeve and align it with the shoulder seam.
- Join Sleeves: Use single crochet to attach sleeves securely onto the armholes.
Seam the Sides
- Create Side Seams: Seam each side of the cardigan from the bottom hem up to the sleeve cuffs using single crochet.
Step 5: Adding Neckline
- Foundation for Neckline: Start a new round at the neckline edge. Chain 9-12 stitches, depending on how wide or narrow you want the neckline.
- Neckline Pattern:
- Work single crochet across the neckline to stabilize it.
- Alternate rows of single and double crochet for a smooth, reinforced neckline design.
Step 6: Adding Borders
Bottom Edge Border
- Chain Foundation: Begin by chaining 14 stitches for the hemline border.
- Alternate Between Rows:
- Work one row of single crochet across the foundation chain.
- Follow it with a row of double crochet. Alternate this pattern until the border reaches your desired thickness.

Attach Borders
- Secure the Border: Use single crochet to seam the border around the hemline of the cardigan.
Step 7: Finishing Touches
- Weave in Ends: Use a tapestry needle to weave in loose yarn ends for a neat finish.
- Inspect ALL Seams: Verify all seams are tight and even to ensure the garment is sturdy.
- Block the Cardigan: Gently wet block the cardigan so it maintains shape and looks professionally polished.

Final Words
Your beautiful baby cardigan is now complete. Its granny square construction gives it a timeless and cozy look. Whether it's made to wear during chilly weather or gifted for a baby shower, this cardigan carries a loving handmade touch.
Tips for Pattern Maintenance
- Use Gentle Washing: Wash the cardigan with baby friendly detergents to preserve its softness and vibrant colors.
- Store Properly: Fold and store the cardigan in a cool, dry place to avoid stretching.
- Repair Fraying: If you notice any loose seams, repair them immediately with a needle to prevent unraveling.
- Experiment with Colors: You can modify the pattern by mixing more colors to add unique charm to your creation.
