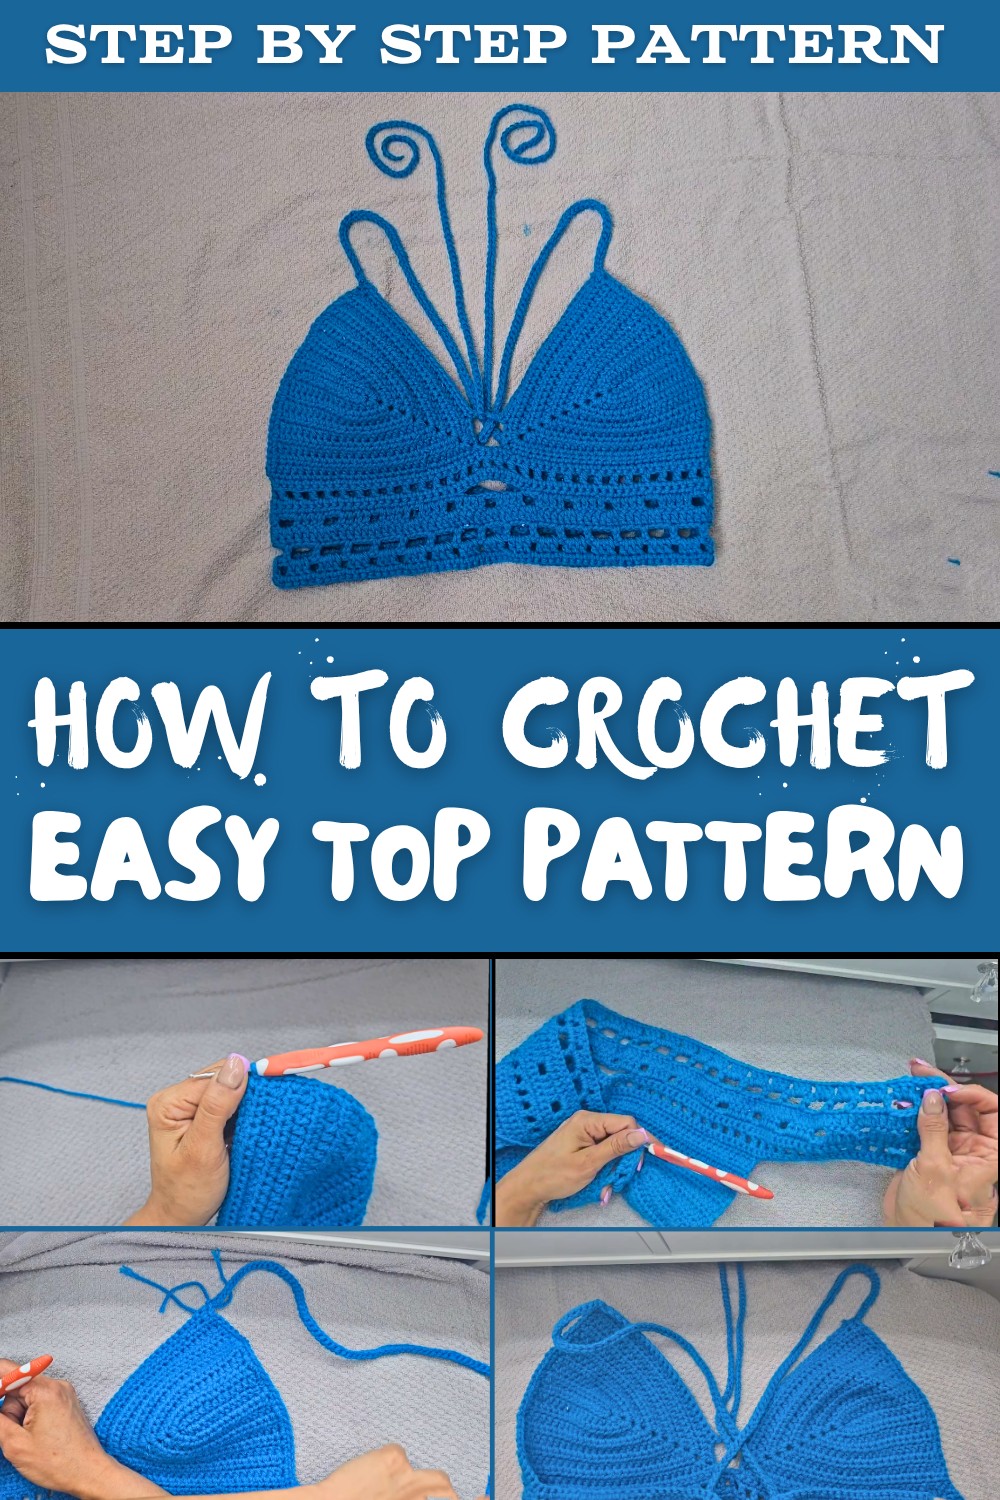
Easy Free Crochet Top pattern for Fashion Lovers
Elevate seasonal fashion with Free Crochet Top Pattern featuring comfortable texture and stylish appeal for beautiful outfit combinations.
A handmade top feels special and comfortable in a way that store-bought clothes often don't. Using a crochet top pattern helps create a soft, breathable piece that fits just right. This kind of top is great for warm weather because it lets air flow easily, keeping you cool and comfy.
Choosing a crochet top pattern lets you pick colors and styles that suit your taste. Whether bright and fun or simple and soft, the choice is yours. The pattern has easy steps that beginners can follow, making it a great way to learn and create something pretty at the same time.
Airy Free Crochet Top pattern for Spring and Summer
A crochet top is easy to style too. It looks nice over a tank top or can be layered for cooler days. It pairs well with jeans, shorts, or skirts, giving you many outfit options. Because each top is handmade, you end up with a unique piece that shows off your personality.
Making a crochet top is also rewarding. Watching your work take shape stitch by stitch feels relaxing and fun. These tops even make thoughtful gifts that show care and effort.
A crochet top pattern offers a simple, creative way to add comfort and style to your wardrobe. It's an enjoyable project that results in a charming handmade garment you'll love to wear.
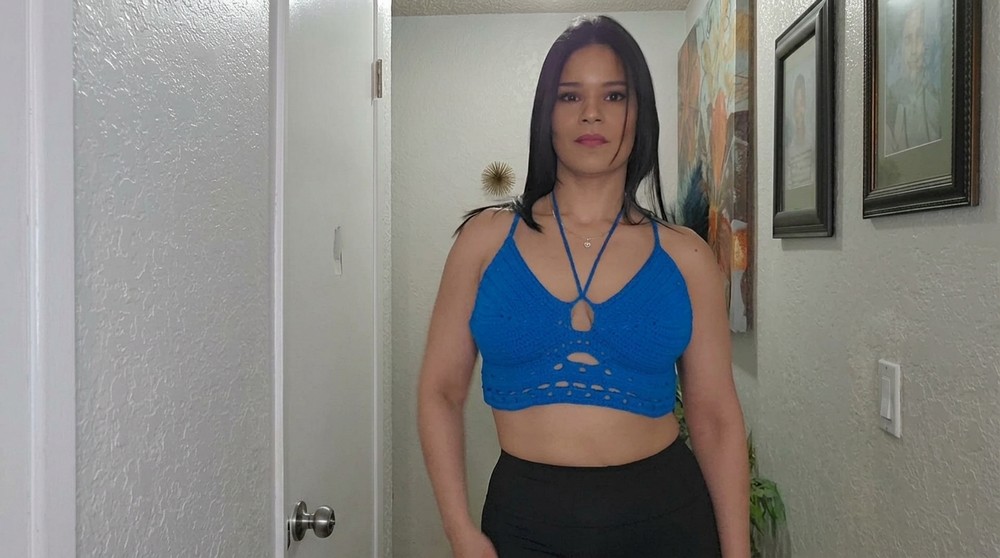
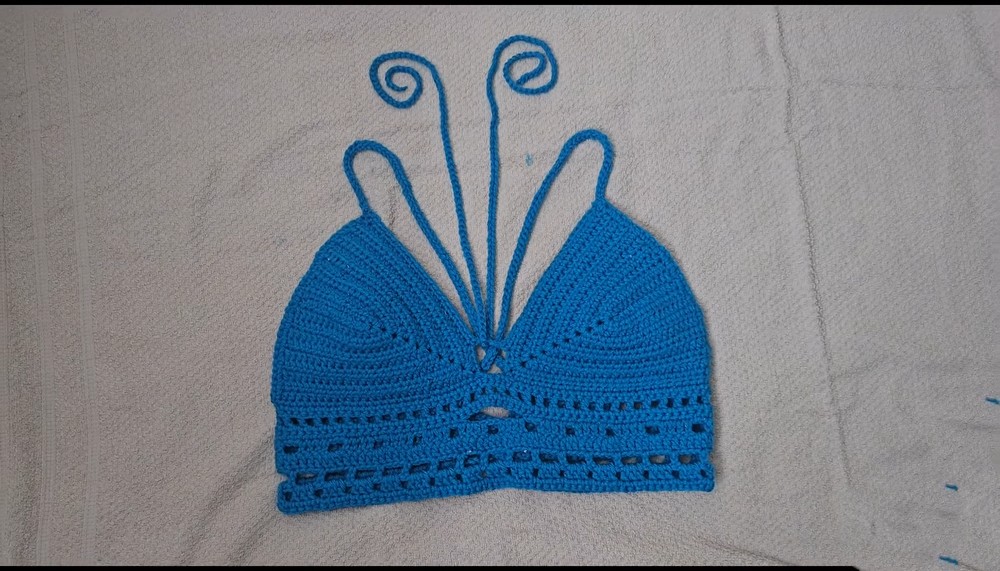
Versatile Crochet Top with Decorative Cups and Straps
This elegant handmade crochet top features delicately shaped cups and a comfortable, adjustable fit. Perfect for casual wear or layering, the pattern includes clear instructions for various sizes and a versatile band and strap design.
Preparations Before Starting Your Crochet Top
- Select medium-weight 100% acrylic yarn or preferred cotton blend for breathability.
- Use a 3.5 mm crochet hook to achieve uniform, medium-sized stitches.
- Keep stitch markers, yarn needle, and scissors ready for assembly and finishing.
- Measure your bust accurately to choose the correct size: Small, Medium, or Large.
- Adjust chain counts and stitch numbers according to size guidelines provided.
- Be familiar with basic crochet stitches such as chain (ch), half double crochet (hdc), single crochet (sc), and double crochet (dc).
- Practice tension control for consistent stitch size and garment fit.
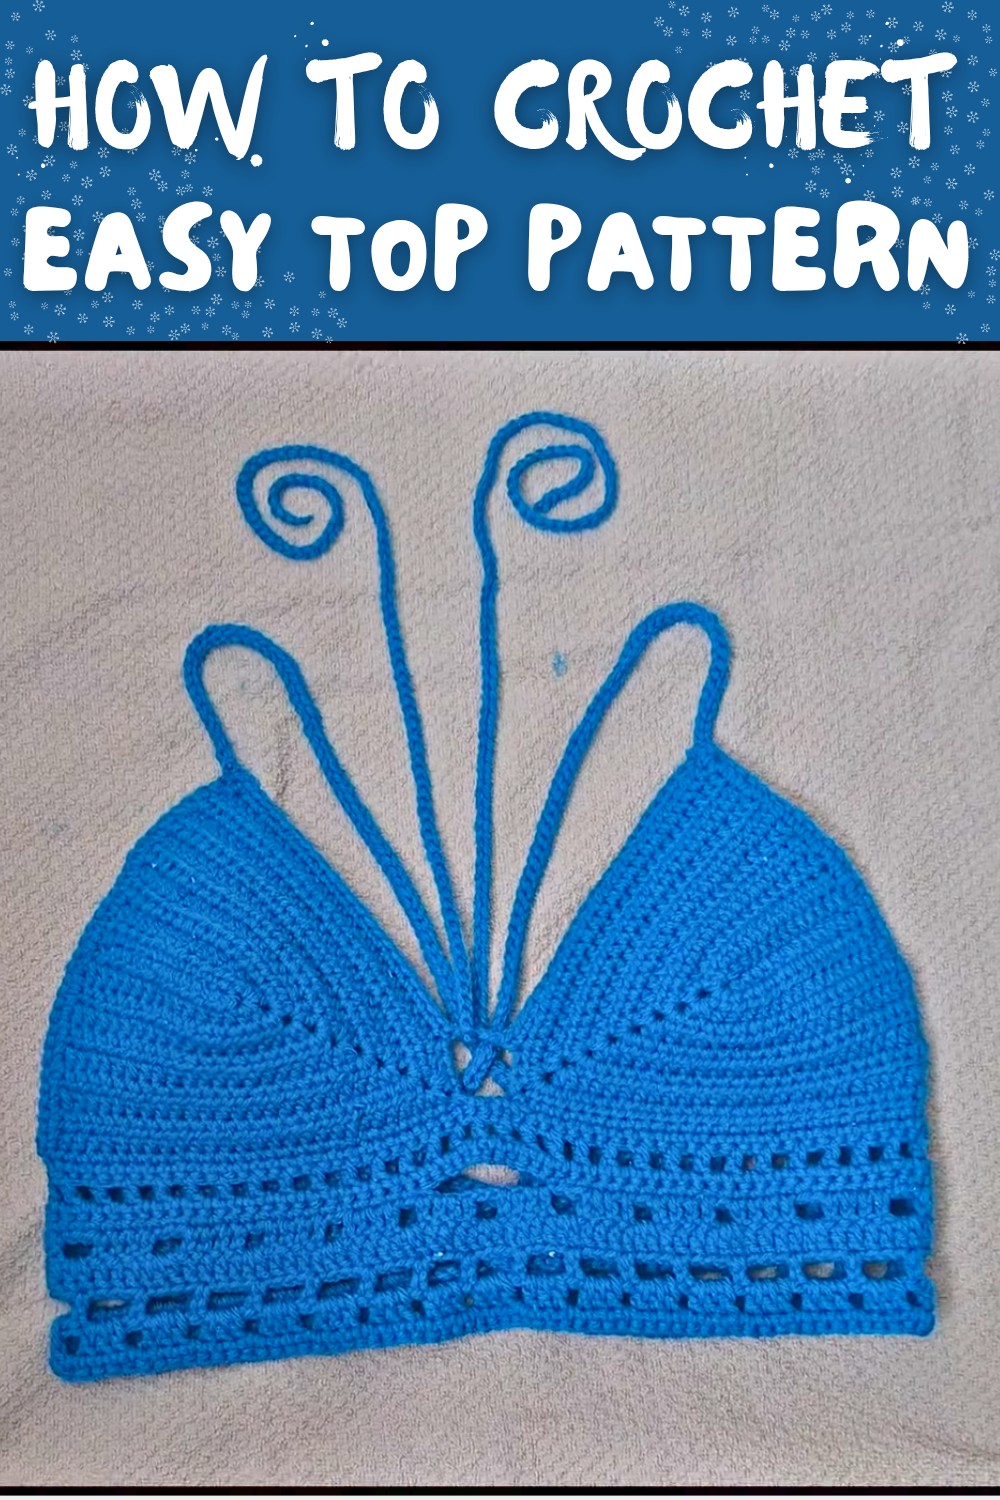
Pattern Overview and Construction Details
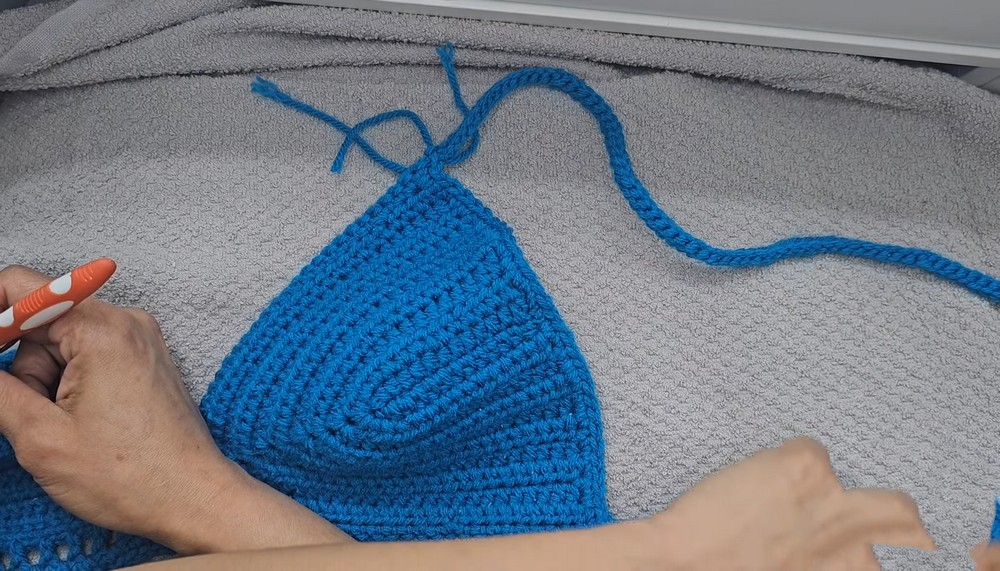
- The top consists of two crocheted cup sections with decorative peaks for shaping, joined centrally by chains and single crochet stitches.
- Custom chain lengths form the band connecting the cups, wrapping comfortably around the torso.
- Decorative rows embellish edges with chain arches and scallops.
- The straps begin as simple crochet bands using half double crochets or slip stitches, varying for yarn thickness.
- The pattern allows size adjustment by modifying chain stitch counts and half double crochet rows accordingly.
Summary of How This Crochet Top is Constructed
- Begin by crocheting two separate cup panels, shaping each with increases and decorative peak formations using half double crochets and chains.
- Connect the two cups with a band of chains and single crochet stitches forming a comfortable bridge.
- Add decorative rows along edges with chain loops and low stitch accents for style.
- Crochet long straps or bands on each side, using hdc or slip stitches, working across chain foundations for flexibility.
- Join all sections neatly, secure ends, and adjust for personal fit.
Intended Skill Level
- This pattern is suitable for advanced beginners and intermediate crocheters who are comfortable with stitch combinations, working brief shaping, and joining pieces.
- Attention to detail is beneficial for peak shaping and pattern repeat accuracy.
Final Garment Measurements (Estimates)
| Size | Chain Foundation for Cups | Chain Length for Band | Approximate Bust Coverage |
|---|---|---|---|
| Small | 10 chains | 22 | Fits Bust ~ 32-34 inches |
| Medium | 12 chains | 25 | Fits Bust ~ 36-38 inches |
| Large | 14 chains | 28 | Fits Bust ~ 40-42 inches |
- Chain numbers correspond to stitches used for foundational rows; adjust proportionally to fit.
Materials Required
- Medium acrylic or cotton yarn in the color of your choice.
- Crochet hook size 3.5 mm (E-4 US).
- Stitch markers.
- Yarn needle for weaving ends.
- Scissors.
Recommended Gauge
- Gauge is flexible due to openwork and cups shaping but approximately:
- 12 hdc stitches = 4 inches in width.
- Adjust hook size if required to match gauge and desired fit.
List of Stitches and Abbreviations
- ch = chain
- hdc = half double crochet
- sc = single crochet
- dc = double crochet
- sl st = slip stitch
- st(s) = stitch(es)
- rep = repeat
- tog = together
Special Techniques Explained
- Half Double Crochet (hdc): Yarn over, insert hook into stitch, yarn over and pull through, yarn over and pull through all loops on hook - creating a stitch higher than single crochet but shorter than double crochet, ideal for shaping.
- Peak Shaping with Clusters: Groups of hdc stitches separated by chains to create cup shaping and three dimensional volume.
- Low Point or "Low Stitch" (Terminology): Refers to single crochet or other short stitches used decoratively along edges and arches.
- Chain Arch Motif: Series of chain stitches used to create scalloped decorative edges and shape garment curves.
- Slip Stitch (sl st) Joining and Finishing: Used to connect motifs, join sections, or finish rows with minimal bulk.
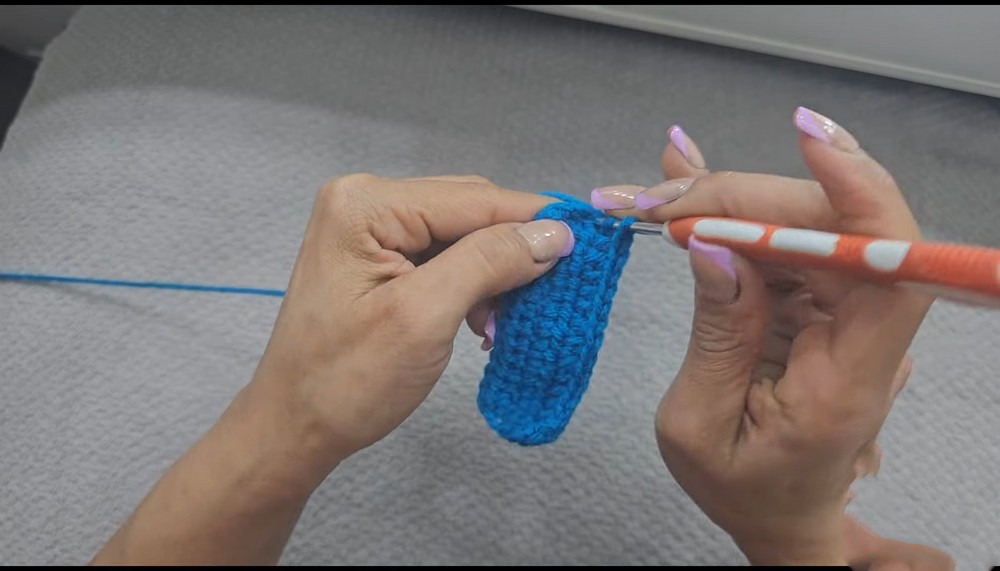
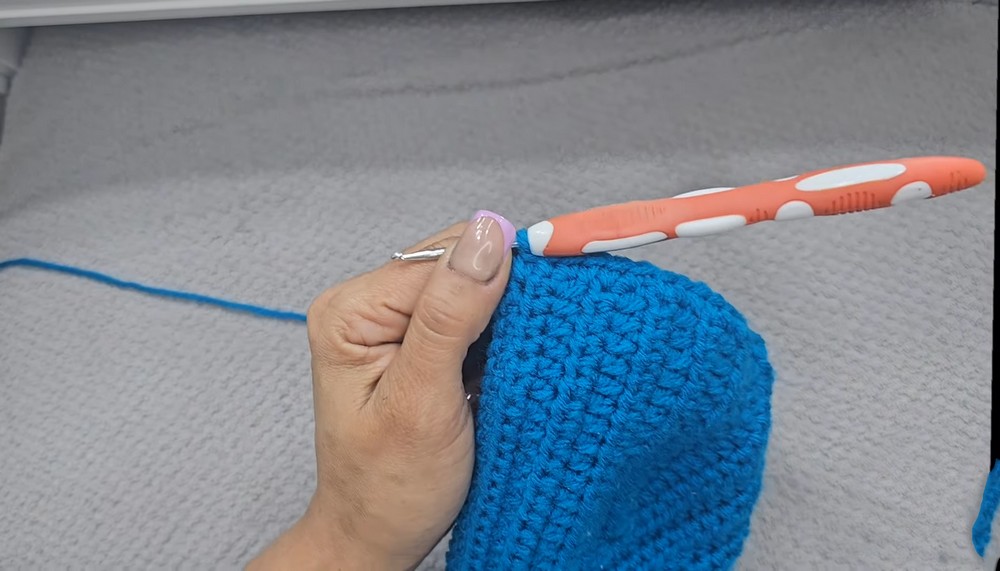
Detailed Crochet Pattern Instructions
Part 1: Creating the Cups (Choose Chains Based on Size: Small/10, Medium/12, Large/14)
Foundation Chain for One Cup:
- Ch 12 (for medium size; modify for other sizes).
- Starting from 3rd chain from hook, make 1 hdc in each chain to end.
- Count: 12 hdc total plus initial 2 ch (counts as height).
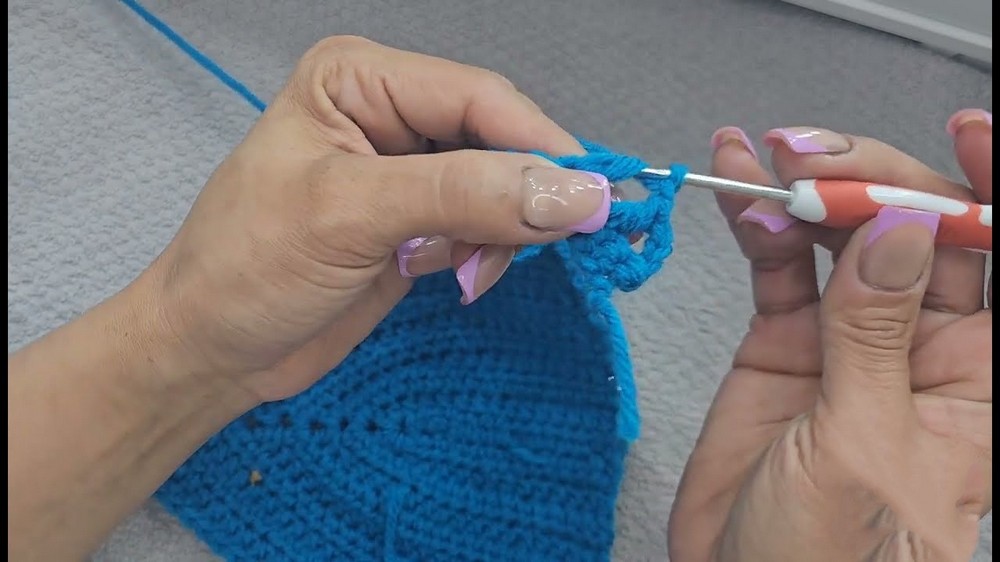
Peak Shaping Row:
- Increase at cup tip: In last stitch, work 2 hdc, ch 2, 2 more hdc in same stitch to form cup peak.
- Continue with 12 half double crochet points (hdc clusters separated by ch 2) along cup width.
- Turn.
Subsequent Rows:
- Continue hdc stitches across stitches, maintaining peak shape by inserting 2 hdc, ch 2, 2 hdc in center peak stitch.
- Count 10 rows total for medium size; 8 for small, 12 for large.
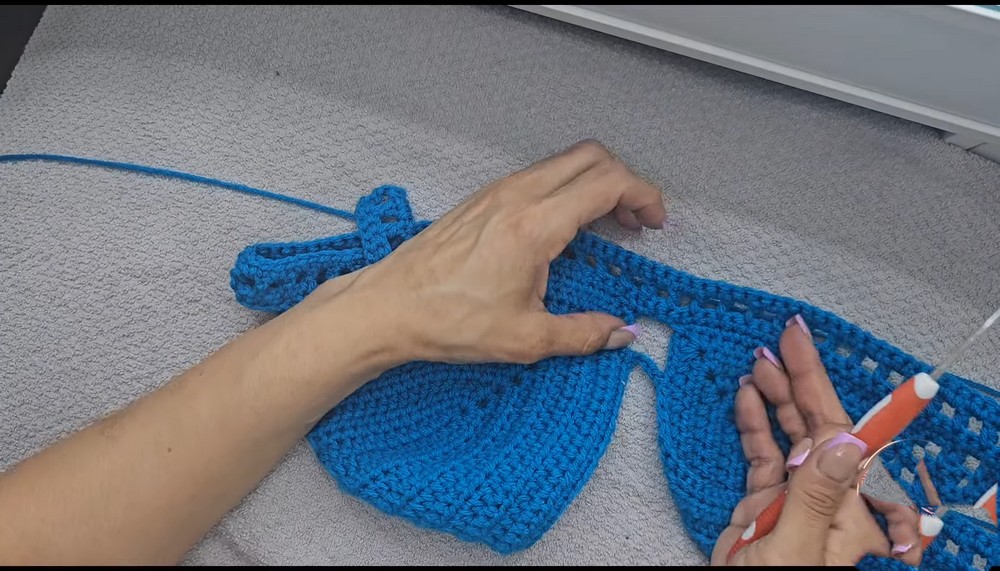
Part 2: Joining Cups and Creating the Band
- Place cups side by side with open edges facing each other.
- Chain 1, ch 2, then sl st into the first open cup edge space, repeat to connect cups with 1 ch, 2 ch, 1 sc (single crochet) in corresponding cup spaces.
- Extend band with ch stitches according to size (Small 22, Medium 25, Large 28 chains).
- Work 1 row single crochet over chains and cup edges attaching band.
- Turn and work additional rows of sc until desired band width is achieved (typically 2 rows).
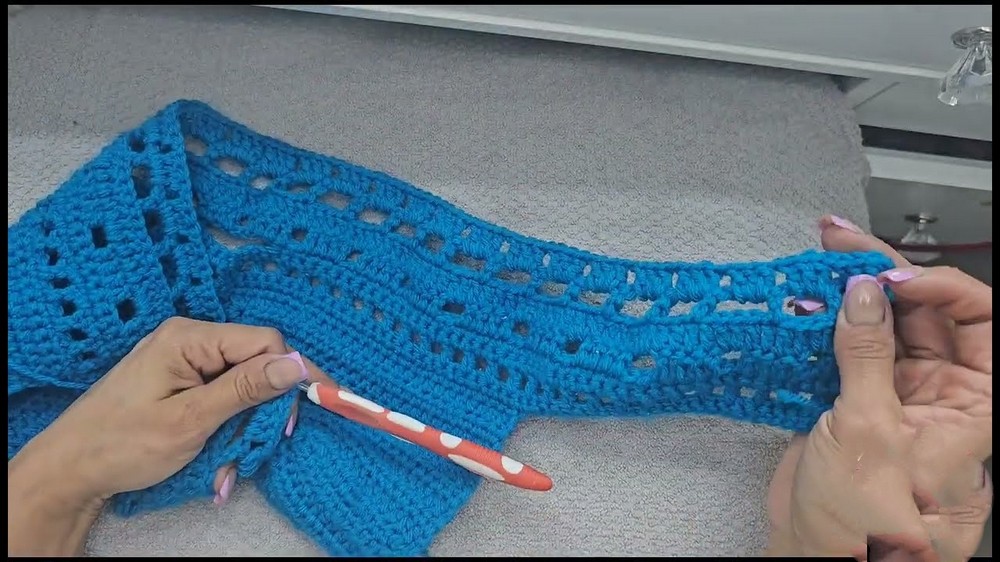
Part 3: Decorative Edge and Pattern Rows
- Along edges and band, work chain arches (ch 3 to 6) interspersed with sc or low stitches forming decorative scalloped edges.
- Use marker placement to keep symmetry when shaping curves and peaks.
- For deeper detailing, use a combination of chains and hdc clusters for accent rows according to preference.
Part 4: Creating Straps or Side Bands
- Attach yarn at desired strap location.
- Chain length as preferred (approx. 180 chains suggested for long, versatile straps).
- To narrow straps: slip stitch (sl st) in each chain (recommended for thick yarns).
- If using thinner yarn, hdc or sc across chains for more texture and width.
- Turn and work similarly on opposite side strap, progressively weaving ends or working in reverse for symmetry.
Part 5: Finishing Touches and Weaving Ends
- Race check: Ensure all edges are smooth and consistent.
- Weave all yarn ends securely with tapestry needle inside stitches to avoid bulk.
- Block garment lightly to even stitches and soften fabric.
- Adjust straps and band fit as needed before styling.
Pattern Explanation for Beginners
This crochet top features two shaped cups formed by carefully increasing half double crochets with chain 'peaks' in the center to add dimension. Cups are connected with a chain-stitched band enhanced by single crochets for solidity. Decorative chains create scalloped edges, adding feminine detail. Straps are optional and built with chains and slip stitches, adaptable to yarn thickness and personal style.
Assembly and Final Details
- Join the two cups securely with chains and sc forming the center band.
- Crochet the band edges and straps, ensuring even tension and stitch count.
- Secure all loose ends inside fabric with needle weaving.
- Light blocking helps define garment shape.
- Final adjustments such as strap length can be customized by adding or reducing stitches.
Common Troubleshooting Tips
- Cup sizes not fitting: Adjust chain foundation length corresponding to bust size; smaller chains for smaller busts.
- Uneven edge shaping: Count stitches and chains carefully during peak increases to maintain symmetry.
- Straps too wide or narrow: Use slip stitches for thinner straps or hdc for thicker texture depending on preference and yarn weight.
- Loose joins between cups: Use tighter tension and additional single crochet stitches to secure connections.
Creative Suggestions for Variation
- Use ombré or variegated yarn for unique color transitions.
- Add decorative appliques or buttons along band for personalization.
- Vary strap style by adding chain loops, tassels or braiding for creative finishes.
- Extend band to create a crop top or bralette style garment.
- Combine with complementary crochet garments (pillows, bags) using matching patterns.