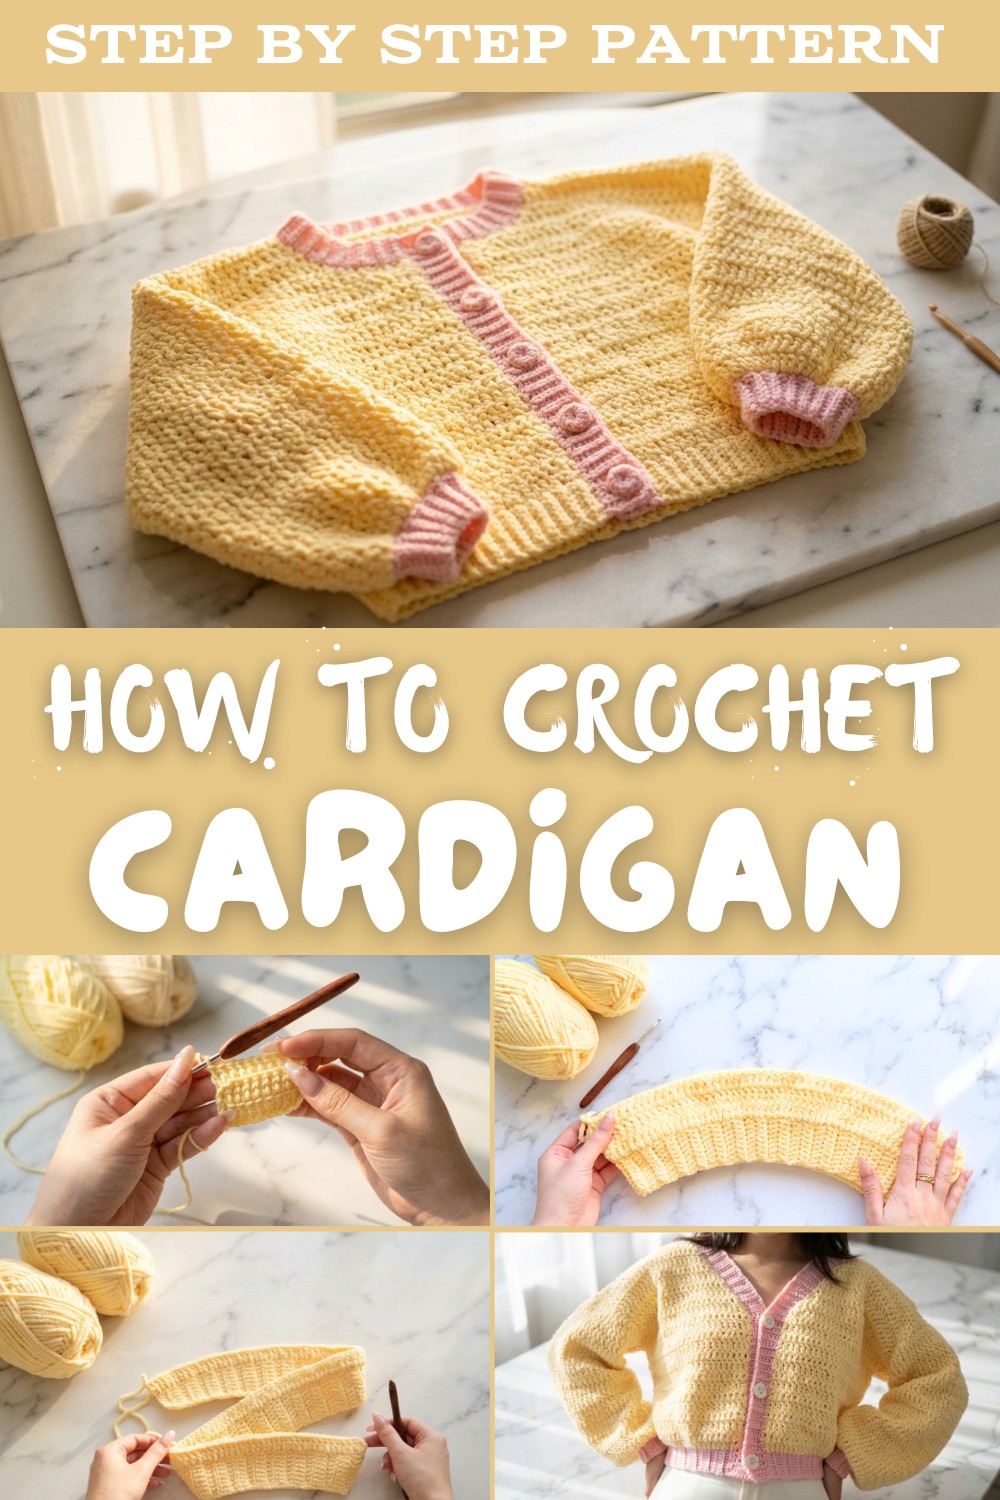
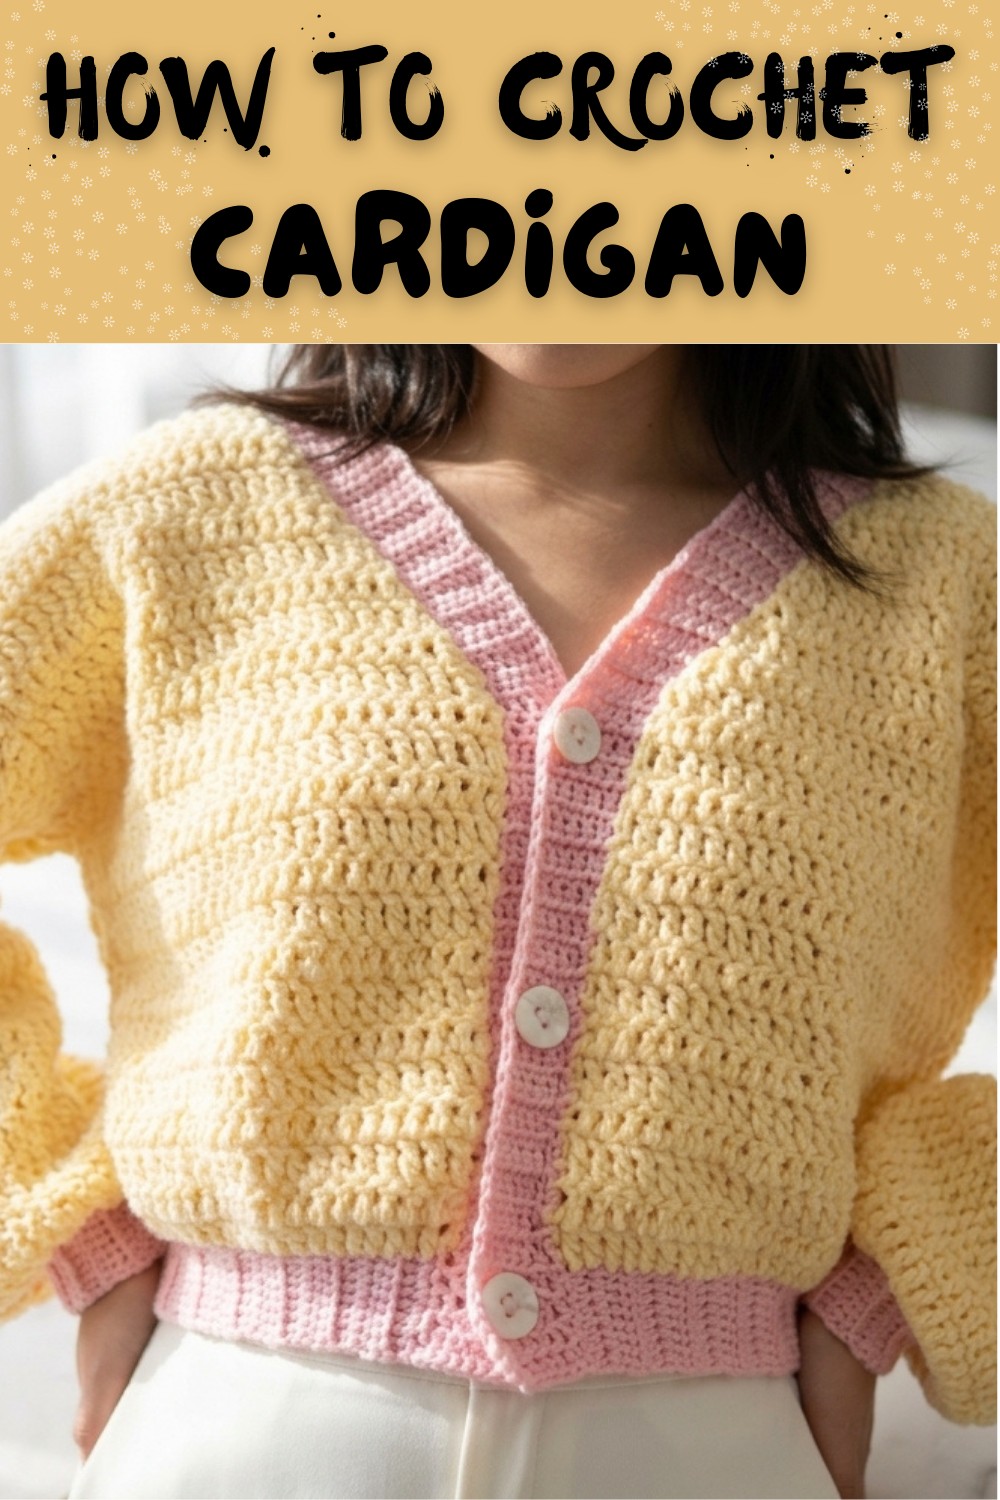
Easy & Free Crochet Cardigan Pattern for Women’s Casual Wear
Enjoy stitching a cozy and stylish crochet cardigan with free instructions that are simple to follow, fun to do, and perfect for any outfit or season.
Making something cozy, soft, and stylish with your own hands, piece by piece. Cardigan made with crochet is not just clothing but creative and personalized works of art. It is lightweight and comfortable, perfect for staying warm during chilly evenings or adding a touch of charm to your everyday outfits.
How to Crochet Cardigan with a Free Pattern for All Sizes
With endless options for colors, patterns, and designs, each cardigan can be as simple or as detailed as you want, making them unique and special. Whether it’s a gift for someone you care about or a treat for yourself, this handmade piece brings beauty and comfort together. Creating one step by step is easy to follow and enjoyable, and the result will always be something one-of-a-kind that fits perfectly into your style or home.
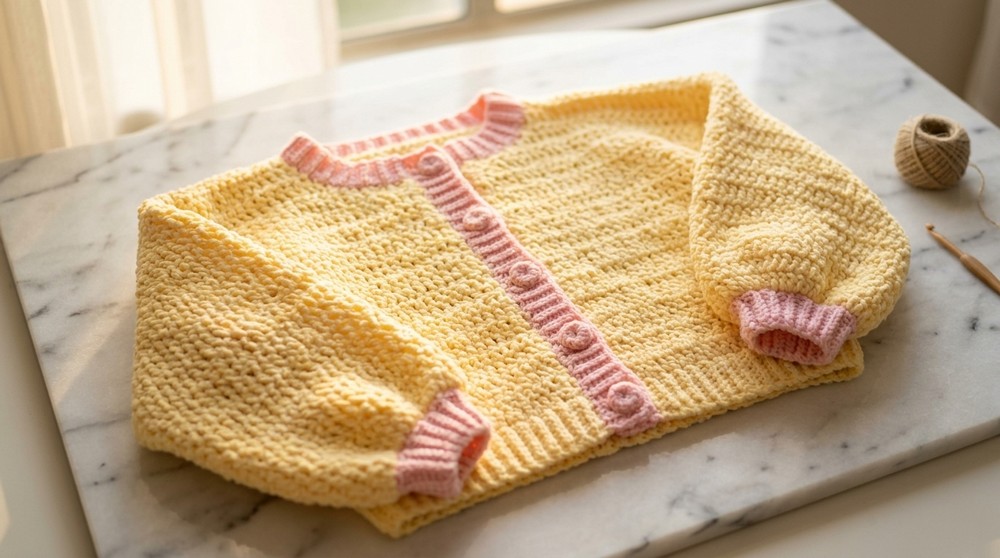
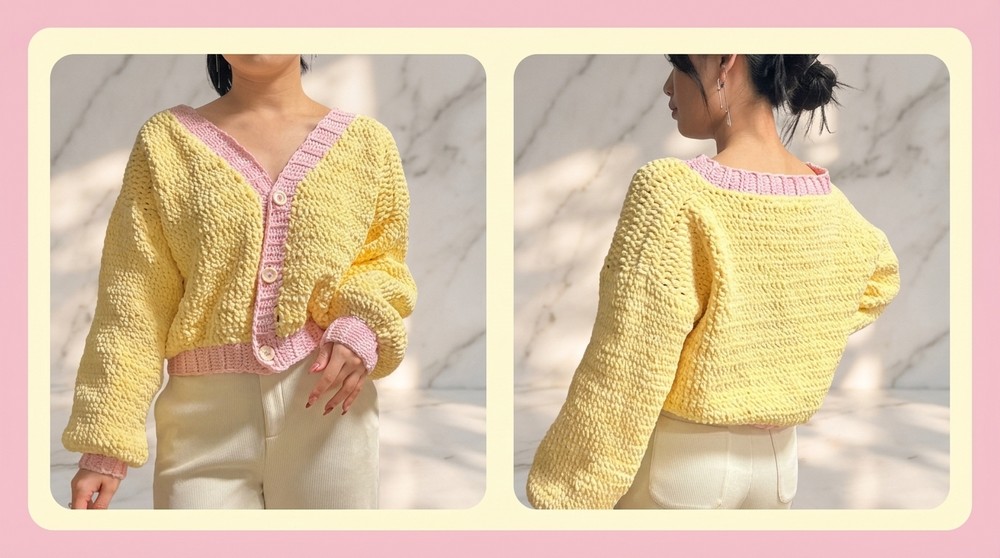
Crochet Cardigan Pattern With Cute Ribbed Edge
This cardigan features a ribbed edge design at the bottom, sleeves, and button band. It’s stylish, cozy, and perfect for layering.
Skill Level
Intermediate to Advanced
You’ll need prior knowledge of the following stitches: single crochet (SC), double crochet (DC), slip stitch (Sl St), back loop only (BLO), and creating basic shaping through increases and decreases.
Materials Required
- Yarn:
- 12 balls of light plush yarn for the main body (in yellow or any preferred shade).
- 2 balls of milk cotton yarn for the ribbing details (in pink or any preferred shade).
- Crochet Hook: 5.5 mm for the main stitches.
- Scissors: For cutting yarn tails.
- Darning Needle: For sewing and weaving in ends.
- Stitch Markers: Helpful for marking the beginning of rounds or important points in the pattern.
- Optional: Small leftover yarn in the main color for testing your gauge.
Key Abbreviations
- Ch: Chain
- Sl St: Slip Stitch
- SC: Single Crochet
- DC: Double Crochet
- BLO: Back Loop Only
- Inc: Increase (2 SC/DC in one stitch)
- Dec: Decrease (crochet two stitches together)
Special Notes
- Sizing: This cardigan is customizable to your size.
- Measure your bust size and follow the instructions to determine the ribbing and panel sizes during the process.
- Adjust the number of rows for the body and sleeves as necessary.
- Gauge Testing: Before starting, crochet a few rows with the milk cotton yarn and plush yarn to measure their ratio. This ensures precision in proportional adjustments.
- Back Loop Only (BLO): Used to create the ribbing texture in specific areas. Stick with either BLO or front loop only for a consistent look.
Step-by-Step Instructions
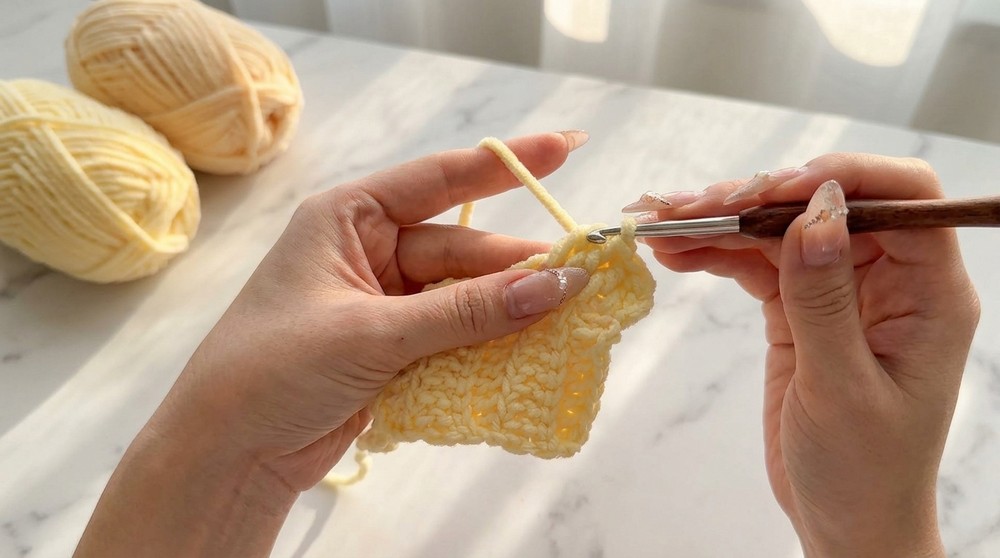
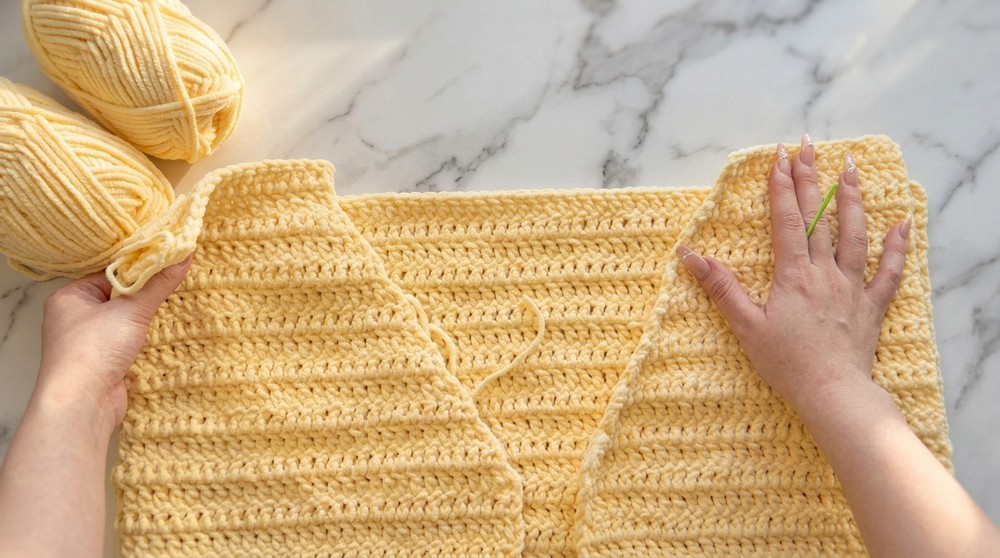
Foundation Chain and Ribbing (Bottom Edge)
- Slip Knot:
- Make a slip knot to begin.
- Place the loop on your hook, ensuring it is snug but not tight.
- Foundation Chain:
- For the ribbing, use milk cotton yarn.
- Ch 9, plus 2 extra chains for height (total 11 chains).
- Row 1:
- DC into the third chain from the hook.
- Work 1 DC in each chain across. You will have 9 DC at the end of row 1.
- Row 2:
- Ch 2, turn your work.
- Work BLO DC across all stitches. (This creates the ribbed texture).
- Remember: Insert the hook into BLO only.
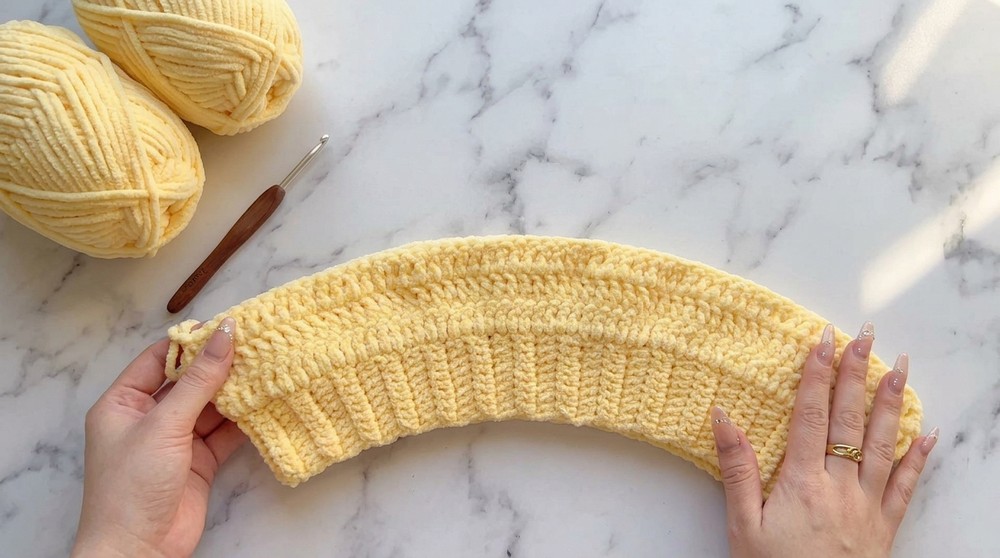
- Continue crocheting rows of BLO DC until the ribbing length equals 80% of your bust circumference (e.g., for a bust size of 100 cm, this would be approximately 80 cm).
- Join for Seamless Round: Once the ribbing reaches the required length, join the ends together with Sl St to create a loop. Fasten off and weave in the ends.


Main Body
- Attach Light Plush Yarn:
- Insert your hook into any stitch of the ribbing’s edge where you fastened off.
- Attach the light plush yarn, leaving a tail of about 6 inches for weaving later.
- Row 1:
- Ch 3 (counts as a DC).
- Place 1 DC in every stitch around the ribbing edge.
- Ensure your stitch count matches the number of ribbing rows times 2.
- Example: If the ribbing has 59 rows, you should have approximately 118 DC stitches.
- Rows 2–14:
- Ch 2, turn your work.
- Work 1 DC in every stitch across, creating a flat rectangular base.
- Stop after Row 14 (or your desired length to the armhole).
- Armholes:
- Divide your stitches for the front panels and the back.
- Use this formula:
- Number of stitches ÷ 4 = front panel width (e.g., if 120 stitches: 120 ÷ 4 = 30 stitches for each front panel).
- Remaining stitches after subtracting both front panels will form the back panel.
Front Panels and V-Neck Shaping
Right Front Panel
- Attach yarn to the rightmost stitch of the body.
- Row 1:
- Ch 1, SC into the first stitch.
- Work 1 SC per stitch across the panel width (e.g., 30 stitches).
- Turn.
- Rows 2–12:
- Work V-Neck shaping:
- Decrease 1 stitch every row at the neckline edge to create the V-shape.
- On every right-side row, begin with 1 SC, 1 DC decrease, followed by normal double crochets.
- Work V-Neck shaping:
- Next Two Rows:
- Work evenly with no decreases.

Fasten off and repeat for the Left Front Panel, mirroring the decreases for symmetry.
Back Panel
- Join yarn to the back center edge.
- Rows 1–12:
- Ch 2, DC across all stitches for a straight rectangular panel (same height as front panels).
Shoulder Seams
- Align the front panels and back panel at the shoulders.
- Use a darning needle and long yarn tail to sew the seams securely with a whip stitch.
Sleeves
Round 1:
- Attach yarn to the bottom center of the armhole.
- Ch 3 to begin your first DC stitch.
- Work 1 DC in the side of each DC around the armhole.
- Join with a Sl St.
Rounds 2–10:
- Work 1 DC in each stitch around to the desired sleeve length, without increases or decreases.

Shaping Decrease Rounds (Last 2 Rounds):
- Round 11:
- Work 1 DC, 1 DC dec, repeat around.
- Round 12:
- Work evenly across without decreases.
After completing the sleeves, fasten off and weave in loose ends.
Neckline and Button Band Ribbing
- Attach yarn to the bottom edge of the cardigan opening.
- Work a ribbed band (just like the bottom edge) by alternating BLO DC rows until you reach your desired neckline width.
- Decrease slightly at the top corners of the neckline for shaping, as described in the transcription.
- Fasten off and weave in ends.
Buttons
- Sew buttons evenly along the ribbing of the front panel with the pink milk cotton yarn.
- Use the same yarn to create buttonholes or clasp buttons through stitches.
Conclusion
You’ve now completed your beautiful ribbed cardigan! This pattern offers a great way to practice shaping techniques like V-neck decreases and creating balanced panels.
Tips and Suggestions
- Blocking: Gently block the completed cardigan to shape it properly and smooth out stitches.
- Fit Adjustment: Adjust the body length, sleeve length, and panel widths to suit your own measurements.
- Alternative Closures: Instead of buttons, you can use a zipper or leave it open for a casual look.
- Experiment with Colors: Use multiple colors for the ribbing or create a striped effect.
Pattern Corrections
- Ensure each row ends with the correct number of stitches by regularly counting your work.
- Be cautious when joining shoulder seams to ensure alignment.